
Hey everyone! It's almost spring and this little cutie wants to remind you that it's right around the corner. I don't know about you, but I certainly am dreaming of warm spring days, flowers and yes - butterflies and ladybugs!
Hey everyone! It's almost spring and this little cutie wants to remind you that it's right around the corner. I don't know about you, but I certainly am dreaming of warm spring days, flowers and yes - butterflies and ladybugs!
Hello crafty friends! Art Impressions recent release includes a great new cabin on a lake scene called Boat Window Accessory Set 5409. This is a great miniature scene which includes a separate rustic boat stamp and die. My little personal touch is the red door. My house has a red door so I usually color doors red as a nod to my own home. These little window scenes are perfect to color in any way you like. I chose to watercolor my window scene using Zig Clear Color Pens. I added shine to the water with a coating of clear Wink of Stella. The sparkle reminds me of lake water on a summer day.

Like many card makers, I love patterned papers and I try to use them to make my cardmaking a little easier. This 4 1/2" x 6 1/2" paper caught my eye and I've been waiting for an opportunity to use it. It's Recollections from Michaels. I'm not sure it's still available but it's called Secret Gardenia. It has rose gold foil details and pretty vintage bird and floral images. I used another piece of turquoise paper splattered with rose gold foil to cut out the word Hello several times. I stacked them to create the thick look. I used a washed turquoise piece of cardstock from the Heidi Swapp My Favorite Things 6 x 6 paper pad. I splattered the card with watered down white acrylic paint for additional rustic vibes. The window sets pair beautifully with the new Shadow Box Window Die 5408. It comes with the dies to recess your image behind the window frame and includes a window box. It lays flat when shut but pops up when the card is opened. It's a great way to add some unexpected dimension to your card.

Thanks for stopping by today. I hope you enjoyed this card and seeing the cool effect that the Shadow Box Window Die provides for your Window Accessories stamps.
Happy Stamping!
Hello friends. I'm back again with a post for Eyelet Outlet. This card features the ever-so-cute pigs from the Pig & Sheep brad set. These little pigs are so detailed. I'm always amazed how much detail can be packed into a brad like this and both the pigs and the sheep in the set don't disappoint.

I kept this simple and used a purchased patterned A2 card base. I layered a piece of paper lace made with the lacy border die. On top I layered a strip of Skinny Glitter Washi Tape. On top of that I placed a lacy heart die. I cut the heart using a pretty pink glitter cardstock. The sentiment was heat embossed in black and the it was cut out using a lacy circle die. I glued the heart and circle in place on the top of the lace border and then added my pigs, heart enamel and pearl bling. Adorable!
Thanks for stopping by. I will be back soon with another project for you.
-Janet
Hi crafty friends! Today I've got another pair of cards for you. These feature the new release from Art Impressions called Baby Animals. It includes several baby animals and other images including a hippo, elephant, hippo, lion, bird, balloons and a wagon full of presents. There are ten sentiments full of fun little animal puns for you to use too. This set includes matching dies. Look for Baby Critters 5400 in the Ai store.

I often make two cards of similar styles when I am creating. Mostly it's because I can't decide which images are my favorite and that was certainly the case with this set! I began by making my own blue, pink and purple background from Pixie Powders on wet 110 lb white cardstock. Once dry, I cut it and a golden yellow cardstock with a sunburst die. Since I had the parts and pieces, I decided to make use of them and create two cards. I really like the look of a sunburst. It really focuses the eye on the center of the card. There are many dies and stencils available in the market that would create a similar effect.
I used a CottageCutz die for the grass and vines used to accent each animal. The Sunburst die was part of a past Hero Arts kit but I've included a link here for a very similar die. It really is a versatile die to have in your collection. It makes everything look great.
I have a video showing how I made these cards. Click on the link below to watch.

As you can tell, I enjoy working with bold colors. The animals were a lot of fun to color up with my copics but they'd be great with pencils or watercolor also.

This little lion is ready to Roar! I love his little teeth and proud mane. He capures the personality of so many little children I know. Bright, bushy-tailed and excited!
Thanks for stopping by. Have a great day!
Happy Creating!
Janet - YouTube - Blog - Facebook - Instagram - Pinterest
Do you get bored creating with standard cardstock sometimes? If so, you need to check out the Curious Metallic line at the CutCardStock store. They carry a full line of colors in this wonderful mica finished cardstock. With 23 colors to choose from, there is every spectrum of the rainbow to choose from. It has the most lusterous and glowing finish and it adds a touch of beauty and glamour to everything that is made with it.

Today I've used one of my favorite papercrafting tools, the Silhouette Cameo 4. I must say that Curious Metallic cardstock and the Cameo 4 are a match made in heaven. Even though this cardstock is a heavy 111 lb weight, the Cameo 4 cut it beautifully. I often get questions about what cardstock to use in the Cameo. It's true that some cardstocks just don't cut well but Curious Metallic worked great in it. Also, the cardstock core matches the finish color so you don't get any ugly white cut edges showing on your projects. That's really important to me. I used six colors of Curious Metallic (Ice Silver, Rose Gold, Electric Blue, Iceberg, Champagne & Violette) plus one Stardream Metallic cardstock (Fairway). The crate is made of Neenah Classic Linen Gold Pearl. This is another lusterous cardstock but it has a lightly textured linen finish.
I chose a pattern from Lori Whitlock called Box Card Easter Flower Crate. I could be wrong but I couldn't find a tutorial from Lori on making this particular pattern so I decided to bring it to you myself. You can find out how to make this by clicking on the thumbnail below.
Because this cardstock is so beautiful, additional embellishment beyond the basics are unnecessary. I added some woodgrain stamping to the crate and glitter to the center of the largest decorative flower. I recommend using StazOn ink for stamping done on this cardstock because the slick finish takes a little time for pigment or dye ink to dry. To avoid this and any chance of smudging, I used StazOn in Timber Brown for this project.


- Janet
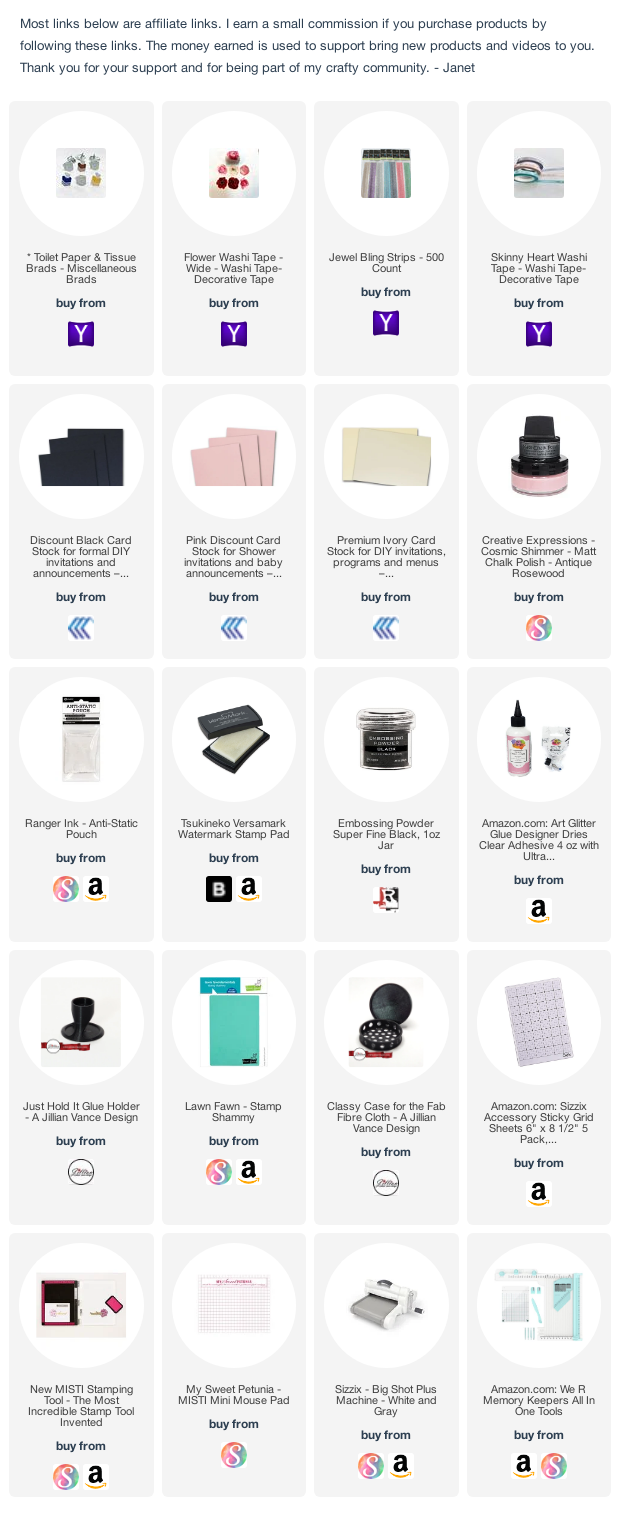
Hello everyone! I'm here today with an Eyelet Outlet post. I have been totally entranced with the new Toilet Paper and Tissue brads from EO. I think the Toilet Paper Rolls in particular are just so cute with all that detailed quilting in the rolls.

I started this card by covering a piece of Neenah Classic Crest Natural White cardstock with EO's Wide Flower Washi Tape. This tape is about 2" wide and features photo-real roses, poppys and other flowers. It's really beautiful! After applying the tape, I added a strip of pink foil heart washi tape to cover the seams and accent the angled application of the washi tape. Next, I painted the chipboard letters with Matt Chalk Polish from Cosmic Shimmer. This one of my newest purchases and I just love the finish which is matt and not a polish in the traditional sense. I thought it would be wonderful on chipboard and it is. It dries really fast so in no time at all I was able to glue the letters in place and then heat emboss the sentiment. I placed a short piece of pink Jewel Bling next to the You and then set the brads to rest on the bottom of the L. Then I mounted this piece on a slightly large piece of Basis Black Cardstock. Finally I mounted this on an A2 sized card base made of Basis 80 lb Pink Cardstock.
This turned out so well and it was pretty quick to put together. I love the flower washi and will definitely be looking for a way to use more of it. It's beautiful, fresh and the wide size is super fun.
Thanks for stopping by today. I'll be back soon with another post.
- Janet
Hello Clever Crafty Friends!
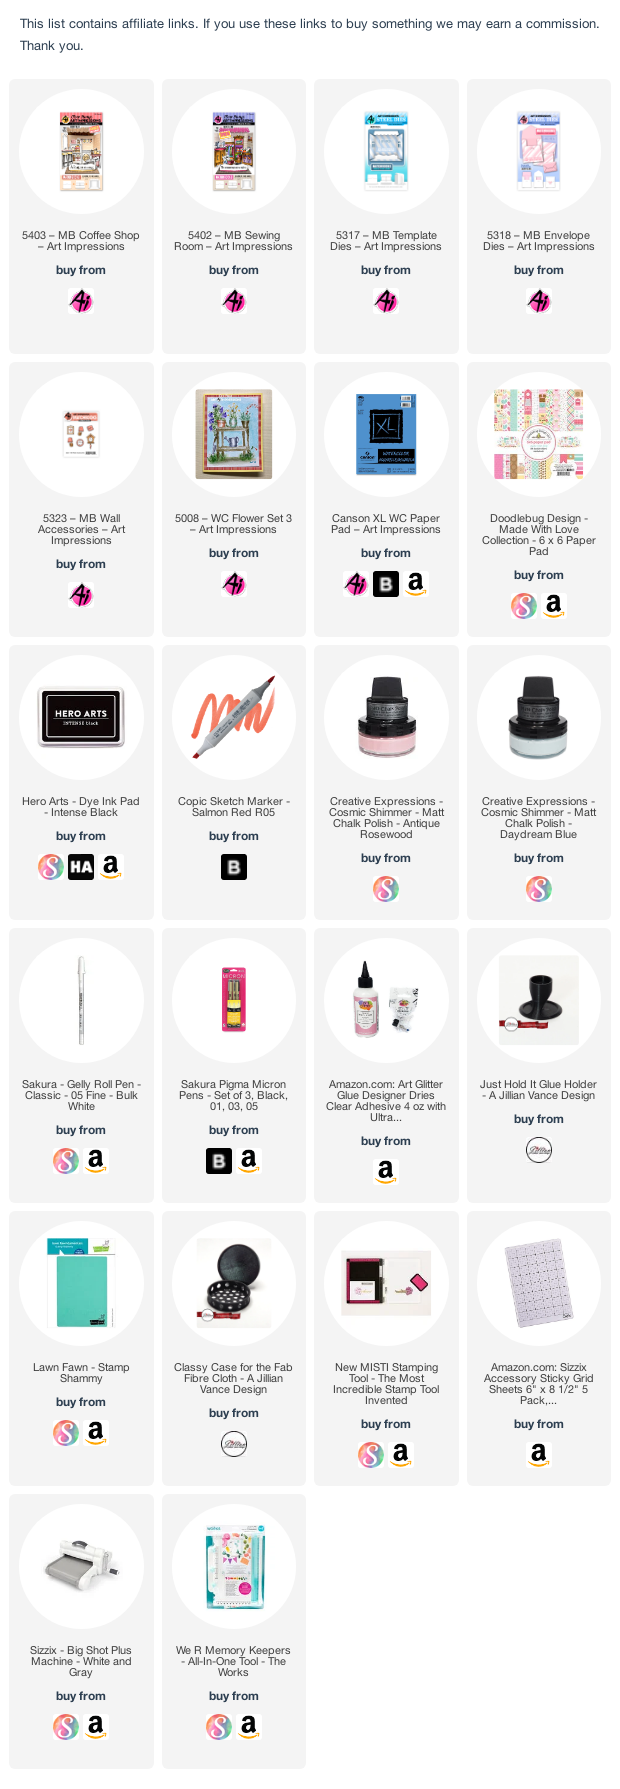
Today I've created a card using the brand new Coffee House Matchbook card release from Art Impressions. Oh my goodness! The Matchbook line is so cute! This was my first try at making this style of card from Ai and I think it's started a new obsession. These little guys are so adorable when done and they are so much fun to make! In fact, I made the first one on the left and then just couldn't stop so I made the next one on the right using simple crayons to color the images. I wanted to show that you don't need anything fancy to color these and still have a wonderful result. Pencils would also work very well on these small images.


I am really entranced with this line and can't wait to see what Bonnie from Ai will dream up next. I love that these will take so little room up on a shelf but remind your friends and family that you are thinking of them. They will be treasured little pieces of art to all who are lucky enough to get one from you.
Thanks for joining me today. I hope you enjoyed learning more about these itty bitty creations that are on the edge of being magical!
Happy Creating!
I guess about a month ago, I was accepted into a second round for acceptance into the Art Impressions Design Team. They sent me some sets to work with and asked me to return six cards for judging. Well, guess what? They accepted me! I'm so honored and excited to be part of one of my all time favorite stamp companies and a member of their extremely talented Design Team.
I'll be able to bring you many Ai projects over the coming year, including first peaks at their new releases as they come out. I'm really looking forward to sharing their wonderful product lines with you.

I haven't received my Design Team box just yet so for my first post, I'm bringing out an older but oh-so-fun His & Hers Flying High set which is perfect for a landscape slimline card. This set has all the pieces to make a great little scene including a dog and a parachute. So cute!
As I and my girlfriends get older, I have come to appreciate the humor in our ever larger birthdays. I suppose like a lot of people, I like to say when people ask how old I am on my birthday that I'm 29 again. Yeah right! When I saw the stamp set called Never Too Old to Laugh from Art Impressions, I had to have it because it had that sentiment and some other pretty funny ones.

I stamped this image on Curious Metallic Cryogen White cardstock from the store. This is such a pretty cardstock. It has a shimmery finish that makes it appear almost to glow. It's really nice to use Copic markers on because the coating seems to hold the ink on the surface longer which makes blending easier. I found that dabbing the marker tip actually works better than using longer brush strokes on this paper. It blends better this way. The cardstock will go through most ink jet printers well also. That's super handy if you want to use a digital stamp. There are many different colors of Curious Metallic cardstock in the store. There is a color for everyone and the mica finish is really beautiful.
 Welcome to my crafty happy place! Please be sure to check out all the places you can find me below.


