Showing posts with label Christmas Card. Show all posts

Christmas Truck - So Cute!


Hello! Have you seen the new Art Impressions Rides Interactive Series just released? So far there are three stamp sets and they are awesome. I especially like that all the images are interchangeable between the three sets. The images can also be used on their own without the cars or trucks to give you maximum versatility. 

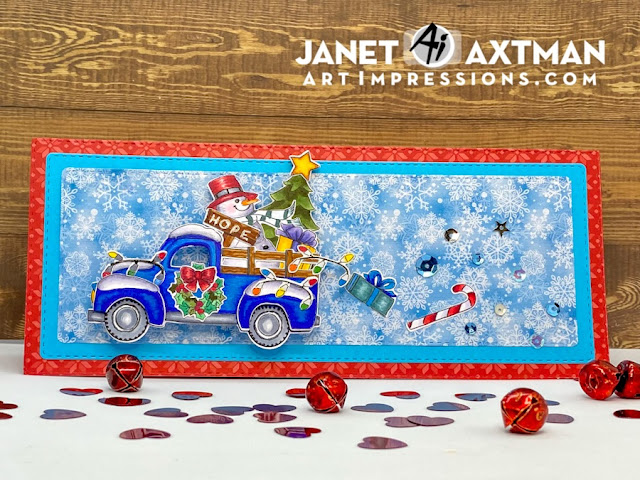
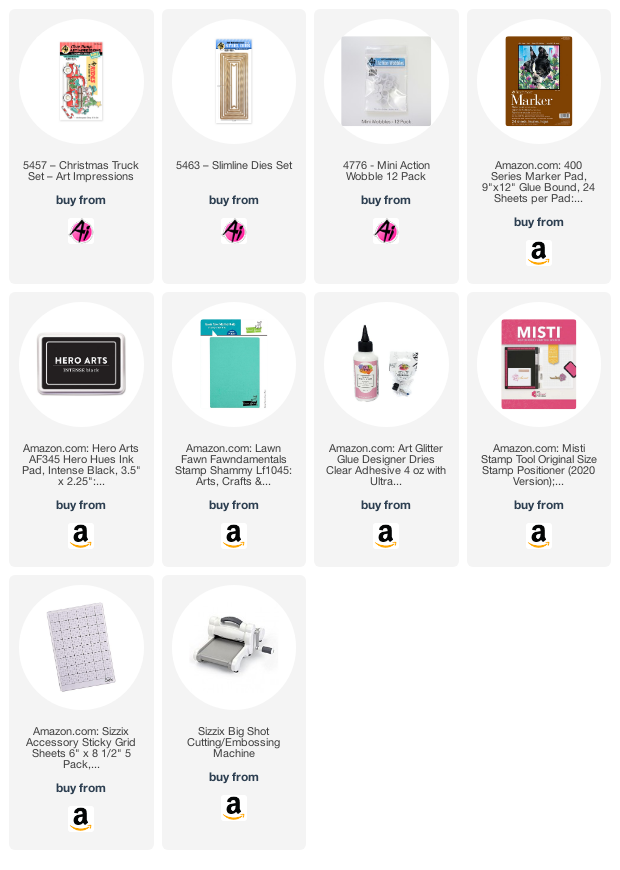
Today I'm showing you the card I made using the new Christmas Truck Set and the Slimline Dies Set. There is a lot packed into this one. It includes the truck, separate fenders for the wheel wells, two presents, a tree, a candy cane, wreath, snowman, star, bow, string of lights and sign. I really love that this set comes complete with matching dies. That's a lot packed into one set! 

I invite you to watch the video I made for this card. Find it by clicking on it below.


I chose to create a slimline scene. After arranging goodies into the truck, I put it on an action wobble. It's so fun to make the truck shake. I arranged a package, candy cane and some magic dust (aka sequins!) to the rear of the truck. This makes it appears that along the way, a few things escaped!  

I hope you enjoyed the card I made for you today. I invite you to make a visit to the store to see all the wonderful new stamps sets released so far!
Happy Creating!

Janet YouTube - Blog - Facebook - Instagram - Pinterest


Let's Get Baked! Gingerbread Christmas Card


Hello everyone! I'm just not able to stop Christmas crafting so I guess I give up! I'm going to keep throwing in a Christmas card or two each month until the big day arrives! 

I started this card by cutting the doily and phrases for this card with a file in Cricut Design Space. I cut the doily in a beige cardstock but decided to ink it up with Vintage Photo Distress Ink to give it a more "baked" look. I sprayed the inked doily with Glitter Dust and white iridescent spray. As it dried, I covered a 6 x 6 card panel with black and gold foil washi tape. On the doily, I placed the words and inserted the brads from the Gingerbread Set and the Baking Set. Then I glued the doily to the washi panel. To finish the card, I placed several different sizes of Black Pearl Bling on the card.


Thanks for stopping by today. Remember, it's never too early for a good baking!

Happy Creating Everyone!
 Janet

O Christmas Bee Tunnel Card


Hi everyone and welcome to some fresh Christmas air. It's July and in my book, the perfect time to bring out a little Christmas spirit in the heat of summer.

Today I've made a tunnel card for you. It's a fun fold that builds up a layered and dimensional look. It's a perfect style for scene building. In my tunnel, I've created a bee-utiful bee Christmas tree trimming party! Can you hear the singing? I feel like I can.

The tunnel card base was created with a card blank set from PhotoPlay. These are sold in packs of 6 and you can customize them with your own dies, papers and embellishments. 

I chose images from the Christmas Bee set, #5042. I stamped them on 300 Series Strathmore Bristol cardstock and used Tombow markers and a colorless blender to make these come to life. There are enough images to do several different cards in this set. I used most but not all of the images and only one of the seven sentiments included in it.

I decorated the tree image with red and silver stickles. Other than that, I added no other embellishments. These images stand on their own and I didn't think I needed more to create the happy scene.

I made a video with all the details. You can see it by clicking on the thumbnail below:

Here's a closer look at the tunnel scene.

And here's a little closer look at the card front. I imagine she is THE "Queen Bee." I always thought the Queen Bee would be kind of scary but she is a friendly, happy sort!

Thanks for stopping by today. I hope you might be inspired to look through your Christmas stamps and start creating a few holiday cards of your own. It's a great time to experiment and decide on card designs you want to use in December. There are lots of choices in the Ai store to get you going.

Stay cool!
 
Happy Creating!
Janet YouTube - Blog - Facebook - Instagram - Pinterest 

Hello CutCardStock fans! Do you dream of a white Christmas? I live in the Carolinas so snow for Christmas is highly unlikely but I was born and raised in the upper Midwest and know what I'm missing - the good, bad and ugly of snow!


My project today highlights what I envision is the peace and happiness a soft white layer of snow can offer along with a welcoming door where friends, family or others we know and love will greet us. This year, more than ever, being among those we love the most is a real challenge. The door set in a snowy scene is my tribute to all those I love and the fact that I know they are just waiting behind a door that will soon fling wide open and envelope me in love and fellowship. I feel confident that most of us are anxiously waiting for that time to come.

Country Bird Christmas Shaker Card

It's me again! It's Day 2 of the video blog hop and I'm posting a project today that features the new stamp and coordinating die called Sparrow on Post. 

I grew up in the country where sparrows were the most common bird around. This fella spoke to me and said, "Craft with me!" How could I say no to the little guy!

Follow the link below to watch the video tutorial. Learn some tips on how to cut thick burlap, using your dies and fun foam to create a shaker window well and a couple alcohol ink coloring tips and tricks. If you can't see the link, you can also click on this link to see the video: https://youtu.be/60pqwfe_fA4


Thanks for stopping by! Be sure to follow the links in the video description to the other 7 videos. To be entered for great prizes including a surprise CottageCutz Grand Prize and their CottageCutz channel prize, you must comment and subscribe to every designer's channel. Each artist is giving away great stuff too so be sure to get in the fun.

Thanks so much and I hope you have a fantastic weekend!

- Janet

Santa and Snowman Window Cards

Hey everyone! It's Janet dropping by to show you two cards I made using two new holiday release dies. The first is called Window With Shutters and it has a great window, complete with a header, flower box and shutters. This die could be used year round to create a cute window scene by itself or filled with characters of your choosing that fit in the window space.
.

Today, I chose to use the companion die set made just for this window called Window Christmas Friends. It includes adorable Christmas figures including a pine tree, Santa, Snowman and Poinsettias with greens for the flower box.


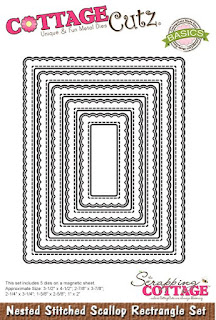
Since the Santa and Snowman are both cut when you use the set, I decided to use both in each card. Nothing should go to waste right?! For Santa, the snowman is saying hi when you open the card. The opposite is true if the snowman adorns the front. I also used the Nested Stitched Scallop Rectangles inside for the stamped sentiment and die cuts. These are such cheerful little figures!


To learn how I made this card including how I created the acetate window effect, click on the video below. I hope you enjoy this one because I had a lot of fun creating them!

Have a great week and thanks for spending some time with me today.

Hugs,
Janet
SugarShine Designs


Dies used for this project: