
After not doing paper piecing much for the past few years, I have been doing a lot more lately and rediscovering my love of it. I find it very relaxing and it has the extra bonus of it turning into something great when it's done!
After not doing paper piecing much for the past few years, I have been doing a lot more lately and rediscovering my love of it. I find it very relaxing and it has the extra bonus of it turning into something great when it's done!

Today I have a pair of cards that were made with paper piecing dies using several colorful Pop Tone cardstocks. Paper piecing popularity is a trend that has come and go over time and it's making a strong comeback again this year. It results in beautiful textured and layered pieces.



So it's already mid-May and in my area they are getting ready for graduations across the District. I thought it would be fun to pull out my Cricut Explore Air 2 and make a card using Basis Cardstock sold by CutCardStock. The Basis line works fantastically with my Cricut and Silhouette machines. It cuts clean and I can get the smallest cuts without it ripping or tearing. I use the Intricate Cuts setting with the More Pressure Option. If you have a machine and haven't tried it, you need to do it! You will love your machine a lot more if you do!
CutCardStock carries a full line of Basis cardstock. It's 80 lb so it's not too flimsy and not too thick. There are a whopping 28 color choices for all your crafting needs. You can also get matching envelopes in most colors in common sizes. You can even buy pre-cut and folded card bases if you really want to save time.

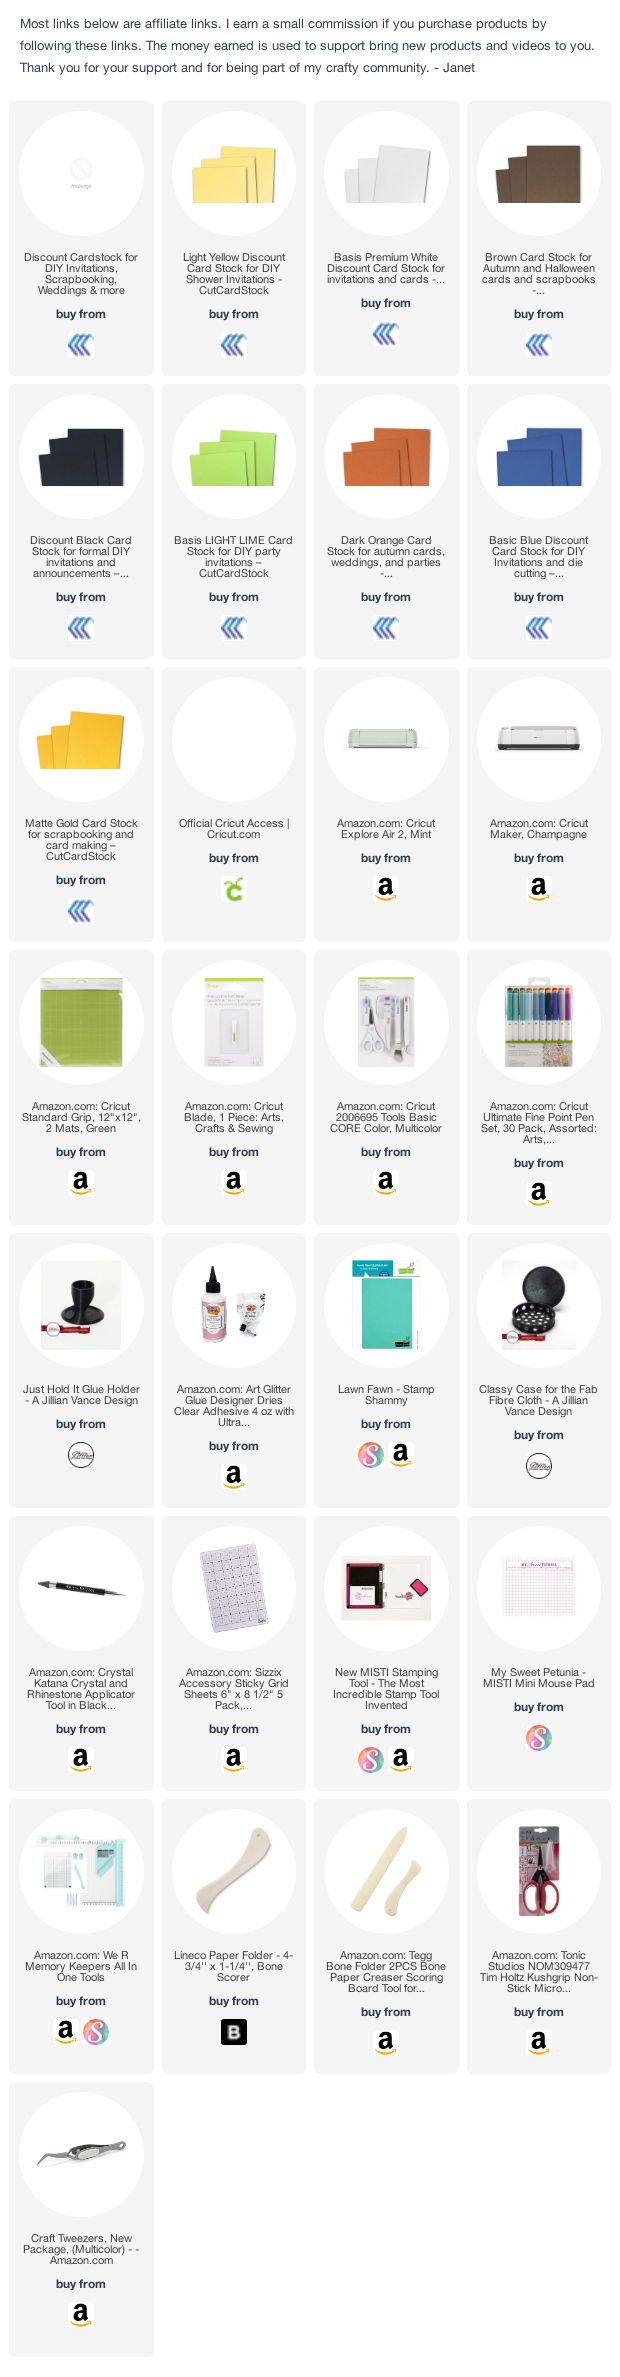
Today I used the following Basis Cardstock colors: Gold, Blue, Dark Orange, Light Lime, Black, Brown, White, Light Yellow.
What attracted me to this design was that it had writing included and I thought it would be a great opportunity to use my Foil Quill by WeRMemory Keepers. It's been a long time since I have used it and this was a fun project to do it with. It was especially super on the numbers. The Cricut wrote the foil on one edge of the numbers to give them a shadow and then cut them out. It was so easy and really added something special to the card. The design number for this card is MC4B07CE.
The owl is cute but it has 13 layers. That's a lot! The nice thing is that once complete, it's a substantial piece and takes on the qualities of chip board. The key to putting together a piece with so many layers in it is to start at the bottom of the layer panel in Cricut Design Space and layer up each piece as it goes up. Here's a screen shot of this. I could only fit in 10 of the 13 layers because that's all you can see without scrolling. It's a lot of pieces! I started with the bottom gold owl and then glued the next layer, the black owl. Next went the white owl and so on. Piecing it like this takes the guess work out because Cricut puts the layers in order in the layers panel for you.

This owl is so cute! Here's a closer look at him.

After all the pieces were cut and I had put together the owl, it was an easy matter of putting it all together. Again, Design Space gives you a layout of how it should work. It was simple to follow it.

And here's my finished card again. I stamped gray graduation hats on the background and added some black flat finish enamel dots. I also added two heart enamels in green and blue to jazz it up a bit.

That'll do it for me today. Do check out the Basis line and give it a try. It is on sale at CutCardStock for the month of May. It's a great deal!
 Welcome to my crafty happy place! Please be sure to check out all the places you can find me below.


