Showing posts with label Christmas Cards. Show all posts

Santa Clause Is Coming To Town!


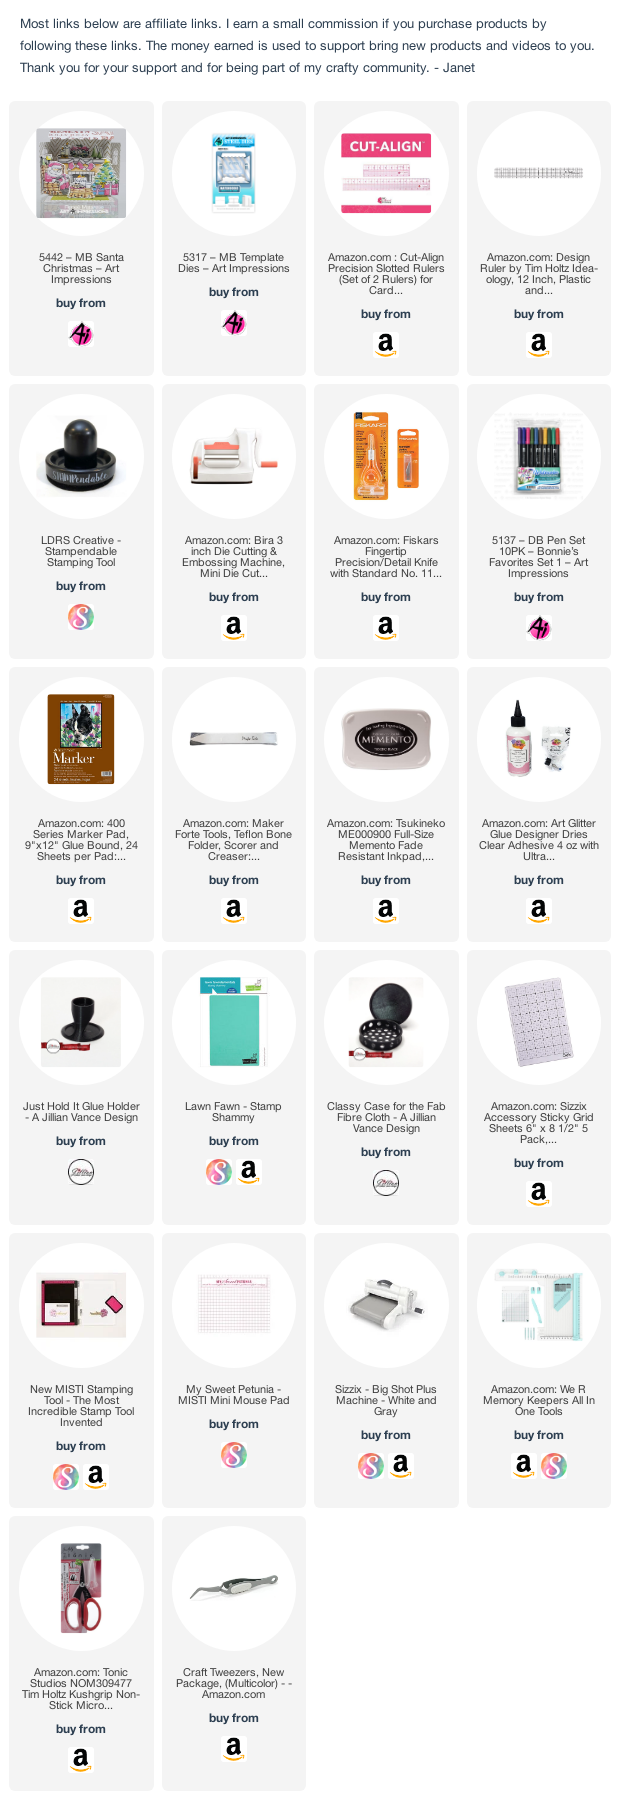
It's Janet here with a very cute miniature matchbook card made with Art Impressions set 5442 - MB Santa Christmas Card. This is such an adorable holiday matchbook card! 

To make this Santa themed project, I first used 5317 - MB Template Die to cut out the matchbook base card. It's always best to use two-sided cardstock for the card base since both sides of this card are visible.

I cut out the window using the Template Die and a window frame out of red cardstock. Next I stamped and colored the scenery pieces for the card with Copic markers. I used a white gel pen to put in a few highlights. Isn't Santa just adorable? He seems to be taking a long needed break after a night of delivering joy.


The next step was to use the dies to cut out the scenery pieces. I installed them in the card base putting Santa on the right and the tree on the left. The cookies table and the sentiment go in the front. It's easy to tell where they go because of the tab placements on the pieces. You'll find it easy to put this together too.

The little matchbook cards are so much fun to make and even more fun to give. Everyone loves them because they are so unique and have such fun details. You can get yours at the Ai Store. 

Happy Creating!
Janet - YouTube - Blog - Facebook - Instagram - Pinterest

Minty Fresh Reindeer Stackers!

What sights and smells trigger your holiday traditions and memories? Peppermint candies always bring me back to holidays at my grandparent's home. No Christmas went by without a bowl of peppermint candies on the table. Even though I don't eat them, their smell and sight always bring back good memories. My project today honors that memory. It's got a "peppermint twist" and includes lots of dimension and a cute stack of baby reindeer.

Christmas Gnome Cutie!


Hello! It's my turn at the Eyelet Outlet blog. Today I have a cut little gnome for Christmas. He's making Gift Brads deliveries today since we all know it's going to be impossible to order gifts after October this year! Ha ha!

This card features the Glitter Winter Washi Tape as the background. A Holly Brad decorates the sentiment. A cute little green Heart Pastel Shaped Enamel Dot decorates his hat. The gnome and his cart is printable art I purchased from Pink Gem Designs. I fussy cut him before applying with foam tape.

In case you didn't notice, Eyelet Outlet issued four new brad sets this week. In addition to Gift Brads, we added Female Cardinal Brads, Cupcake Swirl Brads and Iced Coffee Brads. They are awesome additions to add to your stash and will help get your creativity going.

Thanks for stopping by today. 

Happy Creating Everyone!

 Janet - YouTube - Blog - Facebook - Instagram - Pinterest 

Warm Hearts and Cold Noses Christmas Greeting!


I continue celebrating Christmas in July with warm hearts and cold noses! I love Corgi dogs. Our family owns Rocky, a precocious stubborn little personality that makes our house complete.
 
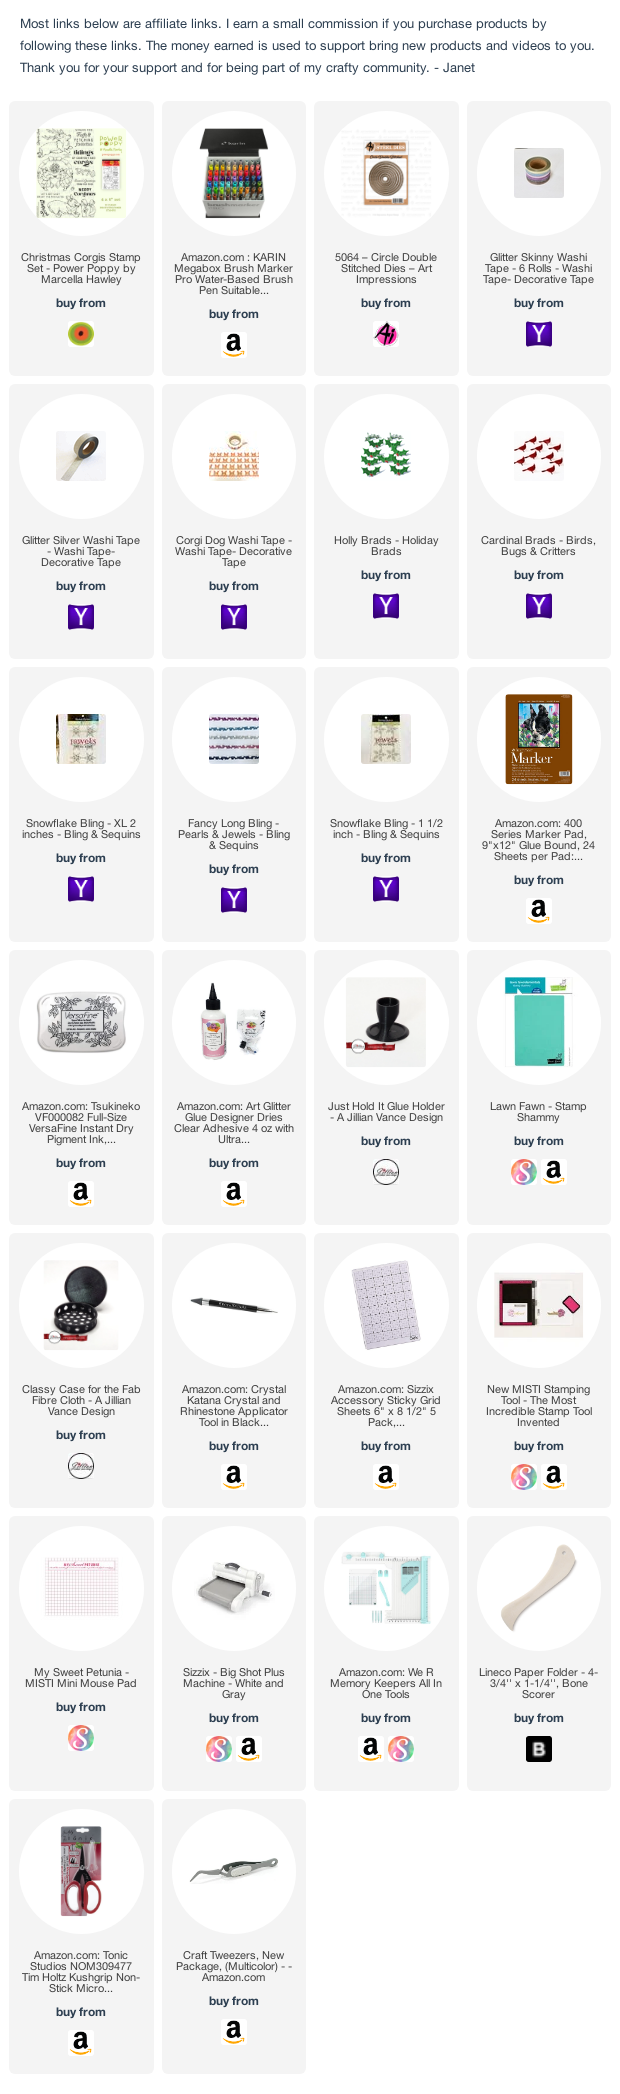
To create this card, I started by stamping the Corgi image from the Power Poppy Christmas Corgis set. I used Karin Markers and their blender pen to color it. I cut the image out and put it on top of a metallic silver paper circle cut with a stitched die from Art Impressions. I used the next larger die in the set to cut another circle and stacked the two together.

For the background panel, I cut a 4" x 5 1/4" piece out of blue cardstock. I added strips of alternating Corgi Washi Tape and Skinny Silver and Blue Washi Tapes. At the very top I put two strips of Silver Sparkle Glitter Washi Tape. Then I cut a fancy border from a die and attached it to the top. I used a strip of Fancy Long Pearl and Jewel Bling to accent the top.

To finish this card, I placed a Large and XL sized Snowflake Bling toward the top of the card. A stamped sentiment was placed on double-sided tape and put at the bottom of the circles.  

Happy Creating Everyone!

 Janet - YouTube - Blog - Facebook - Instagram - Pinterest

Christmas Penguin Greetings!


Hey everyone! It's July and you know what that means! We get to break out our Christmas supplies and chill out during a hot time of year. One great way to do that is to break out the holiday themed Eyelet Outlet products.

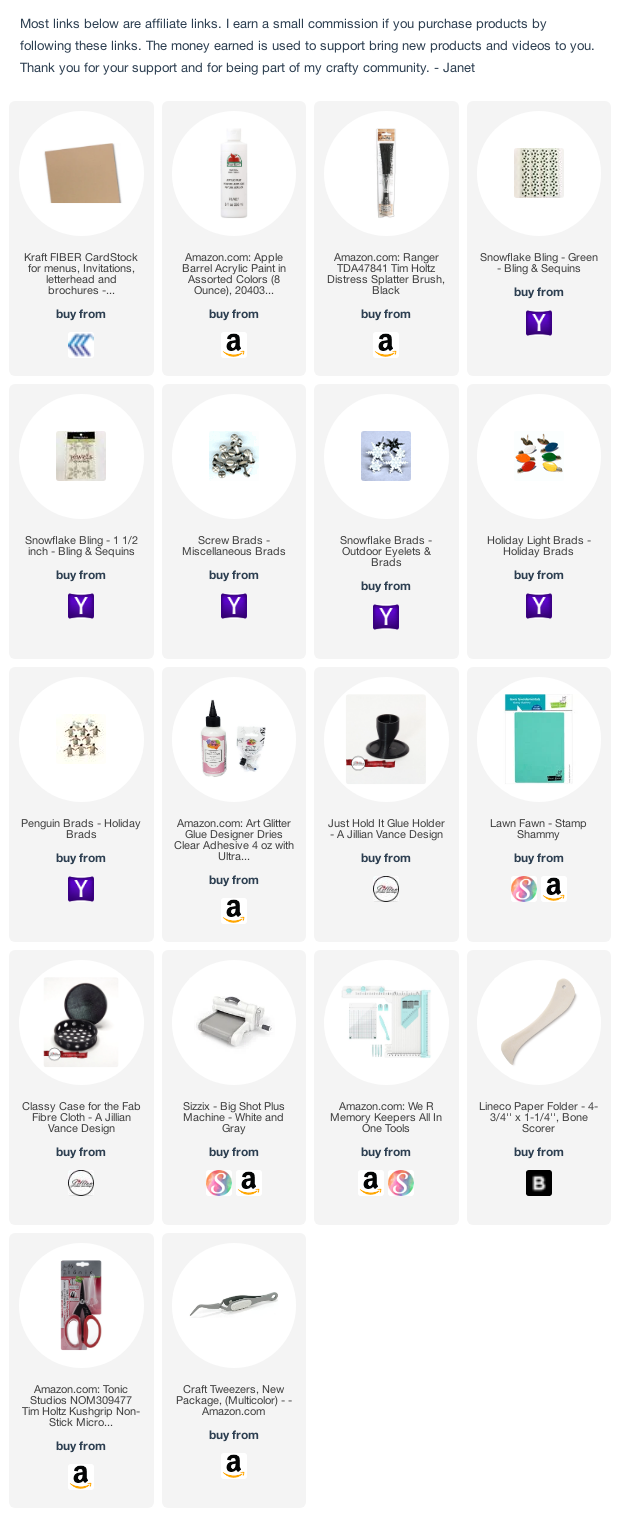
This card was very simple and quick to do. I made a Kraft A2 card base and splattered it with white acrylic paint mixed with water. After it dried, I strung a brown jute cord between two Screw brads. Then I placed three cute penguins on it. I added Holiday Lights to the cord to make it look like a light cord. 

I cut the sentiment out with a die in green and white glitter cardstock. After placing them on the card, I added Snowflake bling and two Snowflake brads. I added two Snowflake Bling pieces in green to finish off this whimsical card.

Will you break out your holiday supplies this month? Go for it!

 Happy Creating Everyone!

 Janet - YouTube - Blog - Facebook - Instagram - Pinterest

Clean and Simple Paper Piecing and Inlay Techniques

Have you noticed that striped cardstock backgrounds are popping up everywhere in the card design world? It's such a simple technique and gives a fresh clean architectural look. This 5" x 7" card uses CutCardstock's Stardream Metallic Cardstocks to create a beautiful background and as inlay for chunky outline dies along with CCS Silver Glitter Cardstock and CCS Bright Silver Foil cardstocks.

As I've mentioned in previous posts, my absolute favorite colors for Christmas is traditional red, green and white. Once in while, I have to switch it out and go to pastels for something just a little different and a bit more contemporary. This cardstyle with varying strips of color and chunky outline words & shapes are really well suited to a more modern palette.

Happy Sunday everyone! I hope you've had a great weekend so far. If you're in the US, you probably have given your stomach a good workout over Thanksgiving and then your boday decorating for Christmas and the holiday season. It was nice to take a break during all the hubub yesterday to reflect and make a card to remind me of the Reason For The Season.


The city die cuts and the scroll are from the O Holy Night Collection from Heartfelt Creations. The scroll is cut from their paper pad for the collection so it made it really easy to create this piece of ephemera. 

The background of this card was created by placing Silver Glitter Washi Tape on the edges of an A2 card base. Then I placed the corrogated piece on top. Here's a upcycling tip I learned from Carol Duval when I was a wee one (LOL!). Use a liner from a light bulb box! Works perfectly and they tend to be either a nice white or natural color like this one. The city scene is made from two identical Heartfelt Creation die cuts that I cut and stacked to appear as if it were on a hill. I used a few pieces of foam tape for some of the cuts for added dimension as well. I nestled in two Palm Tree Brads and then started decorating the rest of the card.

Around the scroll, I placed the Snowflake Bling-1 1/2" Size and two of the Music Note Brads. To accent the scroll image, I cut single bling apart from Red Strip Jewel Bling. I'm always amazed at how a few Eyelet Outlet Products can take a card from good to great with just a little bit of effort! 


Thanks for stopping by today. Enjoy you Sunday and I'll see you again next week!

A Pair of Christmas Floral Cards

Are you a traditionalist when it comes to the holiday season or a trail blazer? I am definitely a traditionalist. I LOVE red and green for Christmas and although I admire the pretty pastels that many embrace, it's just not the first color pallette I go for when it comes to Christmas. Today's projects reflect my traditional holiday preference of red and green colors and there are some great options from CutCardStock to choose from.


One image I love for Christmas is fresh florals paired with pine boughs and this is the look that inspired my cards today. The florals on these cards are actually a single very large stamp cut in half and placed on red and green card bases made from CutCardStock's DSC Discount line. This is a high quality 80 lb cardstock with a light canvas finish. In this case, I chose the perfect Christmas Habanero Red and Bonsai Green.

The stamp I used is called Glorious Bouquet, a Tim Holtz and Stamper's Anonymous collaboration. It's not really a Christmas stamp but I love getting lots of use out of my florals and you can make any floral have a holiday look by the colors you choose and adding a little shine. I used Neenah Classic Crest Solar White Smooth. The 110 lb weight is perfect for alchohol ink coloring. After stamping the image with Versamark Onyx Black, I Copic colored the oversized stamp in rustic reds, pinks, oranges and hints of yellow. Then I fussy cut the image out.


I used a Kaptron waterbrush to apply Cosmic Shimmer Green Pearl Opal Polish to the white areas of the cut out image, including the edges. This gave it a bit of a glow and that holiday touch. The cardstock is good quality and it had no problem taking the marker saturation and the watercolor application without puckering or bleeding. It is important to make sure you use a waterproof ink for stamping in this scenario or it will bleed.


After drying, I picked a strategic location to slice this huge stamp in half.


I prepared my 5 x 7 card bases out of CutCardStock Green and Red by cutting each piece 7" x 10" and folding in half. On the red card, I glued a strip of pine tree patterned paper from my scrap stash and then applied Skinny Gold Glitter and Sparkle Copper Foil Tapes from Eyelet Outlet as borders. I trimmed the tapes at the card edges with a scissor. No extra gluing required and the use of glitter tape gives it great sparkle without the mess of working with loose glitter. Extra bonus! The glitter doesn't shed so the recipient doesn't end up with glitter everywhere either.


The next step was to splatter the card with slightly watered down Delta Creamcoat White Acrylic Paint. The white splatter looks so great on the deep red and green cardstock! After that dried, I adhered the stamped image on the edge and added the chipboard word with Joy written in red glitter. I placed a small pointsettia 3D sticker on the O and added a matching star. You can choose to use any large word stamped and/or cut out of cardstock. If you want a chunkier look, you can cut 3 or more layers of the cut word shape and glue them together to get a faux chipboard look. 


I proceeded to complete the green card in a very similar way. I chose to use the same pine tree designer paper and the thin gold glitter washi again but this time used Sparkle Glitter Red Washi Tape from Eyelet Outlet in place of the copper foil tape.


I splattered this one with acrylic paint and added the stamped floral image and the chipboard word with Noel written in red glitter. Again, I place a small 3D pointsettia sticker over the O and added a glittered and jeweled holly to the top of the N.


I really enjoyed making these cards. If you a traditionalist like me, you need to check out the beautiful red, green and white discount cardstock at the store. They are the absolutely perfect holiday colors and they are on sale this month. Check them out!


So what are you making for the holidays? Whether it be cards, scrapbook pages or holiday decor items, you will like the weight, color and texture of DCS Discount Cardstock. I should also mention that it cuts very well in both steel dies or in cutting machines. You really can't ask more out of a cardstock. Happy holiday crafting y'all! 

Have a great week!
Janet

Let the Video Blog Hop Begin!


Happy Friday all! The CottageCutz blog hop is officially kicked off! Follow the link below to the first video. Links to the other videos are in the description. There are so many awesome prizes for you to qualify for! Each artist may have some different requirements for their prizes so be sure to listen carefully. To qualify for the CottageCutz channel and the CottageCutz Grand Prize, you only need to comment and subscribe to every channel in the hop. I've seen some sneak peaks and the holiday inspiration you are going to see will blow you away and get you started on your own holiday projects. Hugs everybody! See you at the hop!

P.S. - The winner of the Tuesday Hop Announcement video can be found in today's video description. Thanks to everyone who commented. I so appreciate and treasure each and every one of you!

- Janet

-

Hop Announcement, Haul and Prize Giveaway!

Hello everyone. I'm excited to announce that the Scrapping Cottage is sponsoring a video blog hop which will be held this Friday and Saturday, October 27th and 28th! Six talented YouTube crafters will be showing off their interpretations of some of the new holiday release dies during the hop. I've seen some sneak peeks and there's going to be some beautiful projects and a variety of project types to give you some inspiration as we start thinking about making all of our holiday creations this season. Please read the whole post because there is an opportunity for a pre-hop giveaway from me that you can qualify for today.

Here's a summary of the hop details:
1) It will start with some videos being released on Friday and some on Saturday.
2) The CottageCutz hop video will be released right here on Friday morning.
3) Friday's video will include links to all the project videos in the hop so you can visit them all.
4) You'll have about a week after the hop ends to watch all the videos before the prizes are drawn.
5) The CottageCutz video channel will be giving a $20 store credit to the lucky winner who comments and subscribes to all the channels!
6) Doing #5 will also automatically enter you in the Grand Prize drawing for the hop. This is going to be something really special from the Scrapping Cottage!
7) Every artist will be giving something fabulous away as well. Make sure you watch their videos to learn what to do to qualify for their channel prizes.
8) I'll be giving away a 24 pack of Spectrum Noir markers to a lucky participant over at my channel!
9) Have FUN and be INSPIRED!

So now on to my video for you guys. In it, I repeat the information for the hop and I also show you the dies I received as a DT member to use in my projects here on the blog. Although there are a lot of them, it's still a drop in the bucket compared to all the designs that are part of the release. It's a truly a mammoth release of holiday goodness!

Today's Giveaway:
After you watch the video below, leave a comment in the video description section to say that you'll be hopping with us and hit the thumbs up icon. That's all it takes to be entered into the drawing! You'll see what's included in the prize at the end of the video. I'll include the winner's name in the description of Friday's hop video so make sure you come back to find out who won.


Have a great week and I'll see you back here on Friday!

-Janet