
Hello crafty friends! Do you ever drool over those big fancy 3D flower cards that pop up on social media? Wish YOU could do that TOO? I've been there! My crafting style leans towards cute projects so it's out of my wheelhouse to make this project for you today. I discovered that the right supplies and tools make all the difference in a world when it comes to making something as beautiful and delicate as velum flowers and lacy panels.
Before getting into all the directions, I want you to know that if you're a visual person, I have a video that walks through the steps of making this card and its matching box. Click on it below. If you like to read about it and see photos, keep reading.
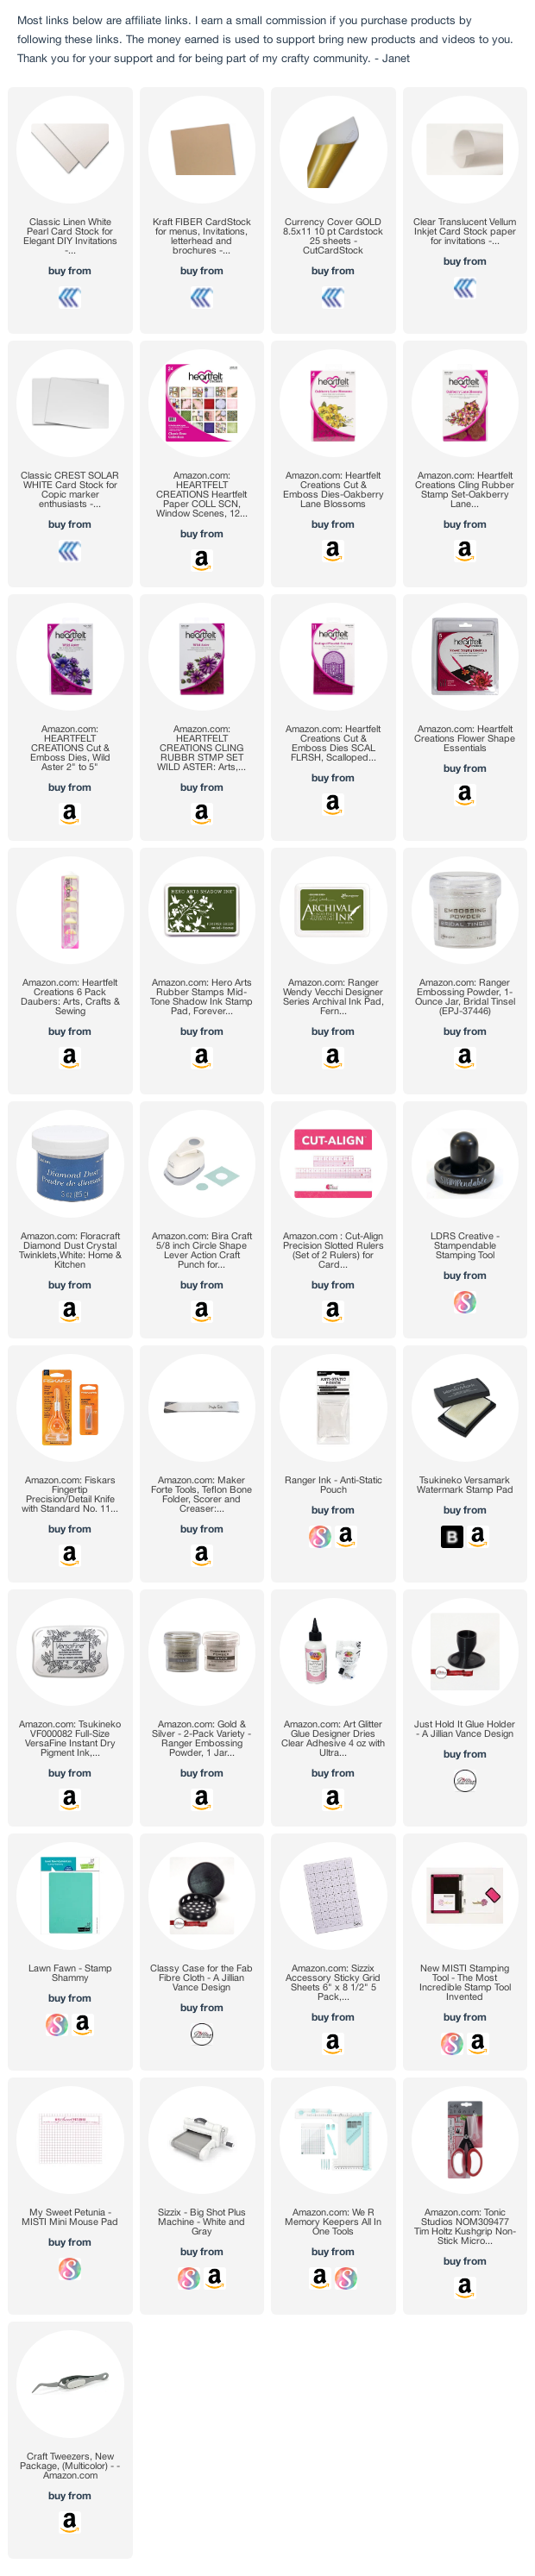
I used several gorgeous cardstocks from CutCardStock on this project. They include: Classic Linen White Pearl Cardstock, Neenah Royal Sundance Kraft Fiber Cardstock, Currency Gold Foil Cardstock, Neenah Classic Crest Solar White Cardstock and most importantly CTI Clear Translucent Vellum. I also used 1 piece of 12 x 12 patterned paper from Heartfelt Creations Window Scenes Collection. The flower stamps and dies used are the Wild Aster and Oakberry Lane Collections from Heartfelt Creations.

I began by making a 5" x 7" card base out of Linen White Pearl cardstock. On top of that is a 4 1/2" x 6 1/2" Kraft mat. I made another set of mats out of Linen White Pearl and patterned paper sized 4 1/4" x 5 1/2" and 4" x 5 1/4" respectively. On the backside of this layer I added sticky foam pads and attached a piece of iridescent 7/16" ribbon, secured on the back side with tape. I placed this set of mats on top of the matted card base so that the top two layers are lifted above the bottom layers.

Then I die cut three lacy panels out of White Pearl cardstock and matching solid layers in the Gold Foil Cardstock and glued them together. CutCardStock's foil cardstocks are so awesome because they don't hold fingerprints the way most do that I've worked with. Handle away! No prints or streaks will be left behind. Once complete I secured them down on the card base as shown.

Next I made two Aster flowers out of two stacked CTI Vellum. What a pleasure it is to work with this vellum! I heat embossed it with Ranger Bridal Tinsel powder. It's a mix of white and glitter embossing powders so it defines the stamped image well but also makes the vellum sparkle. I also made 5 additional small flowers for accents and I colored and cut out 4 leaf pieces.
I shaped the flowers and added prills and mini beads to the centers using Art Glitter Glue. Once dry, I added Floracraft Diamond Dust Crystals to the flowers using Art Glitter glue. The flowers turned out so elegant!

I created a pop-up sentiment using more of the vellum and stamped and heat embossed the sentiment with gold embossing powder.

I secured the gold and white lacy pieces to the card base and then arrange the flowers, blossoms, leaves, bow and the vellum sentiment with hot glue. The end result is so elegant and romantic!
Since it's such a thick card, I decided to make a matching box out of Neenah Classic Crest Solar White Cardstock in 110# weight. This assures that the box is extra sturdy and will stand up after being handled a lot. I have a box making calculation sheet for making any sized card box you'd like. You can pick that for free on my channel. Just follow the links in the video description on my channel for this project to get it.
After constructing the box, I decorated with a stacked mat using the same cardstocks as the card. On top I used another pattern piece of Heartfelt Creations paper and heat embossed the sentiment. I used a 5/8" paper punch to create finger holds to make it easier to get the box open. Finally I added a single small flower. Drop the mike!

Below are the card and box together. I will wrap the card in the box with gold tissue for an even more elegant presentation. This makes a great boxed gift and perfect as a wedding keepsake for the happy couple!

If you think this type of project is out of your range, I encourage you to try. If this is in your wheelhouse then I hope I gave you another idea to try. Have a great and crafty day!


No comments