Hello everyone! Feeling Hot yet? I know I sure am so this tropical card in bright neon colors seems very fitting about now.
I know you are thinking that silver and gold cardstock are limited to weddings, anniversaries or winter holidays. I challenge that idea with today's project . . . a tropical slimline card featuring, you guessed it, silver and gold! Would you be even more intrigued if I told you that neon colors could be successfully integrated with silver and gold?
Well, I hope you agree with me when I say that it's all possible. It's the unexpected mix of finishes and colors that makes this shadowbox card extra special.
Keep reading for complete instructions for constructing this card. If you prefer to see it done, I've got a tutorial video to help you.
SHADOW BOX BASE CONSTRUCTION
This card was made with a stamp & die set from Diamond Press called Sunshiny Day. It's also known as Sunny Day. It's the 2nd in a series of 5 slimline shadowbox sets purchased through HSN. This kit is full of tropical summer images such as flamingos, a parrot, palm trees, sand, flowers and more.
INTERIOR CONSTRUCTION STEPS
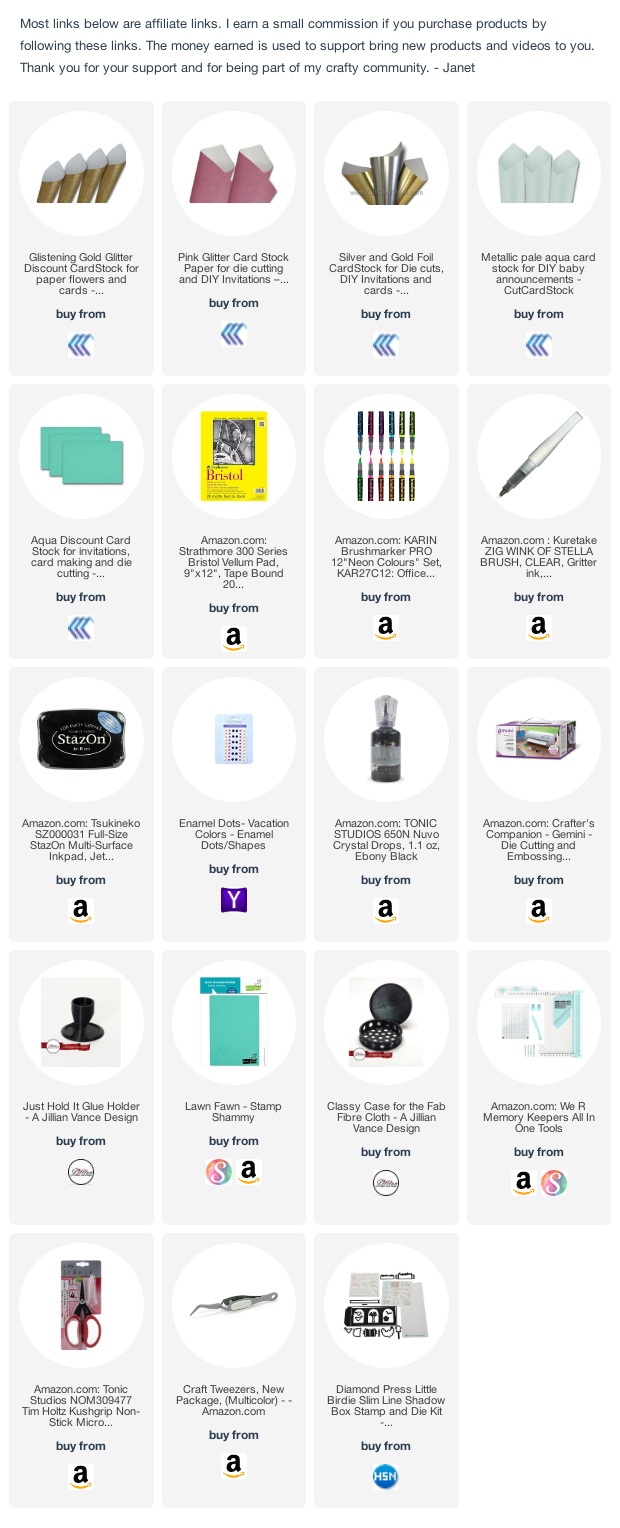
Cut the sand inserts out of CCS Gold Glitter Card Stock. Gold glitter may not be your first thought for sand but it works great because of it's texture and color!
Glue additional cardstock sand hills in place and glue the Blue Raspberry Pop Tone wave die cut to two of the glitter sand inserts. Wet glue will provide the best adhesion on glitter finishes. Burnish the score lines in the three inserts and install to the back of the card using wet glue so you have time to position them properly. Leave a small gap between the inserts so they can be folded flat for mailing.
STAMP & COLOR THE CARD IMAGES
Stamp the two Flamingo images onto Pink Sapphire Mirri Sparkle Card Stock with StazOn ink to avoid any smearing possibilities. Use the same ink to stamp on a sturdy Bristol Card Stock. I like to use Strathmore Series 300 paper for this. Color the images as you like. I used Karin Brush Marker Pro water based markers using their neon set. I blended the colors using their blending brush marker. These are eye-popping colors that fit the theme perfectly. I used Cocoa and Cinnamon for the palm tree trunk and the parrot's branch.
PLACE THE IMAGES & CONNECT THE TOP & BOTTOM OF THE BOX
Use the included dies to cut all the pieces out. Decorate the box on the front and inside with the images.
Secure the last back tab of the box to the front and double check that everything will fold flat. This allows the dimensional card to be mailed. Pretty great right?!
Here's a closer look at the dimension of this card. I really like using the pink glitter cardstock for these flamingos!
Thanks so much for joining me here on the blog today. I hope I inspired you to think "outside of the box" when it comes to gold and silver in your card making. It's definitely not just for weddings and holidays! Chow!


No comments