Hello and welcome to the Fall-oween Blog hop sponsored by CutCardStock! The Design Team will be sharing a plethora of fall and Halloween projects. At my stop, I'm sharing this really unique cookie box constructed from Basis cardstock and a cut file from Dreaming Tree. Please make sure you read to the end where you will find the guidelines for a gift card drawing and the hop lineup.
*** YOU CAN WIN THIS COOKIE BOX FROM ME! ***
Enter by following me on Instagram. An additional entry can be earned by subscribing to my YouTube Channel. Comment #sugarshinedesigns on my latest posts on both sites so I can find your entries. Giveaway for the cookie box closes at Midnight, September 25th. This is a pretty large project. It measures just short of 17" from tip to tip. It's circular shape makes it perfect for round cookies. I also found it fit standard ribbon spools well too. It could hold any number of long items depending on your needs.
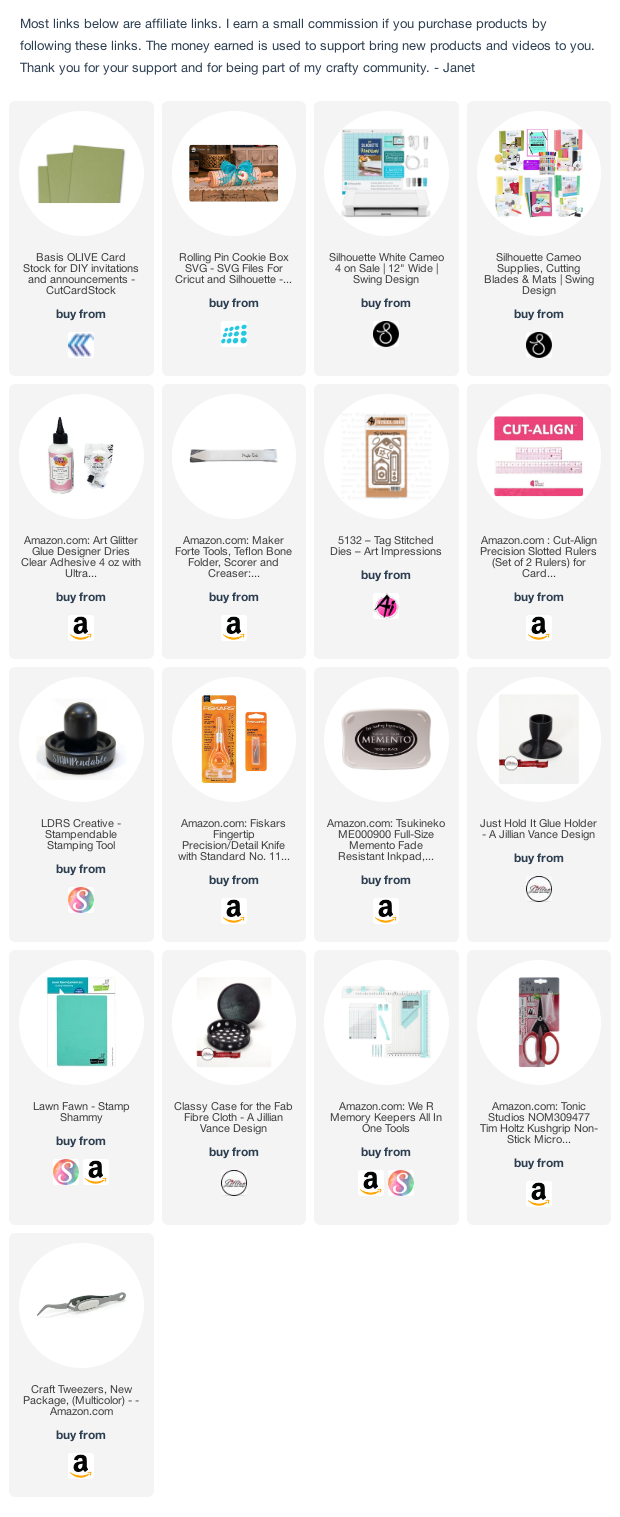
I cut this project out of Basis 80# cardstock in Olive from CutCardStock. The cardstock cuts in my Silhouette Cameo 4 very well. The 80# weight was perfect. I would not recommend anything lighter than that for this project. It's a large box and it needs to be sturdy.
This file is called Rolling Pin Cookie Box. It is pretty simple to construct. Dreaming tree always publishes a good construction video and I followed Leo step by step as I put it together. I'm happy to say I didn't have to redo any part of the project. I was able to do each step correctly along the way. I highly recommend viewing the construction video if you decide to make this project too.
To start, the top and bottom of the box are formed by folding all the creases. Then the ends are attached by gluing the teeth to the end pieces. Here is the bottom box before ends are added.
Here the teeth are glued and ready to attach the ends.
And here are the two box pieces with the ends attached with the teeth.
Duplicate edge pieces are placed on top to hid all the teeth and make the ends finished and smooth.
The handles cut out into star shaped pieces. There are multiple tabs that fold so they can be glued to create the decorative handles. Below is a finished handle and one with the tabs folded and ready to be glued. The wood patterned mats are also cut and line the handle as shown on the left. Having a good bone folder is important and I highly recommend my teflon folder from Maker Forte. Any teflon folder will work though.
.
The handles are attached to the bottom box piece using the same teeth and glue construction. Additional pieces of cardstock are also glued around the initial pieces so that the score lines are no longer visible. This not only gives a smooth appearance but adds a second layer of cardstock for strength.
The boxes are put together with a hinge pieces. It allows the boxes to close and open smoothly. It works really well! Below the hinge is in place.

Now comes decoration! Another layer of patterned cardstock is applied to the box and ends. This is the 3rd layer of cardstock which makes this box extremely sturdy! I chose a fall floral pattern for the center and a wood pattern for accents. Then I wrapped a fall burlap ribbon around the center of the box but each end is attached so that the box can be opened without having to untie the ribbon. I created a bow and attached it with hot glue. I cut two tags using the Art Impressions Tag Stitch Dies and decorated them with coordinating stickers to add a little something to the bow.
Here's a closeup of the tags and baker's twine. I love the tiny charm that reads, "Made with Love."
Thanks for stopping by today. To be eligible for the $40 gift card, readers must comment at each stop along
the hop or upload a project that includes product from CutCardStock. The winner of the CutCardStock gift card will be announced on Monday. Best of luck!
Dreaming Tree is giving away 15 fall holiday svg project files away. You can enter everyday until the drawing at the end of the month. No purchase required. LINK HERE.
Before you go, make sure to follow the next person in the line-up below. Comment on each post to enter. Link up your project made with at least one CutCardStock product on their blog page for an entry as well!
HOP LINEUP:
• Cutcardstock.blog - https://cutcardstock.blog/2021/08/30/the-falloweenblog-hop/
• Janet Trieschman - https://tryit-likeit.com/a-very-witchy-halloween-card/
• Janet Axtman - https://sugarshinedesigns.blogspot.com/2021/09/fall-oweenblog-hop-rolling-pin-cookie.html
• Maureen Ruangchamneil - https://alittlemocrafty.wordpress.com/2021/09/18/
halloween-character-treat-bags/
• Jennifer Kotas -
• Leslie Turner - https://lovetoscrap2.com/2021/09/18/happy-fall-forcutcardstock-fall-oween-blog-hop/
• Judy VanZandt - https://jvzcreations.blogspot.com/2021/09/cutcardstock-falloween-blog-hop.html
• Judy Markowitz - https://scrappyonmylevel.blogspot.com/2021/09/it-is-timefor-fall-oween-blog-hop-with.html
• CutCardstock.blog - Come back here to load an optional project with a CutCardStock product for an entry. - https://cutcardstock.blog/2021/08/30/the-falloweenblog-hop/


Dreaming Tree makes great files, this box is fantastic.
ReplyDeleteThat is so unusual and I LOVE it! Thank for the tutorial and I am off to try one!!
ReplyDeleteWow, this looks like the really thing, only prettier!❤️
ReplyDeleteWow, this looks like the real thing! Much prettier though. ❤️
ReplyDeleteOH! WOW! This is an amazing make.
ReplyDeleteFaith x
Beautiful project! I love this idea for a cookie box! It is so clever. Pretty papers and details!
ReplyDeleteThis is amazing! I ave never seen anything like it! Gorgeous colors!
ReplyDeleteVery unique!
ReplyDeleteDreaming Tree is my favorite .svg shop. You did an amazing job.
ReplyDeleteWhat an awesome cookie box! Love this!❤ Thanks for sharing!
ReplyDeleteThank you. I really appreciate your time effort and information.
ReplyDelete