Hello EO fans! Today I have a fun card that features some of the store's most recent cat and dog products. When you have pets in the house and something goes wrong, you know how there's always one that let's it be known whose fault it is. In this case, the cat is definitely turning in the dog - or possibly acting innocent. I always get the idea that cats consider themselves superior to everyone, especially the "other" pet of the home, the family dog.
I loved using the new Kennel Mix brad set and the Cat Washi. The cats are wonderful in this washi tape.
Happy Saturday and the start to the ever popular Memorial Day Holiday weekend here in the U.S.A.! This is the official start to summer and to celebrate, my project features the new Hen House Critter Cubbies set from Art Impressions. I added a twist to this by making the hen house into a pop-up feature when the card is opened.
Ai has six free stamps that can be earned with each qualifying order. This year's freebies have a definite farm vibe and I used three of them on the front of this card. They are perfect to give a hint of what will be found inside. Aren't they adorable?
If you'd like to see how I made this card, check out the video tutorial below. I'll show you how to create the pop-up mechanism using a paper cutter and a few simple measurements. You won't believe how easy it is to create this look which could be done with many of the "house" style Critter Cubbies sets.
Thanks for stopping by. I hope you have a great weekend!
Good morning! Do you ever feel like you have no ideas to make cards? Lately I've been looking over my paper collection and when I saw this on the corner of a 12 x 12 page, I thought it would be fantastic used on a card. It has the double bonus of speeding up the creative process since this great graphic can be the focal point and it's already made. Then it's a matter of decorating it to make it special and complete. I used brads to enhance this scene. While the brad proportions are not perfect, it's close enough. It was fun to add the Ship's Wheel, Seagull and Parrot brads to this image.
I love this fun pirate washi tape too. It was perfectly fun with this scene. It's fairly transparent so I had the idea to put it on top of the Map Washi. It's very subtle but in person the map images show through just perfectly! I used Gold Glitter Washi as a mat too.
So take a look at your paper collection and see what you can use to make your card making easy and quick! You may be pleasantly surprised at what you find when you put a new eye to it.
For today's project and video, I have the newest set for the popular Gift Card Holder line. It's called Birthday Cake. The die set makes a super cake with yummy looking frosting and includes several cute accessories such as a mini cupcake, cute little cherry, birthday candle and lots of confetti pieces.
After making a gift card using all the pieces in the die (check Thursday's post for a peek at it). I decided to try making them into shakers. To my delight, it worked beautifully. I used the included cake dies to cut borders into the two bottom layers. This allowed me to create windows for the shakers.
Don't forget that this set is made to coordinate with the Envelope Gift Card Holder. It is a great set all by itself because it comes with several tags and shapes. I used the flag tag for the sentiment. Big Birthday Wishes comes from the Baby Animals Set. It fit perfectly and goes with the big cake theme!
I have a video for you that shows how I made the shaker gift card holders. Check it out below.
So it's already mid-May and in my area they are getting ready for graduations across the District. I thought it would be fun to pull out my Cricut Explore Air 2 and make a card using Basis Cardstock sold by CutCardStock. The Basis line works fantastically with my Cricut and Silhouette machines. It cuts clean and I can get the smallest cuts without it ripping or tearing. I use the Intricate Cuts setting with the More Pressure Option. If you have a machine and haven't tried it, you need to do it! You will love your machine a lot more if you do!
CutCardStock carries a full line of Basis cardstock. It's 80 lb so it's not too flimsy and not too thick. There are a whopping 28 color choices for all your crafting needs. You can also get matching envelopes in most colors in common sizes. You can even buy pre-cut and folded card bases if you really want to save time.
What attracted me to this design was that it had writing included and I thought it would be a great opportunity to use my Foil Quill by WeRMemory Keepers. It's been a long time since I have used it and this was a fun project to do it with. It was especially super on the numbers. The Cricut wrote the foil on one edge of the numbers to give them a shadow and then cut them out. It was so easy and really added something special to the card. The design number for this card is MC4B07CE.
The owl is cute but it has 13 layers. That's a lot! The nice thing is that once complete, it's a substantial piece and takes on the qualities of chip board. The key to putting together a piece with so many layers in it is to start at the bottom of the layer panel in Cricut Design Space and layer up each piece as it goes up. Here's a screen shot of this. I could only fit in 10 of the 13 layers because that's all you can see without scrolling. It's a lot of pieces! I started with the bottom gold owl and then glued the next layer, the black owl. Next went the white owl and so on. Piecing it like this takes the guess work out because Cricut puts the layers in order in the layers panel for you.
This owl is so cute! Here's a closer look at him.
After all the pieces were cut and I had put together the owl, it was an easy matter of putting it all together. Again, Design Space gives you a layout of how it should work. It was simple to follow it.
And here's my finished card again. I stamped gray graduation hats on the background and added some black flat finish enamel dots. I also added two heart enamels in green and blue to jazz it up a bit.
That'll do it for me today. Do check out the Basis line and give it a try. It is on sale at CutCardStock for the month of May. It's a great deal!
It's time for a new Ai release! Today I'm going to share two cards created with the fun new Laughlines Sets! These sets include either a lady or gentleman enjoying their favorite chairs. These come with a lady or gentleman and loads of punny sentiments to go with them.
The first set is called Rock On. I chose to use the sentiment, "Happy Birthday Rock On!" There are so many to choose from, it's almost hard to pick one. I made this card interactive. When the tab is pulled, the rocker actually rocks! It's a cool way to use this set.
As usual, I've made a video showing how this card is made. Check it out below.
I made another card with the new Laughlines set called, "Sit Back." This one features a gentleman enjoying his favorite recliner. I colored the recliner to resemble my Grandfather's brown and gold plaid one that my Grandfather loved. It was really fun to travel down memory lane when I made this one.
After coloring and fussy cutting the image, I cut the card pieces out of the same stamp pad. I love combining patterns and colors and using papers from one pad assures that the colors and tones work well together. I used the Ai Circle Double Stitched for the circles that provide a landing place for the man in his recliner. I also stamped the Recliner King sentiment from the Sit Back set.
After placing the background paper and circle mats on the card, I cut out the sentiment and a scalloped mat for it.
I wrapped strands of gray floss at the top of the card panel and attached the sentiment in the middle. Then I glued this panel on to a gray A2 card base.
If these two new releases were not enough, there is a new Gift Card Holder set celebrating birthdays this week. Here are two examples of what I made with this fun new Birthday Cake Gift Card Holder! The center gift card uses all the dies. You can see all the options available to decorate the cake. The other two were made by manipulating the dies to create shaker versions of the cake. I love how dimensional and colorful these turned out. Check back on Saturday when I'll show you how I made the shaker cakes for even more ways to use this set. Just remember that this set is designed to be used with the Envelope Gift Card Holder Die Set, sold separately.
Thanks for stopping by today and taking a look at the new Laughline Sets and Birthday Cake Gift Card die set.
Today I have a fun fold card that is dimensional and elegant. This is a card with three layers which give it a tunnel or shadow box appearance. The stamp set I used for this is called Front Porch Circlet Mini Tryfold from Art Impressions. The stacked dimension is created by stamping and die cutting the scene out of the first two panels and a final stamp for the interior. I water colored this scene with Tombow Dual Brushes.
Although this card has a nice design and image, it would not seem done without all the terrific embellishments I used from Eyelet Outlet. On the front of the card, I've used the wonderfully graphic Coloring Book Butterfly brad set. I added Pearl Bling to enhance this card front as well.
This is what you see when you open it.
And when you open the next panel, you see the final panel. Here is where the Feline brad set unexpectedly surprises you. You aren't expecting these two cute kittens because your brain thinks it has seen the complete scene already. It's a lot of fun to use EO's embellishments to enhance and take your cards to the next level.
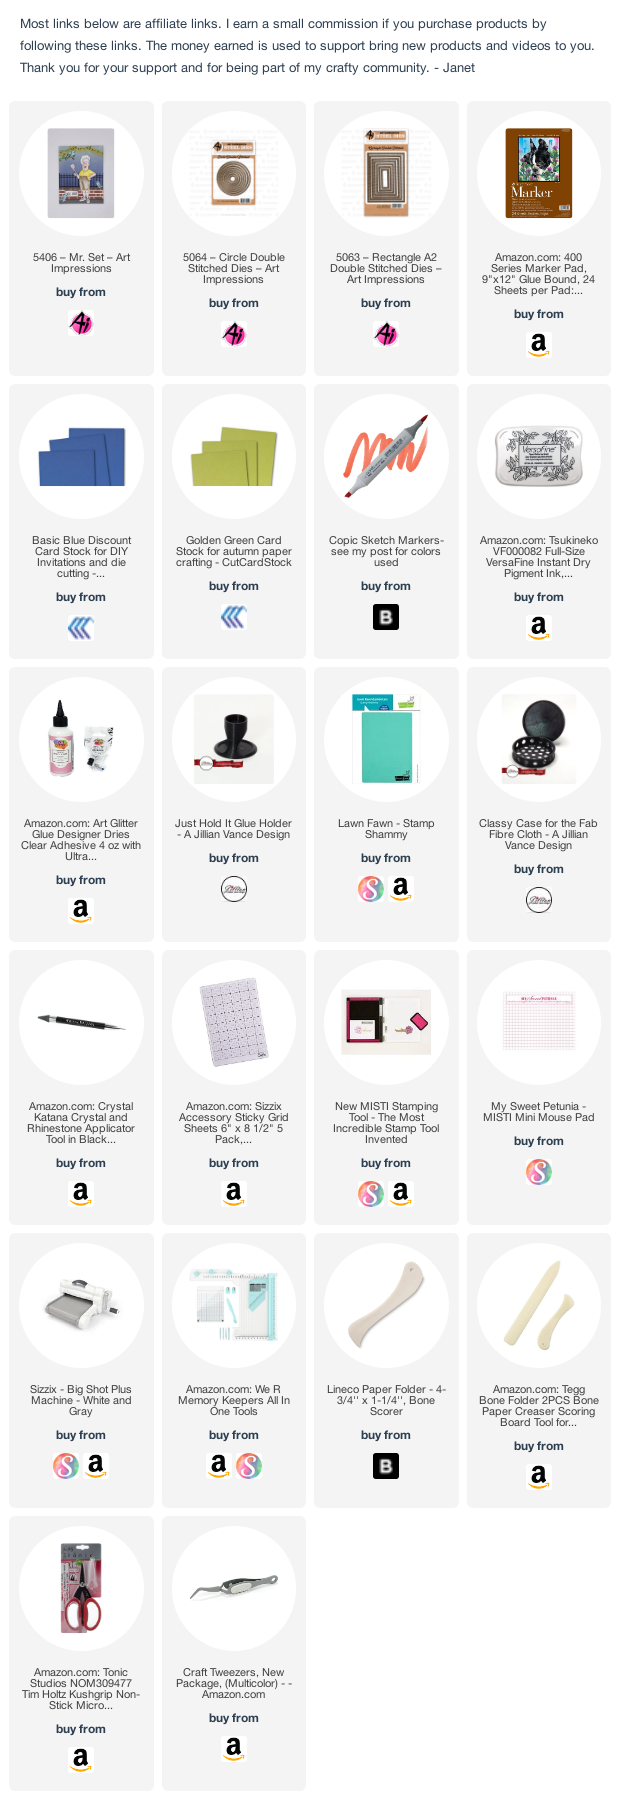
Hello and happy Saturday! I'm back again to post this fabulous card featuring the new Hats Off Mr. Stamp set from Art Impressions. This set features this fine looking gentlemen and many different hats and accessories to create different themes. There are many fabulous sentiments with this set as well.
I colored my Mr. with Copic markers. I added his beard stubble, pattern in his shirt and made his socks more like athletic socks just for fun. You can color him in ways that you prefer too.
I've got a video showing how I made this card and written instructions with all the measurements are included below in this post.
Base Card Construction
In your main color, cut the following pieces. For my card, I used Basis Blue. Please note that I've used a lightweight scrap paper to make the mock up in the pictures that go with these directions. I often do this and keep it for future reference. It makes it very easy to make again this way.
1) Cut a piece measuring 9" x 5 1/2."Use a bone folder to score lines beginning on the right side at 1/2", 2 5/8", 4 3/4" and 6 7/8." If you're score board isn't wide enough for the last score, flip the cardstock around and score at 2 1/8."
Using a craft knife or a paper cutter, cut two horizontal lines between the1st and the third score lines. These lines should both be cut at 1 and 5/16" from the top and bottom edge.
Fold the card on the score lines as shown below. This is from the left to right a valley fold, mountain fold valley fold and then mountain fold. The center piece should have a mountain fold as shown in the photo below.
2) Cut another piece measuring 4 1/4" X 5 1/2.
Glue this piece to the larger card base using the 1/2" tab to join them. Using a strong adhesive is a good idea for this step.
Final Card Construction
1) Cut mats in your secondary color. I used Basis Golden Green in my card and a scrap red cardstock in the sample.
1 7/8" x 5 1/4" (2)
4" x 5 1/4" (1)
2 3/4" x 1 7/8" (2)
1 x 1 7/8" (4)
2) Cut top layers out of decorative paper. Glue to mats In the sample. This is represented by the blue polka dot paper. In my card, I used an American Crafts paper pad called Ready Set Go. Unfortunately, this pad is no longer available except on Etsy or Ebay.
3/4" x 1 5/8" (4)
1 5/8" x slightly less than 2 1/2" (2)
3 3/4" x 5" (1)
1 5/8" x 5" (2)
3) Glue the matted pieces into the card.
4) Fold the card into itself so that it looks like this.
5) Use a nested die set in any shape you like to create a focal point on the front of the card. Use glue or foam dots to attach the left side of the shape to the left side of the card, leaving the right half of the shape to overhang freely. In my card, I Basis Golden Green and a piece of grilling patterned paper from my stash. In my mock up, I used lightweight scrap in white and light blue papers.
6) Decorate as you like. I put the completed Mr. Chef on the front of my card along with navy half backed pearls.
Thanks much for stopping by today. I hope you'll go to the Art Impressions Store to check out this new set and many others that are included in the newest release.
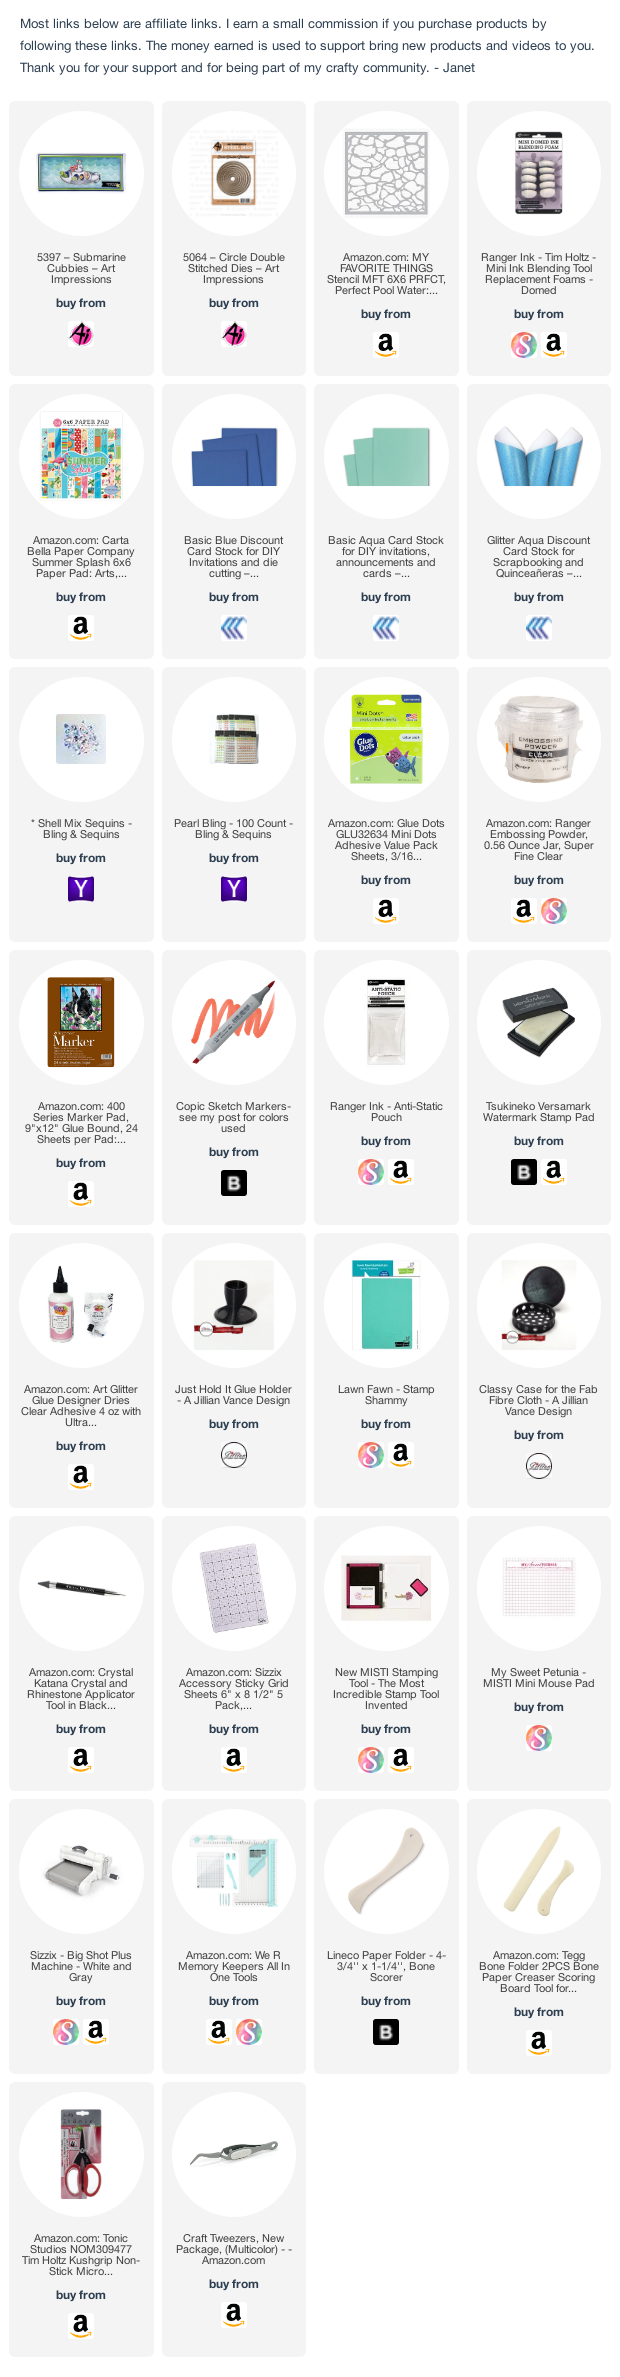
Hello Crafty Friends! Today I am super excited to show you cards I made using the new Submarine Cubbies set from Art Impressions.
What are Cubbies? It's a line of stamps and dies (they always come together) that allow you to put characters into a structure of some sort. There are typically door flaps and other areas where you can stage the characters easily into a scene.
Both cards have the same clear embossed background. I used a My Favorite Things stencil called Perfect Pool Water and applied clear embossing powder on top of the patterned papers to create waves of shine. I love how it created so much texture while also making it look wet as all water should look! The watery patterned paper on the square card and the strip of fish patterned paper comes from a great Echo Park 6 x 6 pad called Summer Splash.
I have a video tutorial today full of tips and tricks for creating underwater scenes.
The first card is an A2. Isn't that octopus just precious? You can't say that about octopuses too often! I used the Ai Double Stitched Circle Dies for the sentiment and a matted fish patterned paper to add additional interest. I used Basis Aqua cardstock for the card base.
For the square card, I created sand at the bottom with torn gold glitter paper. I brushed the torn edges with Hero Arts Sand Tone ink and staged some of the stamp set's images in it. I used shell sequins and pearls from Eyelet Outlet to enhance it further. Then I positioned the submarine, critters and another sentiment from the set. I matted the main panel on Silk Glitter cardstock in Sparkling Water Aqua and used the same cardstock to make the bubbles which are included with this set. It even has the die for the bubbles! No shell was left unturned to make this new set a bonafide must have for your collection!
Have a fantastic Saturday everyone! Thanks for stopping by today. Don't forget to enter the Art Impressions current challenge for a chance to win 3 stamp sets of your choice!
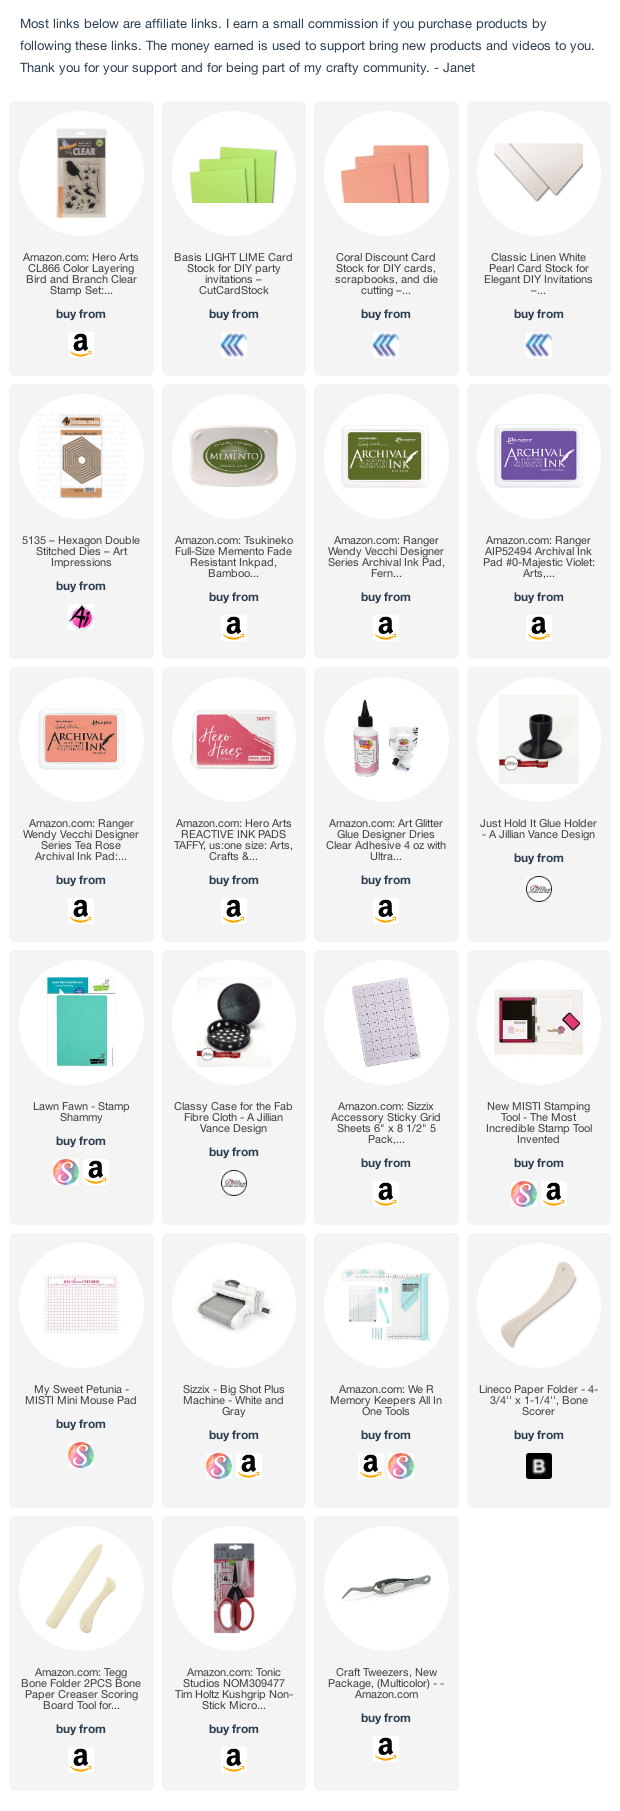
Hello friends. Are you stuck in a card making rut? We all get there at one time or another. Today I've got a tutorial for a fancy fold card that will give you a fresh take on basic card making. A few measurements, a good paper collection and some stamped images or embellishments is all you need to make this card. It's versatile too. Any theme or occasion will work. Just pick the colors and papers you want to set the mood.
For this card, you'll want a really sturdy base that can take a lot of manipulation. I used two Basis card stocks from CutCardstock for the card base and the mats. At an 80 lb cover weight, it's heavy enough to withstand a good workout but it's not too thick. I chose to use Light Lime and CoralCoral. These were colors that played well with the vintage paper pack I used. There are currently 29 different colors you can choose from in the store! You will find limitless color combinations in the Basis line which is fantastic.
There are many looks to this card. Above it is closed the picture below shows it on display. It's very dimensional.
Here is a view of the middle of the card. I used a message in the paper pack as part of the decoration and message in the card. On the back panel, I used a cut-out from the paper pack to echo the stamped bird and branch on the front of the card. Unfortunately this paper collection is sold out everywhere I looked for it. It's Simple Stories Simple Garden District.
You may be wondering where you can include a note and sign this card. It's on the back panel. Below is a photo of two cards I made of this style with different backs. As you can see, you can keep it plain as shown on the right or add an additional message as I did on the left.
Base Card Construction
In your main color, cut the following pieces. I used Basis Light Lime. Please note that I've used a lightweight scrap paper to make the mock up in the pictures that go with these directions. I often do this and keep it for future reference. It makes it very easy to make again this way.
1) Cut a piece measuring 9" x 5 1/2."Use a bone folder to score lines beginning on the right side at 1/2", 2 5/8", 4 3/4" and 6 7/8."
Using a craft knife or a paper cutter, cut two horizontal lines between the1st and the third score lines. These lines should both be cut at 1 and 5/16" from the top and bottom edge.
Fold the card on the score lines as shown below.
2) Cut another piece measuring 4 1/4" X 5 1/2.
Glue this piece to the larger card base using the 1/2" tab to join them. Using a strong adhesive is a good idea for this step.
Final Card Construction
1) Cut mats in your secondary color. I used Basis Coral and a scrap red cardstock in the sample.
1 7/8" x 5 1/4" (2)
4" x 5 1/4" (2)
2 3/4" x 1 7/8" (2)
1 x 1 7/8" (4)
2) Cut top layers out of decorative paper. Glue to mats In the sample. This is represented by the blue polka dot paper. In my card, I used a Simple Stories collection called Simple Vintage Garden District.
3/4" x 1 5/8" (4)
1 5/8" x 2 1/2" (2)
3 3/4" x 5"
1 5/8" x 5" (2)
3) Glue the matted pieces into the card.
4) Fold the card into itself so that it looks like this.
5) Use a nested die set in any shape you like to create a focal point on the front of the card. Glue only (this is important) the left side of the shape to the left side of the card, leaving the right half of the shape to overhang freely. In my card, I nested a lustrous piece of Classic Pearl Linen Card Stock in White Pearl. In my mock up, I used lightweight scrap in white and light blue papers.
6) Decorate as you like. I used a color layering stamp set from Hero Arts called Color Layering Bird and Branch. I also added pink flat back pearls.
Here are the ink colors I used for the bird:
1st layer - Archival Tea Rose
2nd layer - Archival Cornflower Blue
3rd layer - Archival Violet
4th layer - Memento Black Onyx
For the large flowers, I used the following inks:
1st layer - Hero Arts Taffy
2nd layer - Hero Arts Fiesta Red
For the small flowers, I used the following inks:
1st layer - Delicata Rose Gold
2nd layer - Hero Arts Taffy
For the leaves, I used the following inks:
1st layer - Memento Bamboo Leaves
2nd layer - Archival Fern Green
I hope you'll be inspired to try this fancy card fold. It can be used for all styles and themes and it is impressive since it folds out to a large 12 3/4" size when opened flat. It is an unexpected surprise for the recipient when they open it. Make a visit to the store to see the Basis line. It's 10% off for the month of May.