Showing posts with label Hats Off Line. Show all posts

For the Grill Master! Hats Off Mr. from Art Impressions


Hello and happy Saturday! I'm back again to post this fabulous card featuring the new Hats Off Mr. Stamp set from Art Impressions. This set features this fine looking gentlemen and many different hats and accessories to create different themes. There are many fabulous sentiments with this set as well. 

I colored my Mr. with Copic markers. I added his beard stubble, pattern in his shirt and made his socks more like athletic socks just for fun. You can color him in ways that you prefer too.

I've got a video showing how I made this card and written instructions with all the measurements are included below in this post.

Base Card Construction

In your main color, cut the following pieces. For my card, I used Basis Blue. Please note that I've used a lightweight scrap paper to make the mock up in the pictures that go with these directions. I often do this and keep it for future reference. It makes it very easy to make again this way.

1) Cut a piece measuring 9" x 5 1/2."Use a bone folder to score lines beginning on the right side at 1/2", 2 5/8", 4 3/4" and 6 7/8." If you're score board isn't wide enough for the last score, flip the cardstock around and score at 2 1/8."

  • Using a craft knife or a paper cutter, cut two horizontal lines between the1st and the third score lines. These lines should both be cut at 1 and 5/16" from the top and bottom edge.
  • Fold the card on the score lines as shown below. This is from the left to right a valley fold, mountain fold valley fold and then mountain fold. The center piece should have a mountain fold as shown in the photo below.

2) Cut another piece measuring 4 1/4" X 5 1/2.

  • Glue this piece to the larger card base using the 1/2" tab to join them. Using a strong adhesive is a good idea for this step.

Final Card Construction

1) Cut mats in your secondary color. I used Basis Golden Green in my card and a scrap red cardstock in the sample.

  • 1 7/8" x 5 1/4" (2)
  • 4" x 5 1/4" (1)
  • 2 3/4" x 1 7/8" (2)
  • 1 x 1 7/8" (4)

2) Cut top layers out of decorative paper. Glue to mats In the sample. This is represented by the blue polka dot paper. In my card, I used an American Crafts paper pad called Ready Set Go. Unfortunately, this pad is no longer available except on Etsy or Ebay. 

  • 3/4" x 1 5/8" (4)
  • 1 5/8" x slightly less than 2 1/2" (2)
  • 3 3/4" x 5" (1)
  • 1 5/8" x 5" (2)

3) Glue the matted pieces into the card.

4) Fold the card into itself so that it looks like this.

5) Use a nested die set in any shape you like to create a focal point on the front of the card. Use glue or foam dots to attach the left side of the shape to the left side of the card, leaving the right half of the shape to overhang freely. In my card, I Basis Golden Green and a piece of grilling patterned paper from my stash. In my mock up, I used lightweight scrap in white and light blue papers. 

6) Decorate as you like. I put the completed Mr. Chef on the front of my card along with navy half backed pearls.

Thanks much for stopping by today. I hope you'll go to the Art Impressions Store to check out this new set and many others that are included in the newest release.

Happy Creating!

Janet YouTube - Blog - Facebook - Instagram - Pinterest

Paper Doll Fun with NEW Hat's Off Miss Stamp Set


Hello everyone. I'm back today with a project made with a brand new stamp release from Art Impressions. There are three sets that have characters that have many different hats that can be used on their heads. There are three sets - one with a man and two others with female characters. The set I am using is called the Miss Set. She has a fun wardrobe of hats to color up and use to decorate her look.

To make the character, I paper pieced the the lady with copic colored skin and patterned paper. It's fun to do this for a different look. You can get some wild looking outfits this way and it's easy to do. I'll show you that and more in the video so I hope you'll check it out.


This tag is long and skinny which I think looks especially great on gift bags. The tag may look familiar. It is actually made from the Bible Journaling Bookmark Die set, also from Art Impressions. I used a partial die cut technique so that it would come out as a tag without the tab that is normally used to insert it over a page. The tag also has a place to store the hats on the back. I used the Matchbook Envelope Die to hold them when not in use. The idea is that the recipient can take the hats on and off and enjoy seeing the different looks that creates for the lady.


I've got a video showing you how I made this tag as well as a close up of all the hats, mask and the sentiments that are perfect for each hat style. Just click on the link below:


I really enjoy this new line. A great thing about it is that you can use all the hats and accessories in each set with each other. The possibilities are practically endless!

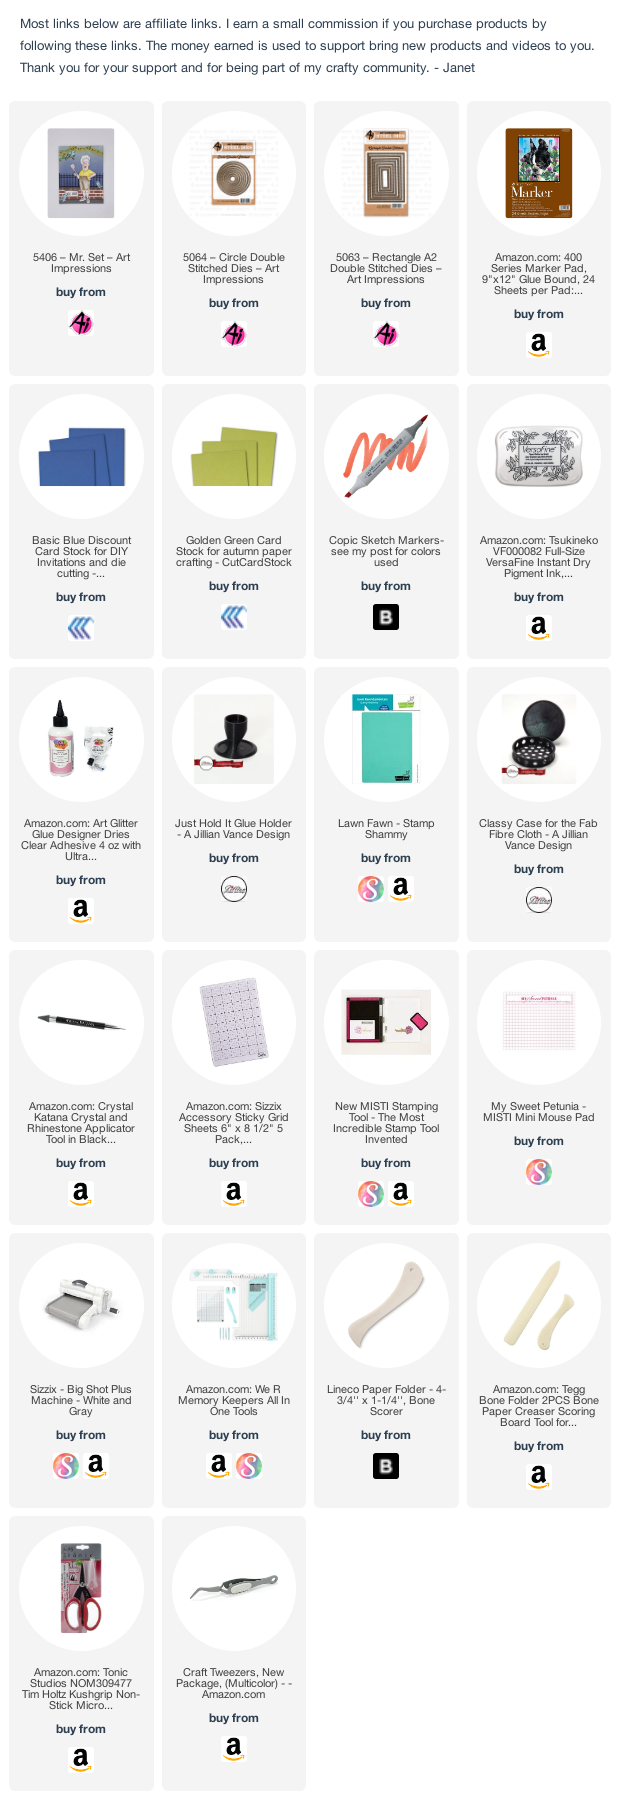
Thanks for stopping by today. I have the links to the supplies I used below. Buying through the links are not necessary but I greatly appreciate it if you do because it helps support the cost associated with my blog and YouTube channel. 

Have a great weekend everyone!
Janet