Hello all! Today's card features another use for the uber cute Sewing Room Matchbook set from Ai. I thought it would be fun to use a fancy fold to build on the sewing theme so I've mixed the stamps and dies with a drapery fold and some stitched looking cardstock on this card. This is just perfect for a friend of mine who loves to sew!
I colored the sewing machine and shelf images using my Copic markers. Colors used are:
Hi everyone and welcome to some fresh Christmas air. It's July and in my book, the perfect time to bring out a little Christmas spirit in the heat of summer.
Today I've made a tunnel card for you. It's a fun fold that builds up a layered and dimensional look. It's a perfect style for scene building. In my tunnel, I've created a bee-utiful bee Christmas tree trimming party! Can you hear the singing? I feel like I can.
The tunnel card base was created with a card blank set from PhotoPlay. These are sold in packs of 6 and you can customize them with your own dies, papers and embellishments.
I chose images from the Christmas Bee set, #5042. I stamped them on 300 Series Strathmore Bristol cardstock and used Tombow markers and a colorless blender to make these come to life. There are enough images to do several different cards in this set. I used most but not all of the images and only one of the seven sentiments included in it.
I decorated the tree image with red and silver stickles. Other than that, I added no other embellishments. These images stand on their own and I didn't think I needed more to create the happy scene.
I made a video with all the details. You can see it by clicking on the thumbnail below:
Here's a closer look at the tunnel scene.
And here's a little closer look at the card front. I imagine she is THE "Queen Bee." I always thought the Queen Bee would be kind of scary but she is a friendly, happy sort!
Thanks for stopping by today. I hope you might be inspired to look through your Christmas stamps and start creating a few holiday cards of your own. It's a great time to experiment and decide on card designs you want to use in December. There are lots of choices in the Ai store to get you going.
Hello everyone! Today I'm here with the super fun Hats Off Mrs. Set. This card is bold, bright, colorful and full of sass! Just the way I like it and why I enjoy Art Impression stamps so much.
This image was Copic colored. The colors used are at the end of this post for your convenience. Of course, this would be fun in all kinds of color combinations so pick your favorite colors and markers, paints, or pencils and have a go at it.
I chose a patterned paper background that is full of color and sets off this wild child well. I also used a circle of vellum with a paper frame to help make her detailed hat the focal point of the card. I used the rectangle, circle and flag double stitched dies on this card. Have you tried the flag dies for sentiments? They work really great for them and as accents too.
A bit more on the background I used. The colorful background is a printed cardstock. I discovered this paper pack from Craft Consortium called Ink Drops - Vivid. There are many different versions and colorways in the Ink Drops line. For anyone who is intimidated by using alcohol inks or who doesn't want to invest in all the supplies, or simply doesn't want the mess - this is a perfect way to get a gorgeous alcohol ink look with zero effort. I'm so excited to have run into this paper. I love, love it!
I have a tutorial video for this card so stop by and pick up some Copic coloring tips I share that apply to this and other images you might be coloring.
COPIC COLORS USED:
Robe: B00, B01, B04
Pants: C00, C00, C01, R81, R83
Hat: YR18, YR9, YR7
Hat Bow: R32, R35, R37, R39
Bottle & Glass: C7, C5, C3, C0, B000
Thanks for stopping by today. I hope you enjoyed looking at this card idea. See you next week!
Hello and happy Saturday everyone! If you want to make something special to hold your gift cards but don't have the time or energy to put a lot into it, I have a great solution! I bring you the Coffee Gift Card Holder, #5222 by Art Impressions. First your recipient will be touched by the adorable coffee cup but when they realize there's a gift inside, they will FLIP their LID!
This is a stamp and die set that includes all the dies to make the coffee cup shape and decorate it. Stamps are also included that allow you to personalize your message. One offers check the box choices like: Congrats, You're the Best, Thanks, You're Spectacular, Just Because and You Deserve it. There are also two sentiments in a pretty script that say, Thanks a Latte! and I Love You a Latte!
The photo above shows two options. On the right, I've made the cup by itself. This could be tucked into a gift basket, slipped into an A2 envelope or added to a package by securing a loop to the back. On the left, I mounted the gift card holder on an A2 sized card. Any way you present it will be a winner. Just don't forget to tell your recipient to pull up the cup lid or they might not know there's an insert with a gift card inside! It hides the surprise really well.
Below I attached the coffee cup to another A2 card base. And speaking of card bases, I made a coffee inspired watercolor background with two Karin markers, a bit of saran wrap and some water. This is a super technique to create organic watercolor patterns. If time is a big factor, you can simply pick your favorite cardstock for the background.
I have a video tutorial demonstrating how I made these gift card holders and the watercolor, spattered backgrounds. I think you'll enjoy learning how to create a grand effect in record time.
Thanks for Stopping by. I hope you have a great weekend!
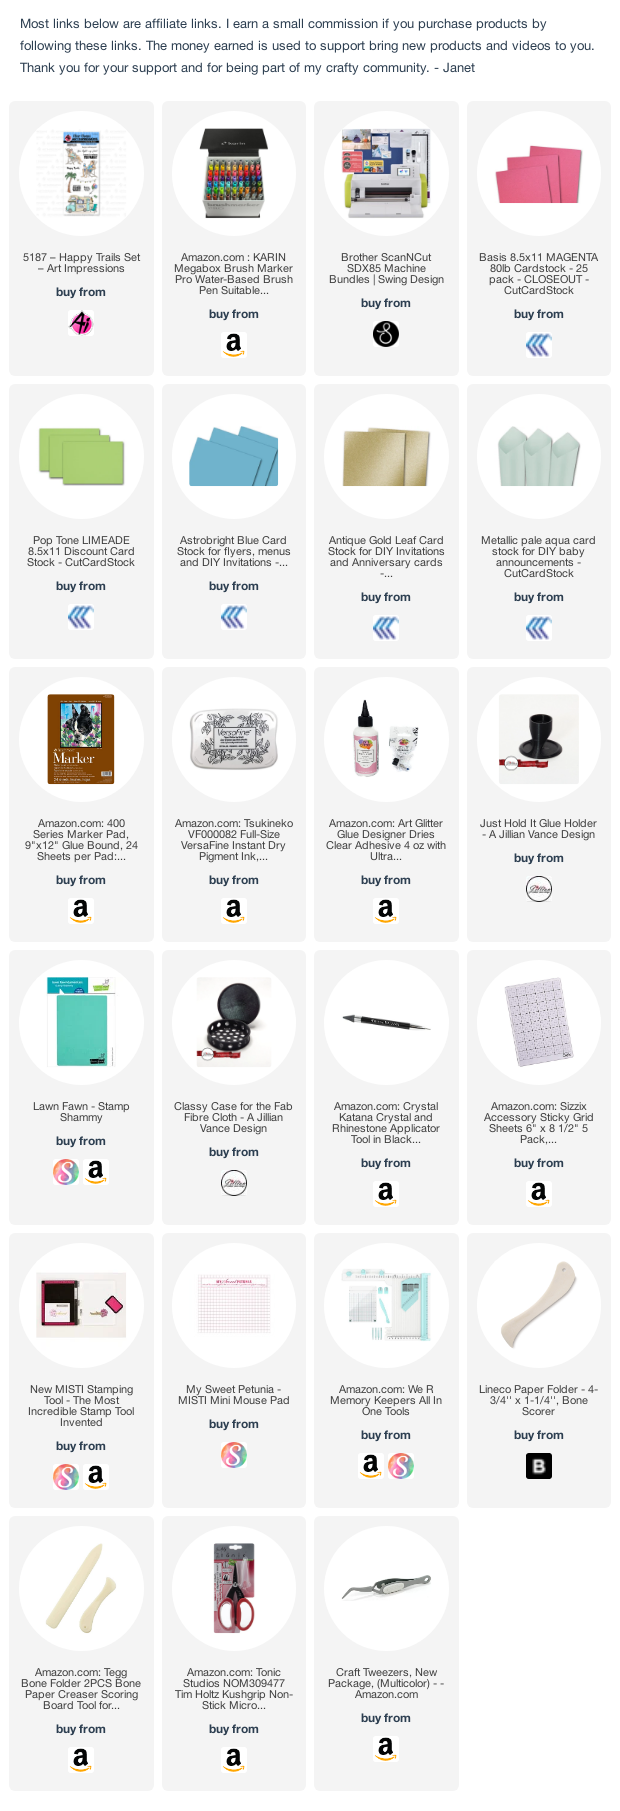
My family enjoys camping and we get out pretty regularly with our travel trailer. We live within a few hours of the beach and beach camping is something worth doing! When I saw the Happy Trails Set, I knew I had to have it because it mimics our own camping life so much.
For this card, I stamped most of the images in the set. There is a cute balloon and light string that I didn't use. There are six sentiments such as Home is Where You Park It, Happy Trails, Happy Retirement, Happy Camper and more. I thought the sentiment I chose was perfect for this very relaxed and happy couple. This would be great for his birthday, Valentine's Day or Father's Day.
I colored the images with Karen brush markers. For most of the images, I chose one color and used water to blend and create shading. You can get similar results from a water brush or the Karin Blender Marker. I prefer the control I get with a small round brush. After coloring them, I cut them out with the Brother Scan N Cut.
The sand is a piece of torn gold metallic cardstock. An aqua metallic cardstock was used for the sky. Bordering the main panel are bright blue and hot pink mats. The 8 1/2 x 3 1/2 slimline card base is made of lime green. All my cardstock came from CutCardStock.
I used many neon colors on this card. Have you noticed that neon is making a comeback? It's a lot of fun for summer cards. What cards are you making with a summer theme? There's plenty of great summer themed sets to be found at the Ai Store.
Thanks for stopping by. I hope you have a great weekend!
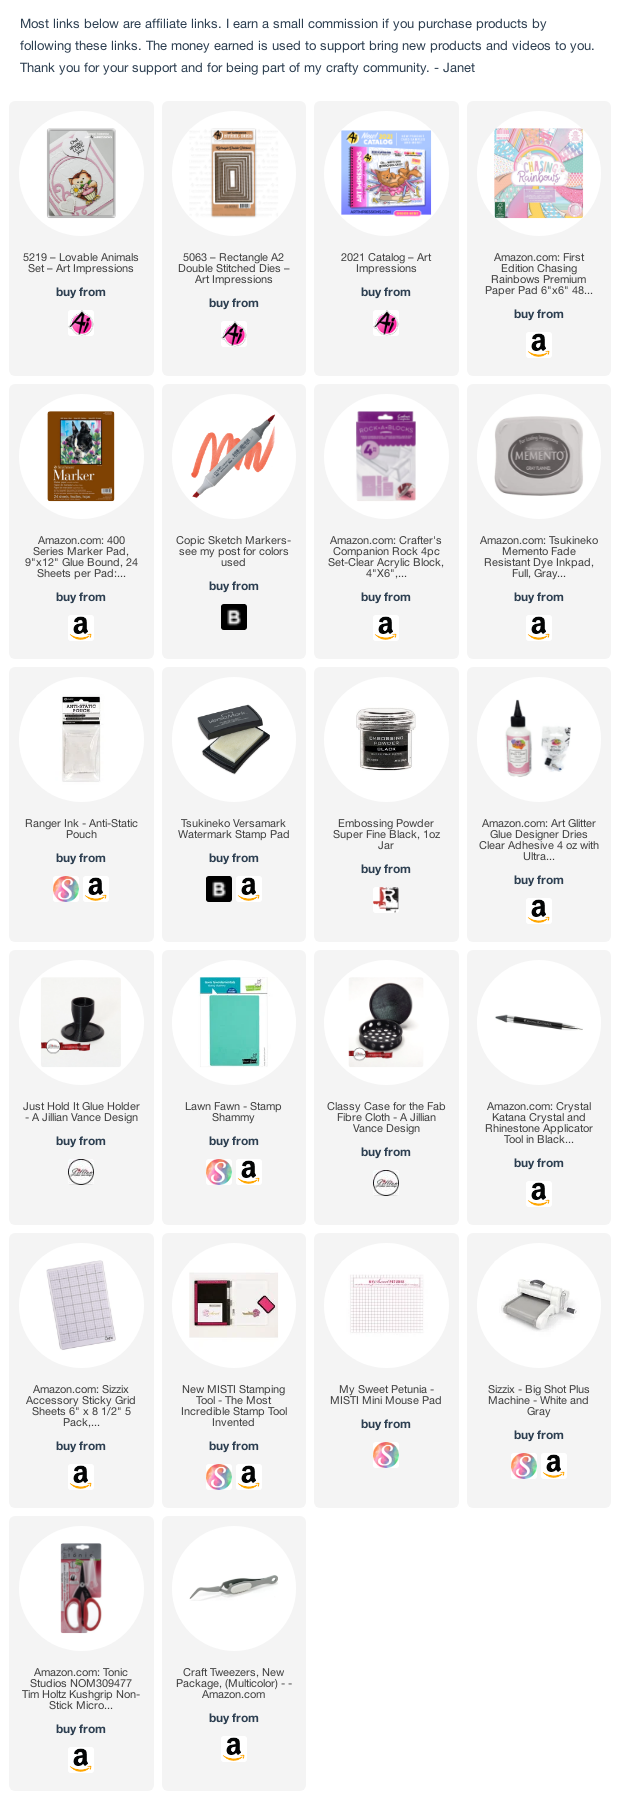
In today's project, I've combined two of my favorite things - shaker windows and a loveable kitty. This little cutie is one of four animals in the Loveable Animals set. It comes with accessories for the animals to hold and several sentiments. Each animal die cuts open the arms so that the characters can hold a package, a piece of paper, a cupcake and more.
This kitty was Copic colored. The colors can be found at the end of this post. In the video for this card, I show you how to make a simple cat with some basic shading as well as how to take it up a notch and add his stripes. I'll also give you a few tips on how to make the window frame for a shaker and on placing a shaker element on a card base. The full tutorial is below:
Copic Colors Used:
Cat: CO, C1, C3, C5, R20, Colorless Blender
Flower: Y13, Y17, YG03, G24, BV04, BV00
Thanks for stopping by. I hope you have a great weekend!
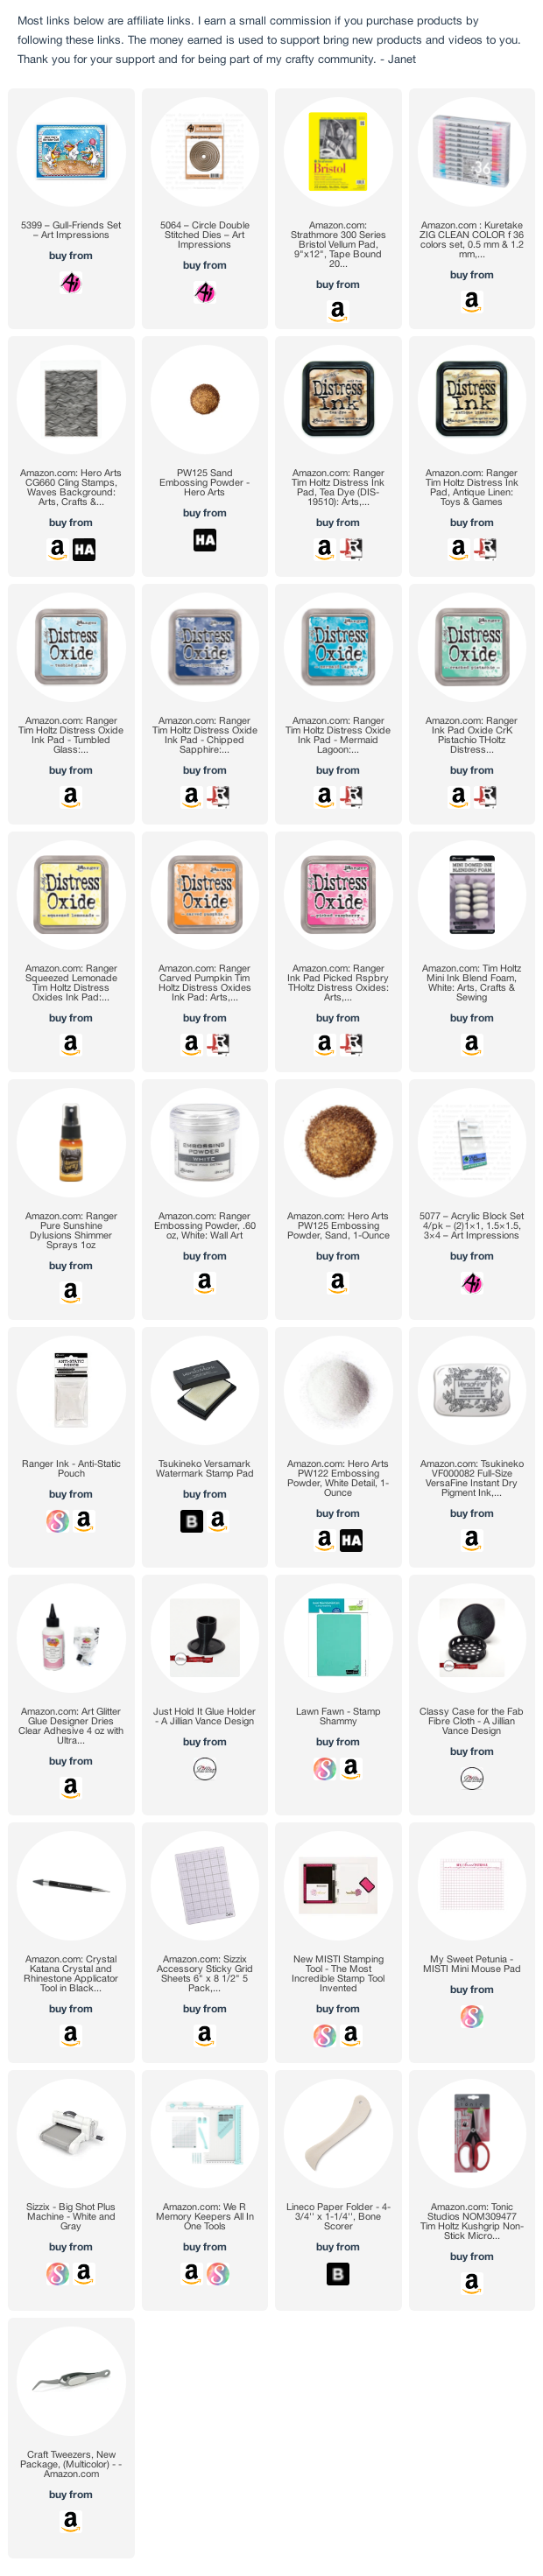
It's summer and it's time to hit the beach! The new Gull Friends Set is so perfect for a fun beach theme. First up is an A2 card featuring a group of Gull Friends showing off their attitude on the beach. The second card is a bright slimline card made into a fun birthday card.
I colored all the characters from the set using Zig Clean Color pens before cutting them out with the included dies. These characters are easy to color since the majority of the coloring is just applying gray to create shadows and dimension.
I've got a video for you showing the coloring and construction of both cards. Check it out!
To make the first card, I started by masking off the lower part of the card panel before stamping and white heat embossing a wave background. I blended three tones of blue Distress Oxide inks over the top of this. The sand was created using two Distress Oxide inks and then I coated it with sand embossing powder. I stamped the sentiment flag in black and coated the edges with sand embossing powder before applying it to the card. The result is a super textured card in pretty beachy colors.
The slimline card was very easy to create. I started by blending "spotlights" of Distress Oxide ink across the front. I splattered it with Dylusions Shimmper Spray and arranged the birthday gulls and accessories across the front. I stamped the sentiment and the anchor at the bottom and flying gulls in the background.
Zig Clean Color Marker Colors Used:
Lt. Gray, Bright Yellow, Orange, Yellow, Oatmeal, Cobalt Blue, Persian Blue, Blue, Carmine Red, Lt. Violet, May Green, Pink
Thanks for stopping by. I hope you have a great weekend!
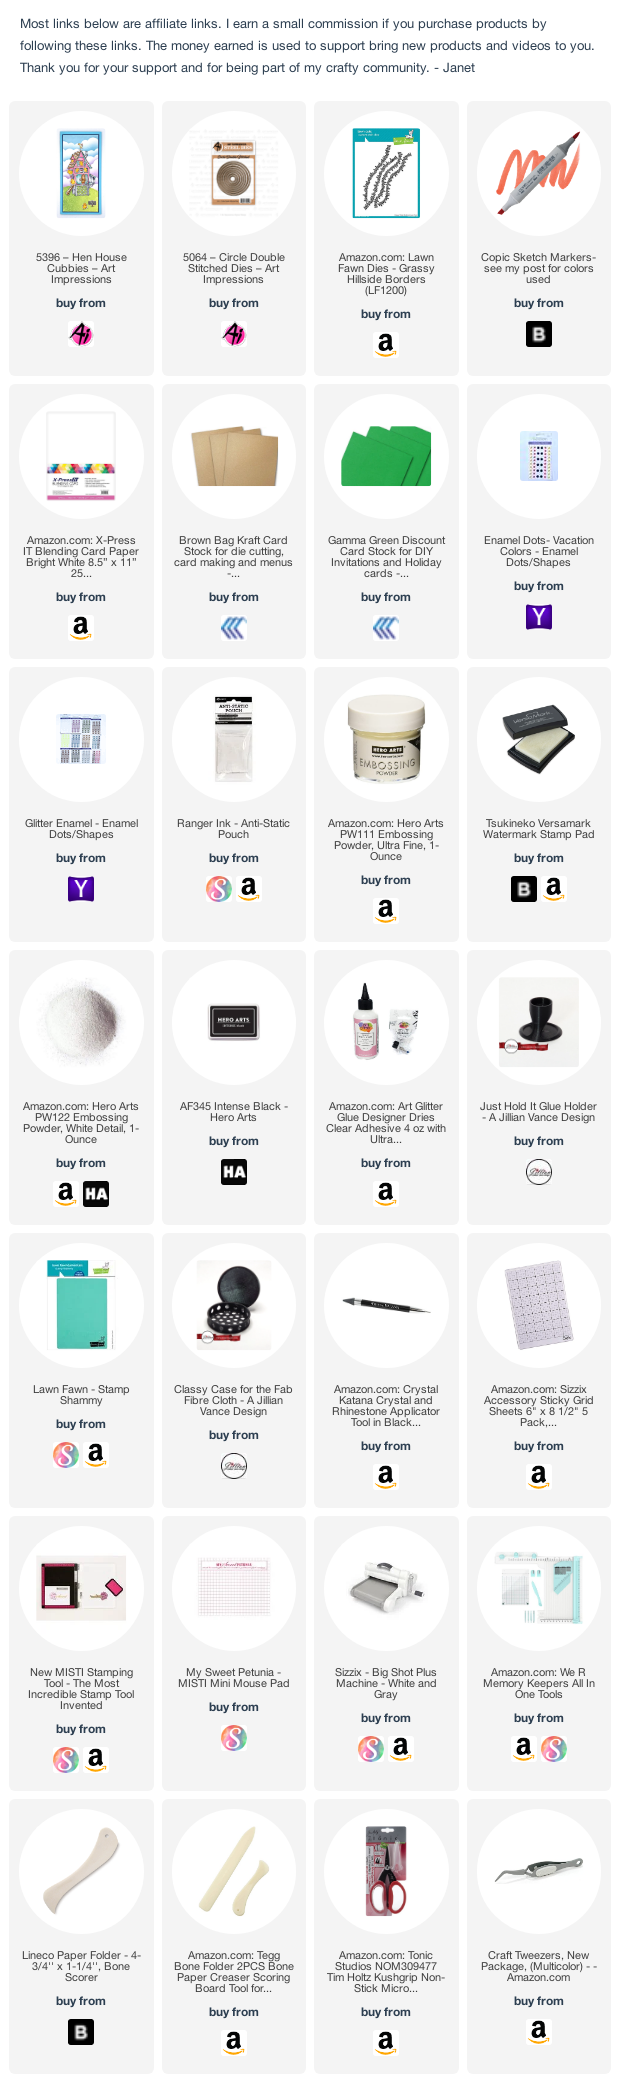
Happy Saturday and the start to the ever popular Memorial Day Holiday weekend here in the U.S.A.! This is the official start to summer and to celebrate, my project features the new Hen House Critter Cubbies set from Art Impressions. I added a twist to this by making the hen house into a pop-up feature when the card is opened.
Ai has six free stamps that can be earned with each qualifying order. This year's freebies have a definite farm vibe and I used three of them on the front of this card. They are perfect to give a hint of what will be found inside. Aren't they adorable?
If you'd like to see how I made this card, check out the video tutorial below. I'll show you how to create the pop-up mechanism using a paper cutter and a few simple measurements. You won't believe how easy it is to create this look which could be done with many of the "house" style Critter Cubbies sets.
Thanks for stopping by. I hope you have a great weekend!
For today's project and video, I have the newest set for the popular Gift Card Holder line. It's called Birthday Cake. The die set makes a super cake with yummy looking frosting and includes several cute accessories such as a mini cupcake, cute little cherry, birthday candle and lots of confetti pieces.
After making a gift card using all the pieces in the die (check Thursday's post for a peek at it). I decided to try making them into shakers. To my delight, it worked beautifully. I used the included cake dies to cut borders into the two bottom layers. This allowed me to create windows for the shakers.
Don't forget that this set is made to coordinate with the Envelope Gift Card Holder. It is a great set all by itself because it comes with several tags and shapes. I used the flag tag for the sentiment. Big Birthday Wishes comes from the Baby Animals Set. It fit perfectly and goes with the big cake theme!
I have a video for you that shows how I made the shaker gift card holders. Check it out below.