Showing posts with label Slimline Cards. Show all posts

Owl the Best Wishes on Your Birthday!


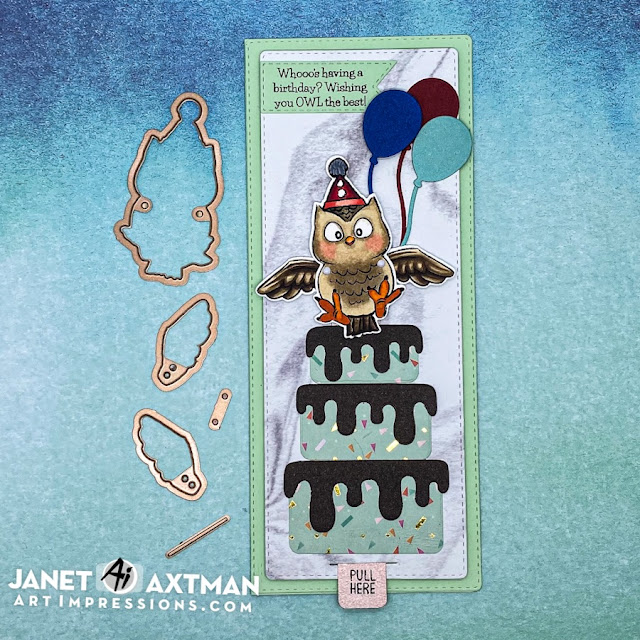
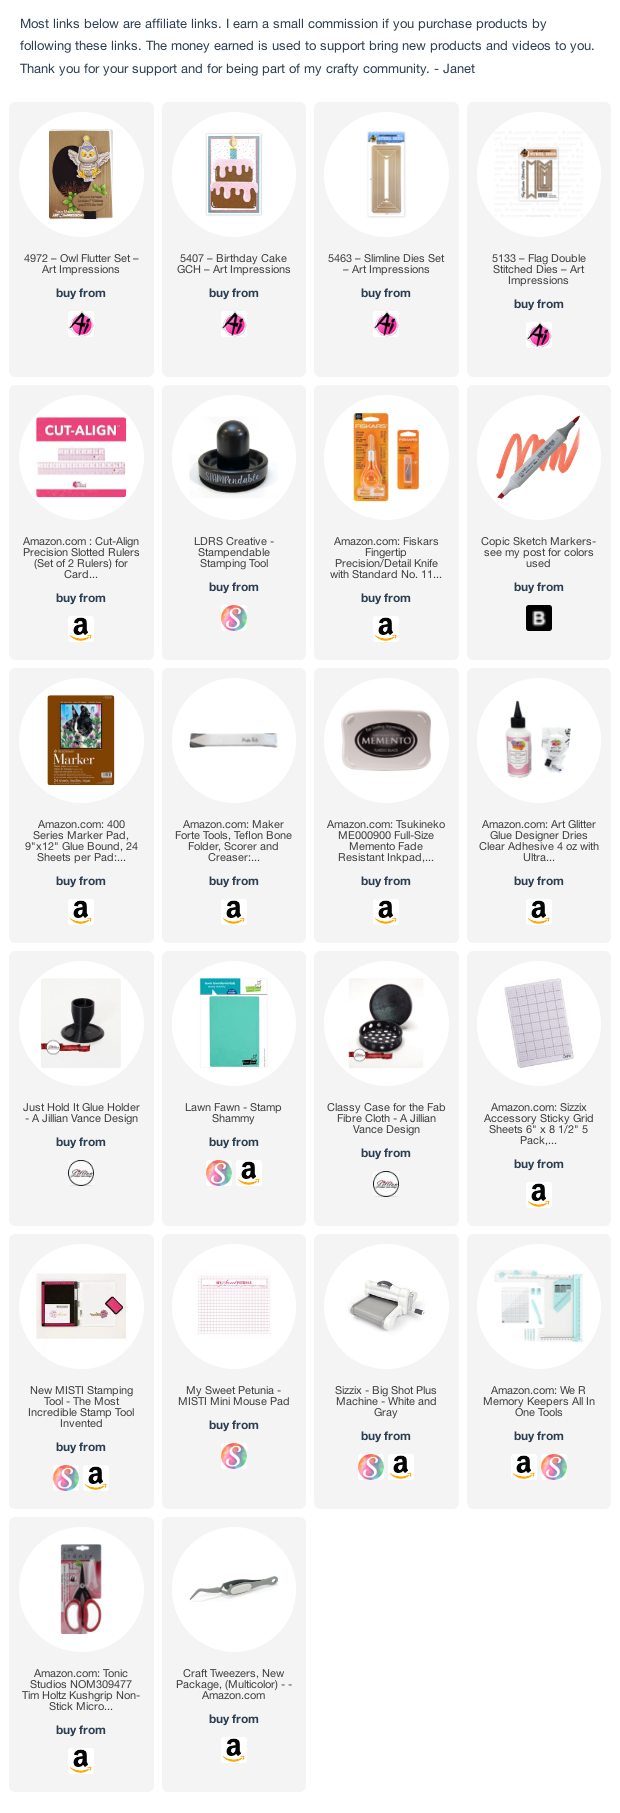
Hi crafty friends! Today I have a slimline card that combines several unrelated Ai sets to create a fun interactive birthday card. This card was made with the 5463-Slimline Dies Set, 5407-Birthday Cake Gift Card Holder Set, 4972-Owl Flutter Set and 5133-Flag Double Stitched Dies.  

The card base measures 8 1/2" by 3 1/2" when folded. On top of the base, I placed a matching cardstock piece cut with a Slimline Die. The next sized die in the set was used to cut the gray marbled mat. I placed the three layers of cake from the Birthday Cake GCH on the gray mat and then stamped, colored and cut out the adorable little owl from the Owl Flutter set on marker paper. I also cut a long pull tab out of rose gold metallic cardstock. I followed the easy Flutter Owl package directions to assemble the winged mechanism and tab and install it under the gray mat. Once done, I glued the gray base on top of the green matt being careful not to glue on or too closely around areas that move. Then I trimmed the tab to the right length and stamped it with a Pull Here stamp from my stash. 
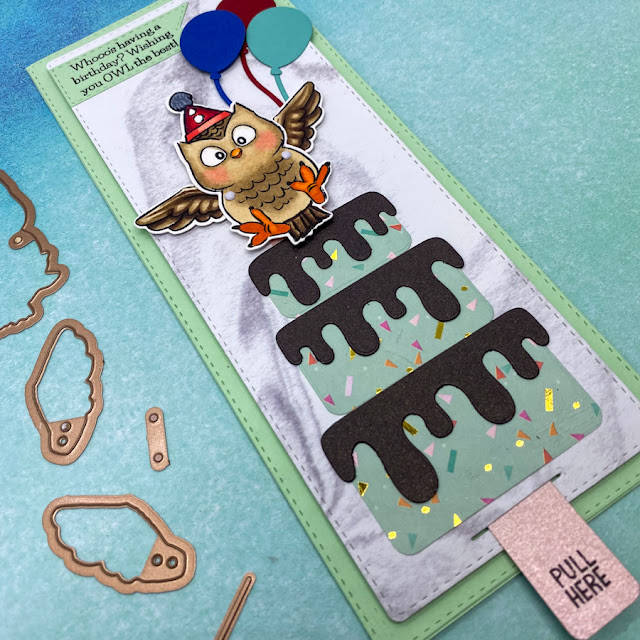
The finishing touches were to stamp the sentiment from the Owl Flutter Set and cut it out with a flag from the Flag Double Stitched Dies set. I also cut three balloons with dies from my stash and arranged all the extra pieces on the card. 

Once complete, pulling and pushing the tab causes the owl's wings to move up and down. I really like how this looks like the owl is landing on top of the cake to wish the birthday recipient. "owl the best!"
Thanks for stopping by today. Please join in on the Ai card challenge. You might win some swag of your choice and challenge yourself with a new technique. Win, win! Click on the graphic above to link up your card.

Happy Creating!
Janet YouTube - Blog - Facebook - Instagram - Pinterest 

It's Lla-Mazing! New Llama Set You're Gonna Want to See!

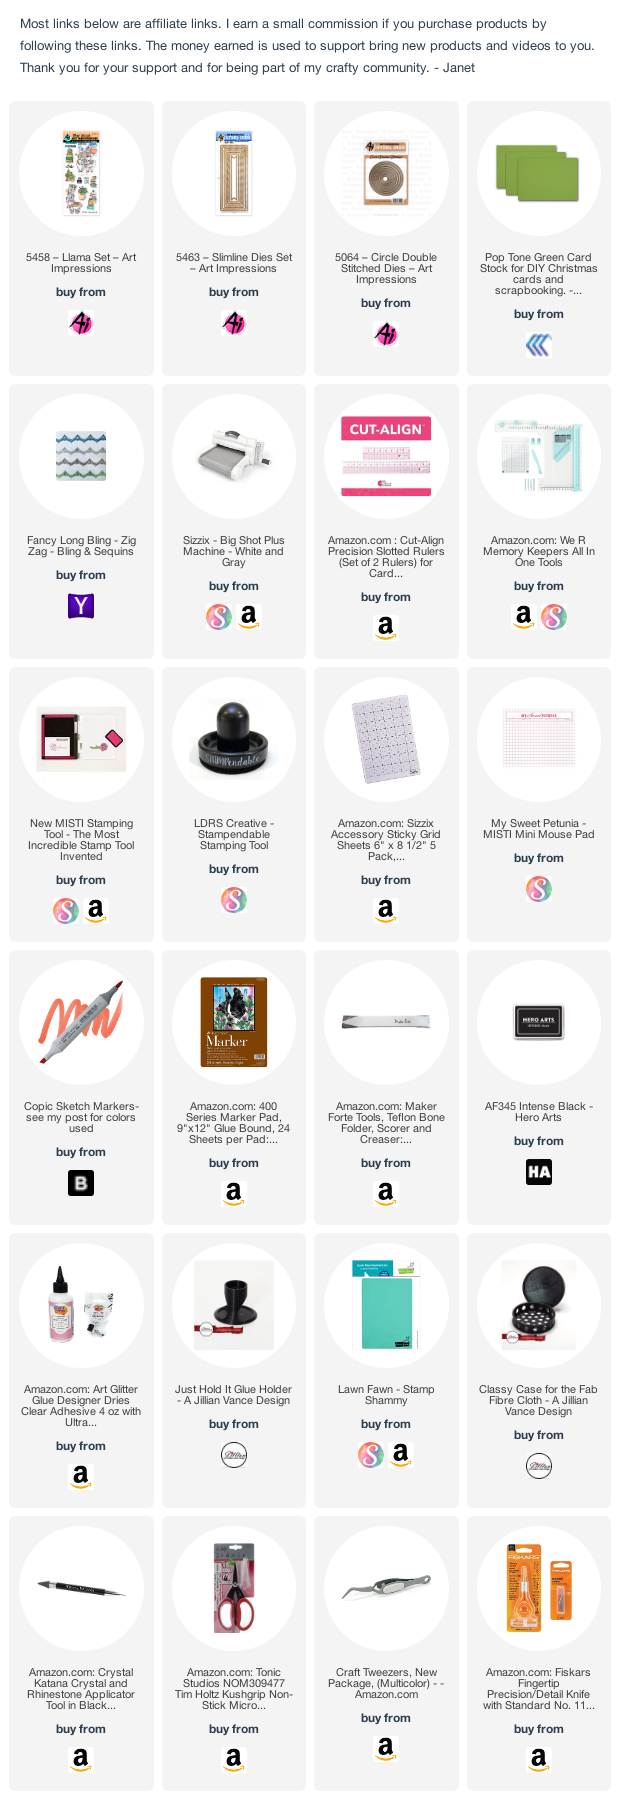
Ll'amazing things are happening at Art Impressions right now! Not least of which is the super fun new Llama set that was released this week. This set includes several llamas and accessories that can be used together or alone. There are many fun sentiments in this set too. They are hilarious in fact!

Today's card shows of the pair of llamas with the stack of presents and cake as well as the basket of flowers. These are only a few of the accessories that are designed to be used separately as I did. Optionally the accessories are designed to fit perfectly on the back of a single llama also in the set! There's a lot of flexibility in this one and soooo many great images and sentiments.

This set also includes matching dies so you can quickly cut out the images for your cards. I sure do appreciate that! I'm not a fussy cutting fan though I know many say they find it relaxing. On this card I colored up the llamas with Copic markers and added a little texture into their fur. I also added designs to the presents to make them my own also.  

I've got a video on this set and how I made two cards using this set.


Of course no card can be awesome without good cardstock. I chose to use 65# Pop Tone Gumdrop Green for this one and a fun green patterned cardstock from my stash. Pop Tone cardstock is a great brand of quality cardstock. It has a very economical price point and is one of my favorites lines! 

On the other side of this slimline, I used a semi-circle cut with the double stitched circle set for the sentiment from the set and enhanced it with the basket of flowers. All the accessories are nicely sized and could easily be used as a single image on a clean and simple card. I love that about this set! I also used a strip of champagne colored long zig-zag bling from Eyelet Outlet at the top of the card. It has a middle-eastern flair that felt right for this card. 

Thanks for stopping by today. I hope you have a fantastic week!

 Happy Creating Everyone!

 Janet YouTube - Blog - Facebook - Instagram - Pinterest 

So Cute Critters In a Wagon! Art Impressions New Release

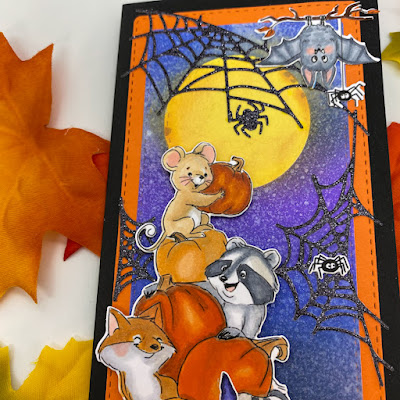
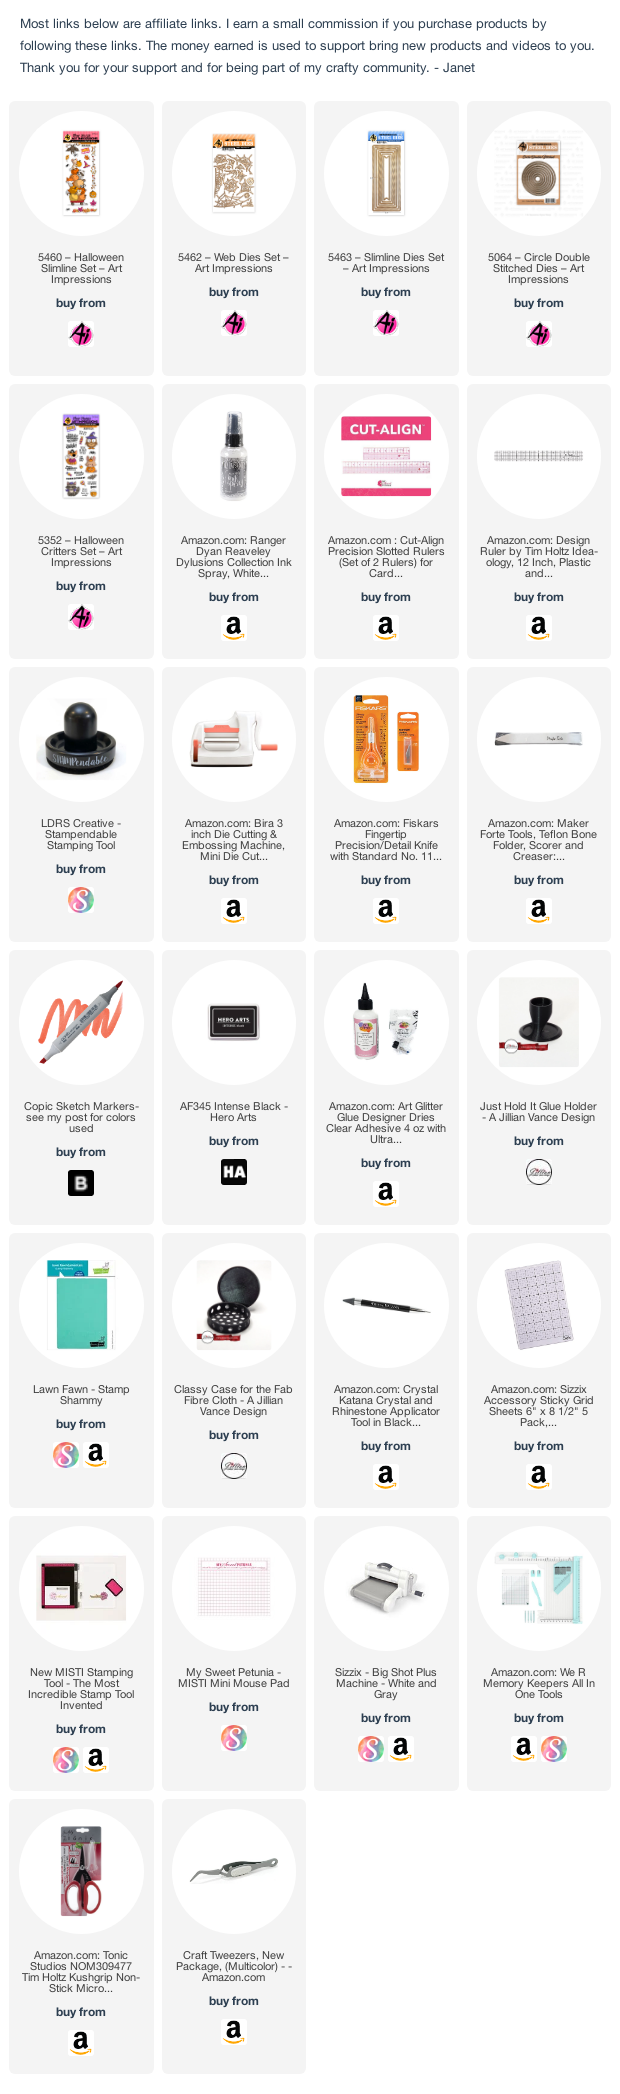
Have you seen the new Halloween releases from Art Impressions yet? Oh my goodness! They are adorable! Today's project uses the new Halloween Slimline Set, the Slimline Dies Set and the Web Dies Set. These little trick or treaters are way too cute to spook!

I am so happy that Ai has added a slimline die set. This has 6 stacked dies. As a bonus, it includes a long flag die too. For today's card, I used the 3rd largest die for the main panel and stacked it on top of an orange panel cut with the 2nd largest die. I love the stitching and it matches all the other stitched die sets from Ai. 

I haven't done a construction video for a while but I have one today! Click on the thumbnail below to see how I created this card.

One of the great things about the new Halloween Slimline Set is that it comes with matching dies for every stamped image except for the skinny Halloween letters. However, I did notice that the flag in the Slimline Dies Set would cut that phrase out perfectly. 

I colored the images with Copic markers and then created a background panel using several Oxide inks in Forest Moss, Black Soot, Chipped Sapphire and Blueprint Sketch. I created the moon by cutting a mask with a die from the Round Double Stitched Die set. The negative of the cut was used like a stencil to fill in the moon with Squeezed Lemonade and Spiced Marmalade. Then the circle itself was used as a mask to protect the moon while I blended the much darker sky around it.

Water and Dylusions Spray in White Linen was used on the inked panel before I arranged all the pieces on it. The critter wagon (as I like to call it) was mounted with double sided foam tape. I cut the webs out of black glitter cardstock and attached them and the other images to the panel with Art Glitter Glue. I have to say that I adore the hanging bat from the set. I think he could carry a card all by himself, he's so cute! He even has tiny little fangs. The last thing I did was stamp the sentiment Trick Or Treat on the bottom of the card using a phrase from the Halloween Critters Set.

Thank you for stopping by today. I hope I've encouraged you to check out all the new releases from the past two weeks at the Ai store. There's more coming so keep your eyes and ears on! You're going to love the new designs. In the meantime, join us in the slimline card challenge going on now through Wednesday next week. You could win up to three sets of your choice!

Happy Creating!

Janet YouTube - Blog - Facebook - Instagram - Pinterest

Camping Beach Bums Using Karin Brush Markers


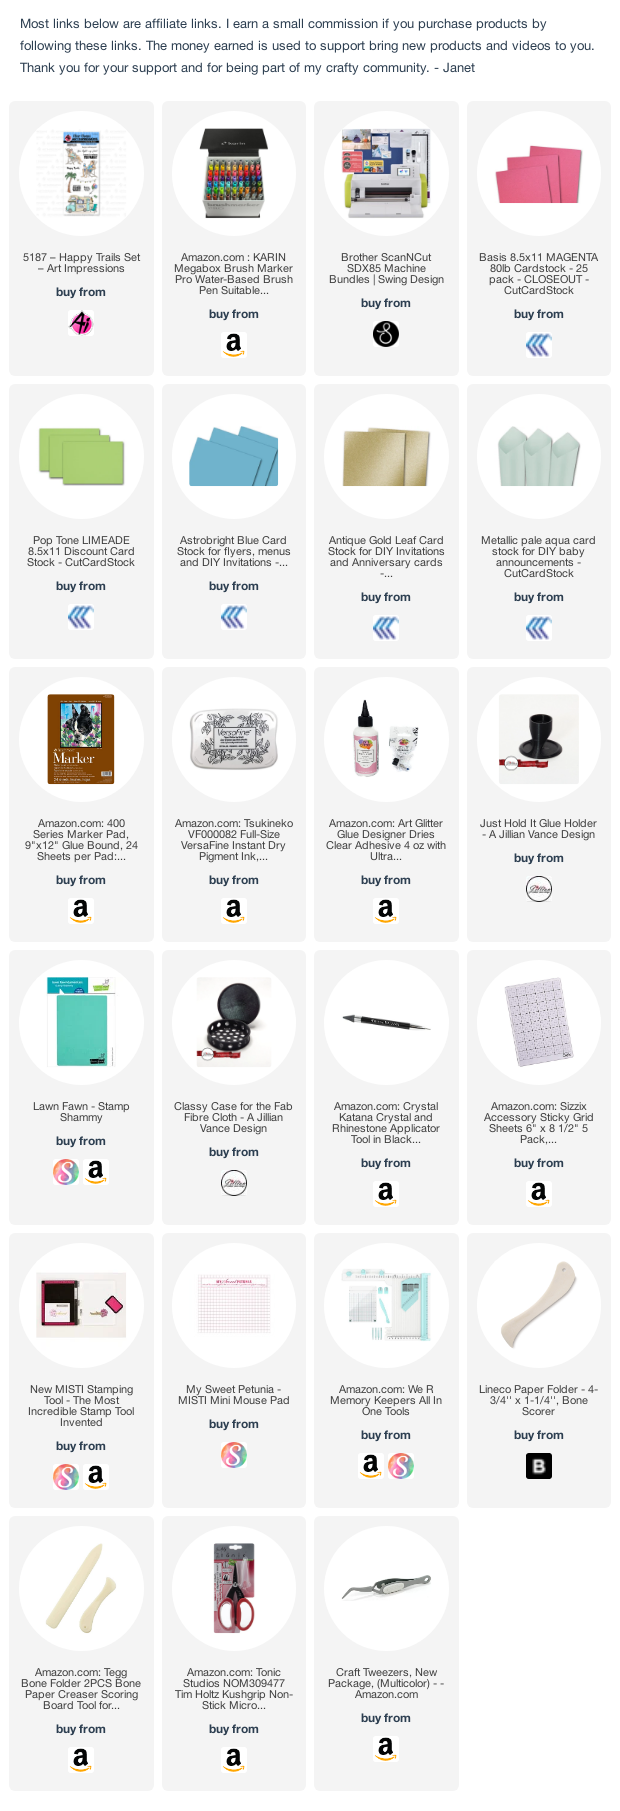
My family enjoys camping and we get out pretty regularly with our travel trailer. We live within a few hours of the beach and beach camping is something worth doing! When I saw the Happy Trails Set, I knew I had to have it because it mimics our own camping life so much.

For this card, I stamped most of the images in the set. There is a cute balloon and light string that I didn't use. There are six sentiments such as Home is Where You Park It, Happy Trails, Happy Retirement, Happy Camper and more. I thought the sentiment I chose was perfect for this very relaxed and happy couple. This would be great for his birthday, Valentine's Day or Father's Day.

I colored the images with Karen brush markers. For most of the images, I chose one color and used water to blend and create shading. You can get similar results from a water brush or the Karin Blender Marker. I prefer the control I get with a small round brush. After coloring them, I cut them out with the Brother Scan N Cut.

The sand is a piece of torn gold metallic cardstock. An aqua metallic cardstock was used for the sky. Bordering the main panel are bright blue and hot pink mats. The 8 1/2 x 3 1/2 slimline card base is made of lime green. All my cardstock came from CutCardStock.

I used many neon colors on this card. Have you noticed that neon is making a comeback? It's a lot of fun for summer cards. What cards are you making with a summer theme? There's plenty of great summer themed sets to be found at the Ai Store.

Thanks for stopping by. I hope you have a great weekend!

Happy Creating!
Janet YouTube - Blog - Facebook - Instagram - Pinterest 


Shake Your Tail Feathers - Retro Neon Flamingo


It's HOT out there right? For my neck of the woods, the humidity has been worse than the heat but it all gets me to dreaming about bright colors. In this case, neon colors. I've noticed that neons are making a comeback this summer. Lots of manufacturers are putting out neon inks, papers and embellishments. Welcome back to the 80's ladies and gentlemen! 


Today I have made a slimline card with a flamingo theme. Lucky for me, Eyelet Outlet has many products featuring flamingos! In this project, I cut flamingos out of neon cardstock using my Cricut and created three shakers. I filled them with three different colors of flamingo sequins. If you don't know it already, Eyelet Outlet has greatly expanded their sequin line to include many different fun shapes and colors. The flamingo sequins are just one of many new shapes added this spring and you get all three colors when you order them. I also used two flamingo brads and black matte enamel dots on this card. If you're really into flamingos, you'll find several flamingo washi tape designs in the store too. 

Beach Chickens Rule! Beachy Card Tutorial Using Zig Clean Brush Markers


It's summer and it's time to hit the beach! The new Gull Friends Set is so perfect for a fun beach theme.  First up is an A2 card featuring a group of Gull Friends showing off their attitude on the beach. The second card is a bright slimline card made into a fun birthday card.

I colored all the characters from the set using Zig Clean Color pens before cutting them out with the included dies. These characters are easy to color since the majority of the coloring is just applying gray to create shadows and dimension. 

I've got a video for you showing the coloring and construction of both cards. Check it out!


 To make the first card, I started by masking off the lower part of the card panel before stamping and white heat embossing a wave background. I blended three tones of blue Distress Oxide inks over the top of this. The sand was created using two Distress Oxide inks and then I coated it with sand embossing powder. I stamped the sentiment flag in black and coated the edges with sand embossing powder before applying it to the card. The result is a super textured card in pretty beachy colors.

The slimline card was very easy to create. I started by blending "spotlights" of Distress Oxide ink across the front. I splattered it with Dylusions Shimmper Spray and arranged the birthday gulls and accessories across the front. I stamped the sentiment and the anchor at the bottom and flying gulls in the background. 

Zig Clean Color Marker Colors Used:
Lt. Gray, Bright Yellow, Orange, Yellow, Oatmeal, Cobalt Blue, Persian Blue, Blue, Carmine Red, Lt. Violet, May Green, Pink

Thanks for stopping by. I hope you have a great weekend!

Happy Creating!

Janet - YouTube - Blog - Facebook - Instagram - Pinterest 

A Toothy Grin!


Have you tried the Slimline card style yet? This is my first of it and I now completely understand the new craze! The tall slim size is fun to work with because you can build vertical scenes that are just not really possible with the typical A2 card size.