A new challenge has started on the Art Impressions blog. Shaken not Stirred is about anything with a drink. Here's my first card for this challenge. It's the ladies from the Wine Divas stamp set. Be sure to enter your masterpiece in the challenge. We love to see what you create!
To make this, I used Copic markers to color the image and then I fussy cut it out. There are a few areas that don't really work for scissors so I used a finger blade to cut out those sections. I trimmed it very close to the lines so that the image looks almost stamped onto the specialty card stock I used.
I cut the cardstock and embossed it with a grape embossing folder. I stamped and heat embossed the sentiment with black detail embossing powder and then cut it out with a Circle Double Stitched die. I used a wine colored A2 sized card base and used a matte silver piece of cardstock as a mat.
These ladies are a lot of fun and remind me of the group of ladies I hang out with. We enjoy our beverage of choice and have a great old time with each other. So cheers ladies! We are better with age!
Thanks for stopping by and have a wonderful long weekend. See you next week!
Hi everyone! If you celebrate Halloween, now is the time to start planning for the cards you want to give. Today's card shows how quick and easy it is to put together a Halloween card that mixes a little scary with a little whimsical. I personally love using Eyelet Outlet's embellishments like the Small Eye brad on the paper bow on this card. It makes it perfectly clear that the design doesn't take itself very seriously.
I used two skinny glitter washi tapes on either side of the Halloween Washi Tape. I embossed a piece of gold cardstock with a web embossing folder and used a little gilding wax to add some shine. The Mini Spider brads go perfectly on the embossed webs and they blend in nicely with the web and spider sticker. A Ghost Brad and Green Pearl Bling are the finishing touches.
Thanks so much for stopping by today. I invite you to visit the store and stock up on your own Halloween stash. Don't forget that all these embellishments work fantastic on treat bags, tags and other Halloween crafts.
Good Morning! Today I have a card made with a quartet of good things from the Eyelet Outlet store. I cut a large stitched tag using a die in my stash and the decorated it up with the new Boat and Lighthouse brad set. I stacked a white and yellow paper flower together and used a Ship Wheel brad for the center. I use pearl bling to create some motion on this. It really reminds me of currents. It's surprising sometimes what bling can do and there's so much to choose from at the store!
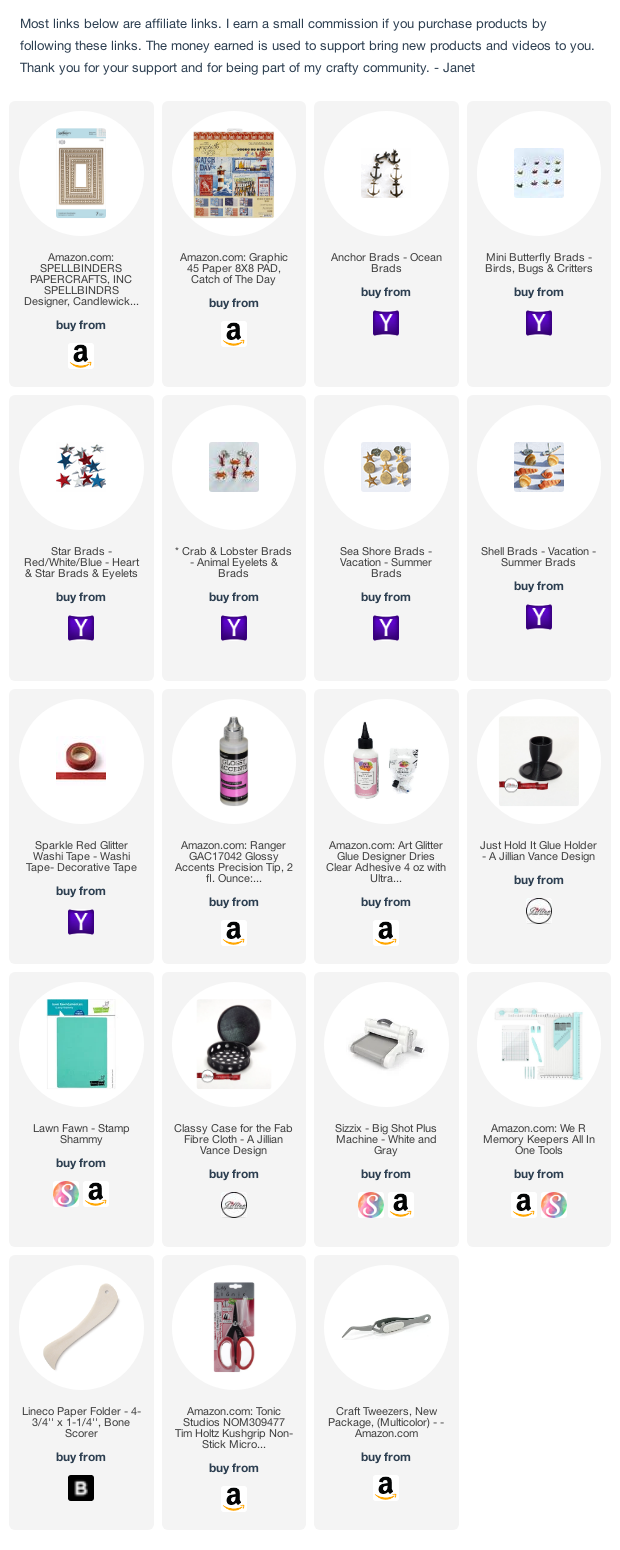
Hi everyone and Happy 4th of July! Today I've made a card celebrating the East Coast side of the country.
To make this card, I put a strip of Red Sparkle Washi tape on the edges. On top of that I place a white frame made with the largest die in the Spellbinders Candlewick Rectangles set. I love how the red glitter tape shows through the triangle openings on the edges of the die. In the corners I placed seashells from the Sea Shell brad set.
With the bottom layers done, I worked on the scene in the center. The main image is from an 8 x 8 pad from Graphic 45 called Catch of the Day. It's an image on one of the pages and it works great here as the main focus. I used Glossy Accents to cover the sign and give it a clear shiny look. I added more themed brads from the crab, sea shore, star, anchor and mini butterfly brad sets.
Sometimes the quickest and easiest way to make a card is to start with a great graphic like this one and enhance it with brads and other accents. Eyelet Outlet has all the supplies you need to do this. Even better, they have just about every theme covered!
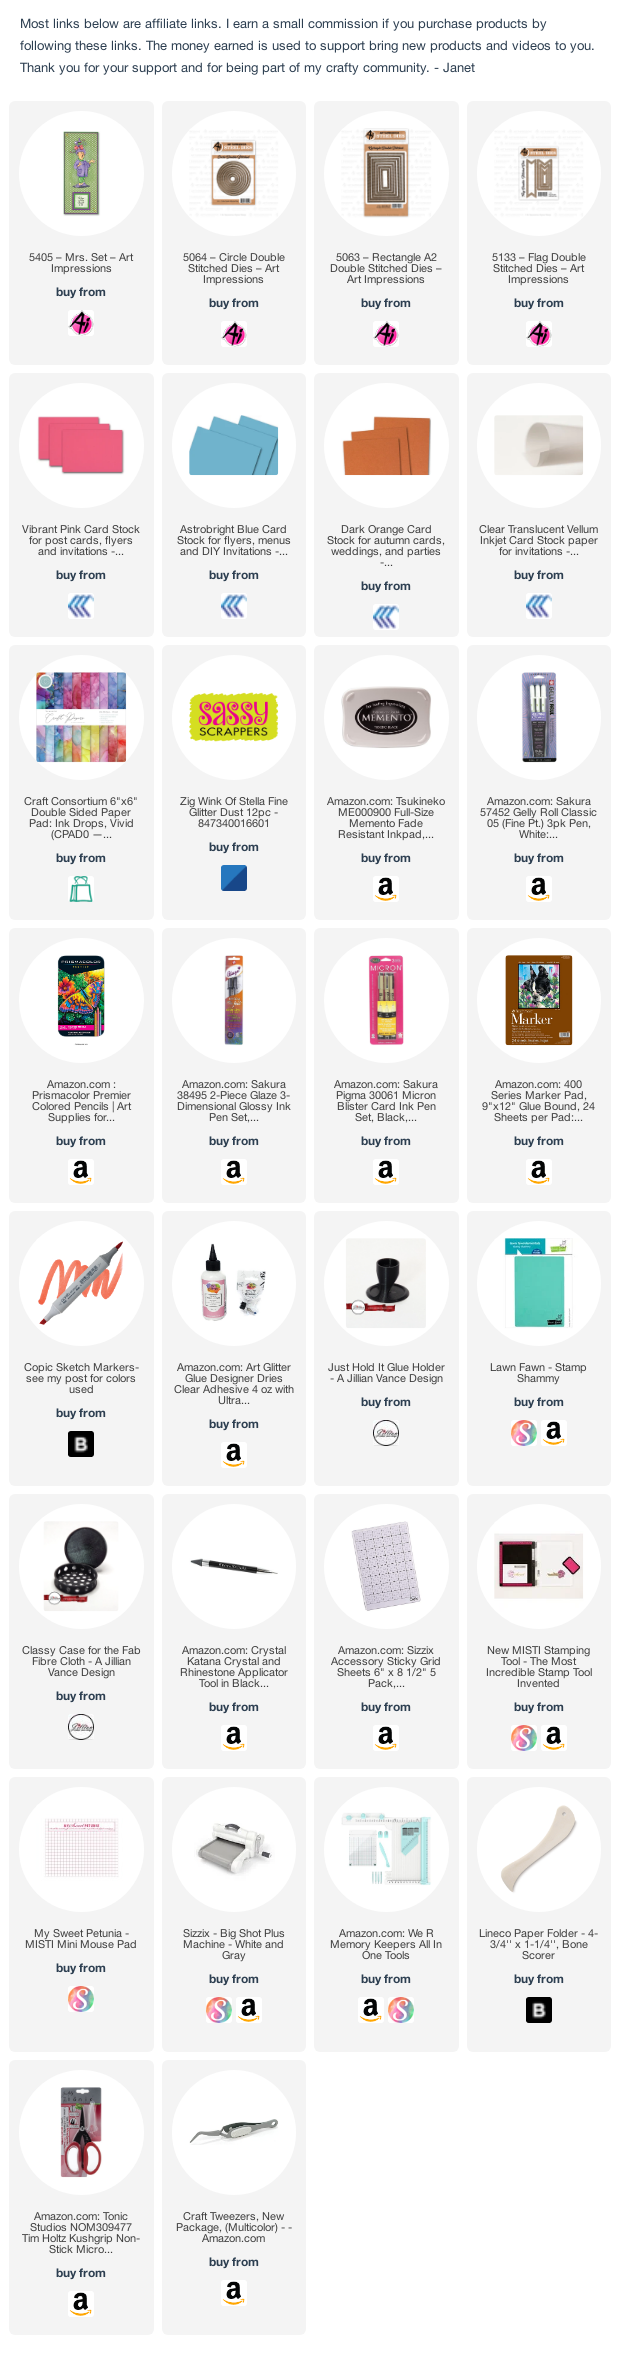
Hello everyone! Today I'm here with the super fun Hats Off Mrs. Set. This card is bold, bright, colorful and full of sass! Just the way I like it and why I enjoy Art Impression stamps so much.
This image was Copic colored. The colors used are at the end of this post for your convenience. Of course, this would be fun in all kinds of color combinations so pick your favorite colors and markers, paints, or pencils and have a go at it.
I chose a patterned paper background that is full of color and sets off this wild child well. I also used a circle of vellum with a paper frame to help make her detailed hat the focal point of the card. I used the rectangle, circle and flag double stitched dies on this card. Have you tried the flag dies for sentiments? They work really great for them and as accents too.
A bit more on the background I used. The colorful background is a printed cardstock. I discovered this paper pack from Craft Consortium called Ink Drops - Vivid. There are many different versions and colorways in the Ink Drops line. For anyone who is intimidated by using alcohol inks or who doesn't want to invest in all the supplies, or simply doesn't want the mess - this is a perfect way to get a gorgeous alcohol ink look with zero effort. I'm so excited to have run into this paper. I love, love it!
I have a tutorial video for this card so stop by and pick up some Copic coloring tips I share that apply to this and other images you might be coloring.
COPIC COLORS USED:
Robe: B00, B01, B04
Pants: C00, C00, C01, R81, R83
Hat: YR18, YR9, YR7
Hat Bow: R32, R35, R37, R39
Bottle & Glass: C7, C5, C3, C0, B000
Thanks for stopping by today. I hope you enjoyed looking at this card idea. See you next week!
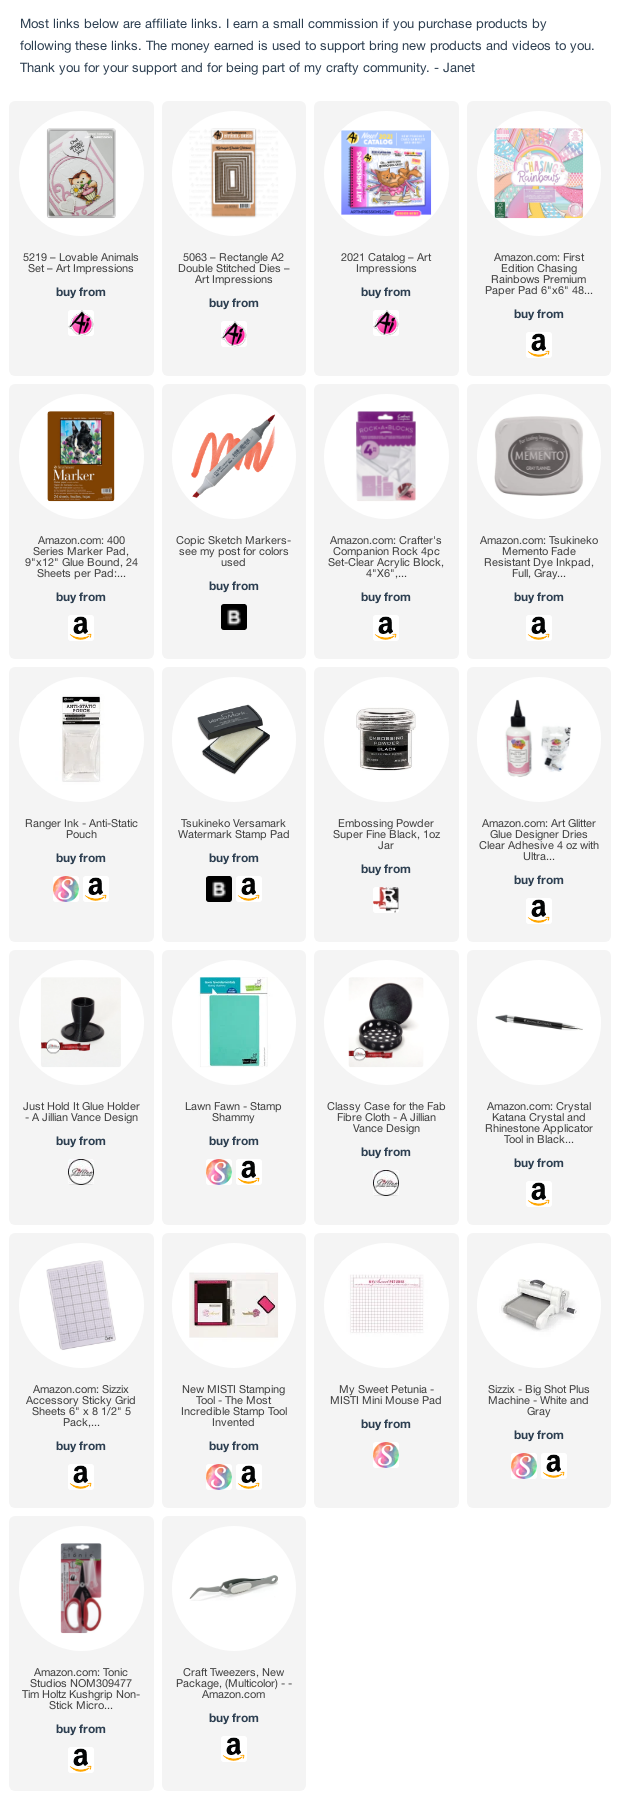
In today's project, I've combined two of my favorite things - shaker windows and a loveable kitty. This little cutie is one of four animals in the Loveable Animals set. It comes with accessories for the animals to hold and several sentiments. Each animal die cuts open the arms so that the characters can hold a package, a piece of paper, a cupcake and more.
This kitty was Copic colored. The colors can be found at the end of this post. In the video for this card, I show you how to make a simple cat with some basic shading as well as how to take it up a notch and add his stripes. I'll also give you a few tips on how to make the window frame for a shaker and on placing a shaker element on a card base. The full tutorial is below:
Copic Colors Used:
Cat: CO, C1, C3, C5, R20, Colorless Blender
Flower: Y13, Y17, YG03, G24, BV04, BV00
Thanks for stopping by. I hope you have a great weekend!
Hello my fine feathered friends! Have you checked out the new brad sets introduced by Eyelet Outlet last month? I used the Tropical Bird set on this square card to embellish a 3D pirate sticker I picked up at the Dollar Tree.
I combined other nautical themed brads to take this card to the next level. In addition to brads, I used the wide Sea Washi tape in the background and Copper washi tape as a border.
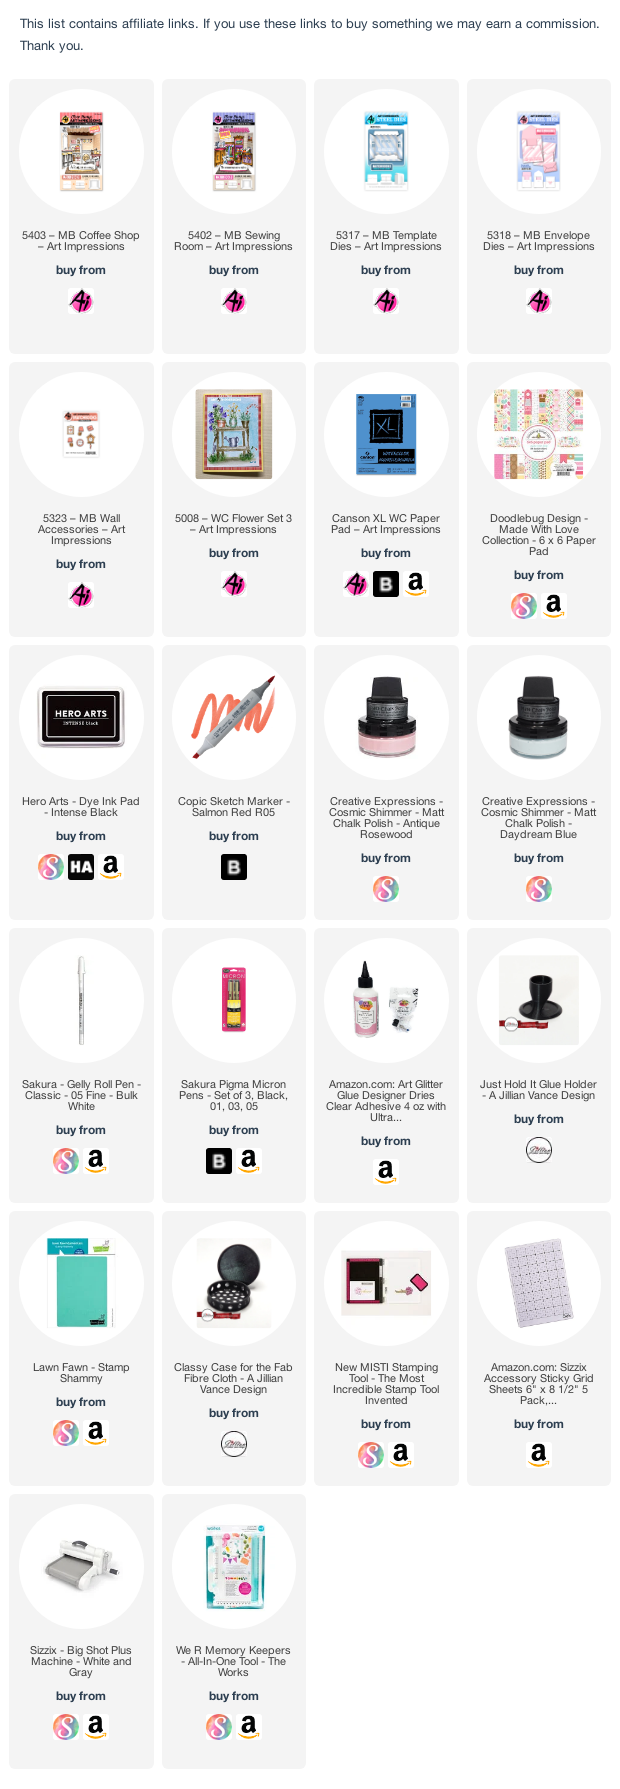
Today I've created a card using the brand new Coffee House Matchbook card release from Art Impressions. Oh my goodness! The Matchbook line is so cute! This was my first try at making this style of card from Ai and I think it's started a new obsession. These little guys are so adorable when done and they are so much fun to make! In fact, I made the first one on the left and then just couldn't stop so I made the next one on the right using simple crayons to color the images. I wanted to show that you don't need anything fancy to color these and still have a wonderful result. Pencils would also work very well on these small images.
The matchbook cards are just 1 7/8" wide and 2" tall when folded up. Once opened, they create the dioramas you see in the photos. When opened up, mine measure 3" wide x 2" tall. In this release, Ai has added a Coffee Shop-5403 and a Sewing Room-5402 to the line. To make these you need the MB Template Die-5317. This is the base of the card and it works for all the tiny add-on scenes like this Coffee Shop. Also available is the optional MB Envelope Die-5318. There are two additional optional accessory sets that you can use to further embellish these. They are the Wall Accessories-5323 and Cat Accessories-5324. The sets all come with matching dies except for the MB Template and envelope which are dies only. However, with these dies you get a number of additional accessories you can cut for your scenes like windows and frames, rugs, a easel to put on the back of the card for display and mini bows, flower, hear and star.
Let me show you how easily these are made including using the Cosmic Shimmer Matt Chalk Polish, click on the thumbnail below to watch.
I stamped and colored the images from the Coffee House stamp and die set. Then I colored with Copic markers. After cutting the card based from a piece of double-sided 6 x 6 cardstock, I applied some pink Cosmic Shimmer Matt Chalk Polish to the floor to distinguish the floor from the walls. This isn't a necessary step but adds to the overall look. Then I glued all the colored pieces I had made into the card template. I made sure that as I glued each piece, the card would still be able to fold flat when closed. This set comes with some accessories like the floor sign and the wall sign, the cute line-up of hanging mugs and the sentiment. I colored the signs to resemble a chalk board and then used a white gel pen to to add a few words. I did the same thing in a black pen with card that sits on top of the case next to the cookie jar. You could write anything on these pieces and customize them to the person you are giving it to. Wouldn't it be great for the sign to say, "Thank You (friend's name)!" or, "Let's meet for coffee!"
I used these Copic Colors:
Yellow Blends: Y11, Y15, Y17
Blue Bends: B12, B24, B28
Brown Blends: E43, E44, E47 & E21, E23, E25
Red Blends: R83, R85, R89 & R32, R35, R37, R39
Black Blends: C0, C1, C3, C5, C7
Glass Blends: C0, C1, C3, B00
The first was so fun, I decided to do it again but this time I used Crayola Crayons instead of Copic markers. I really wanted to show how cute these are with even the most basic coloring medium. I think older children would have a great time coloring and asembling these! In this version I used blue chalk paint to color the floor and an oval rug from the Template. I didn't cut windows in so I could hang up the signs and the heart picture. I also used pink chalk paint to stamp the branches on the wall using 5008 WC Flower Set 3 and I used pink chalk paint to shade the edges of the die cut.
I am really entranced with this line and can't wait to see what Bonnie from Ai will dream up next. I love that these will take so little room up on a shelf but remind your friends and family that you are thinking of them. They will be treasured little pieces of art to all who are lucky enough to get one from you.
Thanks for joining me today. I hope you enjoyed learning more about these itty bitty creations that are on the edge of being magical!
Would you like to make interactive cards but think they might be too hard? If so, I've got a great card for you today called the Slide and Stand card. Some people like to make their version of this without a lot of layers. I added plenty of dimension to my card and I promise you it's not hard. The standing section will slide into the base of the card and flatten. When the recipient opens the card, they are surprised to see the stand up card that was mostly hidden until opened. You can sign the back of the stand up piece or even attach a gift card there.
Hello craft friends. I'm sure you'll agree that we are all thankful that 2020 is soon on the way out. As a wise person said, 2020 stinks, stank, stunk! Time to move on to what is sure to be a much better year.
To make this card, I started by covering a panel with the very pretty Glitter Star Tape and then I cut out the ray pattern using a die from Hero Arts. I also cut out a branch from a die in my collection and a red sentiment label from cardstock. Assembly was really easy. I glued the glittered piece on to a silver foil card base. The center oval piece cuts out with the die so I was able to separately work with the center. I glued the branch down on the oval and placed the Cardinal Profile Brad on the branch and then glued the finished oval to the center of the card. I stamped and heat embossed a white new year greeting on the red label and put Red Mini Round Brads on each side before mounting it on the card with foam tape. The last touches were two white and one red sequin. There are so many things you can do with this basic ray pattern.
Check out the Eyelet Outlet Store for all your brad, washi tape and bling supplies! Have a wonderful week!
Hello everyone! It's my first blog post for Eyelet Outlet and I couldn't be happier to part of their team. This isn't my first post though. Yesterday I participated in a virtual craft show held by the promoter of the Columbus Scrap & Stamp Show yesterday on Facebook. There was a whole day of 15 minute presentations by the vendors who would have been there live. There are super sales from the vendors so go over there and check it out. Support the small businesses and get yourself some deals while you are at. Since it's virtual, anyone across the country can take advantage. I did the presentation for Eyelet Outlet. It was a lot of fun and a cool way to start my Design Team experience with them.