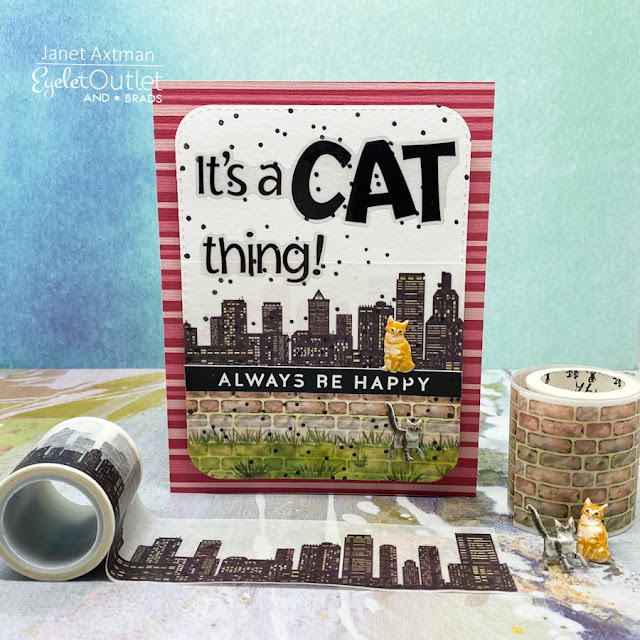
It always seems to me that cats are happy creatures. They can act up sometimes but mostly they seem pretty happy with their lives. When I saw the cat sticker sentiment and the always be happy strip sentiment, it seemed to me they fit together nicely.
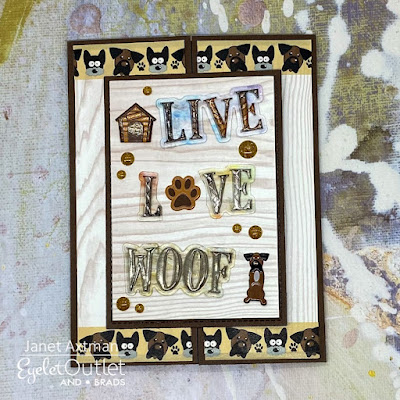
It's Janet here with a friendship card celebrating man's best friend. This card was made with several fun products from the Eyelet Outlet Store.
This is a gatefold card, meaning that a flap folds from the left side and the right so that they meet in the middle of the card front. I made a matching panel to put on top. Only the left side is glued to the left flap so that it opens with ease.
Once the card base was constructed, I placed a border of Dog Washi Tape across the top and the bottom of the flaps. Before I glued the center patterned cardstock on to the brown mat, I applied the Live and Woof stickers. I cut the O out of the Love sticker and used a Paw brad instead. I added the dog house from the Kennel Mix brad set and the tallest of the dogs from the Puppy brad set. The cool thing about this set is that it matches the dog washi tape so well! The final touch was Gold Glitter Enamel Dots.
Once completed, I glued the center panel on the brown mat. This way the back side with the brad's prongs are covered with cardstock. Then I glued the left side of the finished center panel to the left flap. This is a quick way to utilize stickers to make a quick but cute card. I picked up the sticker set at the Dollar Tree so it was inexpensive as well as perfect for this card.
Thanks for stopping by today. Check out the Eyelet Outlet Store for all their dog and cat themed brads. There are many more than I used today and there's sure to be something you can't live without!
Hello! It's Janet here to show you another card using the new Swirl Cupcake brads. This is a clean and simple card (CAS) that shows off the yummy looking cupcakes and one of the pink hearts from the Heart Brad Set. Sometimes the simplest things are the best things!
The jolly chef comes from an old Stampin' Up stamp set called Voila! I found set while thrift shopping two years ago and FINALLY used it. It's super simple to color since it's almost all shades of gray. He's really a cheerful fella isn't he?
Thanks for stopping by today. I hope your Sunday is restful and peaceful! It may be one of the last easy going weekends left before the Christmas season hits so eat up!
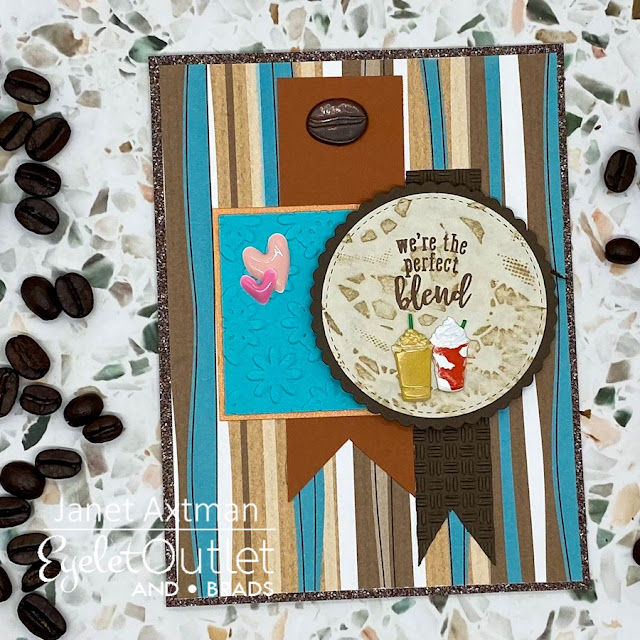
Happy Sunday everyone! It's Janet and today I'm here showing off Eyelet Outlet's new Iced Coffee Brads. When I saw that there are strawberry and chocolate coffees in this set, I thought of the sentiment I used on this card. It's sweet but not too sappy and could be given to a best friend or a significant other.
A new challenge has started on the Art Impressions blog. Shaken not Stirred is about anything with a drink. Here's my first card for this challenge. It's the ladies from the Wine Divas stamp set. Be sure to enter your masterpiece in the challenge. We love to see what you create!
To make this, I used Copic markers to color the image and then I fussy cut it out. There are a few areas that don't really work for scissors so I used a finger blade to cut out those sections. I trimmed it very close to the lines so that the image looks almost stamped onto the specialty card stock I used.
I cut the cardstock and embossed it with a grape embossing folder. I stamped and heat embossed the sentiment with black detail embossing powder and then cut it out with a Circle Double Stitched die. I used a wine colored A2 sized card base and used a matte silver piece of cardstock as a mat.
These ladies are a lot of fun and remind me of the group of ladies I hang out with. We enjoy our beverage of choice and have a great old time with each other. So cheers ladies! We are better with age!
Thanks for stopping by and have a wonderful long weekend. See you next week!
Hello everyone! Feeling Hot yet? I know I sure am so this tropical card in bright neon colors seems very fitting about now.
I know you are thinking that silver and gold cardstock are limited to weddings, anniversaries or winter holidays. I challenge that idea with today's project . . . a tropical slimline card featuring, you guessed it, silver and gold! Would you be even more intrigued if I told you that neon colors could be successfully integrated with silver and gold?
Well, I hope you agree with me when I say that it's all possible. It's the unexpected mix of finishes and colors that makes this shadowbox card extra special.
Keep reading for complete instructions for constructing this card. If you prefer to see it done, I've got a tutorial video to help you.
SHADOW BOX BASE CONSTRUCTION
This card was made with a stamp & die set from Diamond Press called Sunshiny Day. It's also known as Sunny Day. It's the 2nd in a series of 5 slimline shadowbox sets purchased through HSN. This kit is full of tropical summer images such as flamingos, a parrot, palm trees, sand, flowers and more.
I started by cutting two fronts at the same time out of CCS Silver Bright Foil Card Stock. This card stock gives you the pretty foil finish but doesn't hold your fingerprints or smear when touched. It reminds me a little of the fingerprint free stainless steel finish you find in today's appliances. Yet, it still has a strong reflective finish.
Two layers were also cut for the back of the base card using Aquamarine Stardream Metallic cardstock. I cut off the tabs on one layer of each. One of the trimmed fronts is glued to the card front. This is to add reinforcement and give you an opportunity to use a different cardstock, like a patterned paper if you want to make it different from the main box.
The front and back are glued together on one side.
Flip it over and use the trimmed back piece to cover the tab and seam and provide a perfect card background behind the windows.
INTERIOR CONSTRUCTION STEPS
Cut the sand inserts out of CCS Gold Glitter Card Stock. Gold glitter may not be your first thought for sand but it works great because of it's texture and color!
Glue additional cardstock sand hills in place and glue the Blue Raspberry Pop Tone wave die cut to two of the glitter sand inserts. Wet glue will provide the best adhesion on glitter finishes. Burnish the score lines in the three inserts and install to the back of the card using wet glue so you have time to position them properly. Leave a small gap between the inserts so they can be folded flat for mailing.
STAMP & COLOR THE CARD IMAGES
Stamp the two Flamingo images onto Pink Sapphire Mirri Sparkle Card Stock with StazOn ink to avoid any smearing possibilities. Use the same ink to stamp on a sturdy Bristol Card Stock. I like to use Strathmore Series 300 paper for this. Color the images as you like. I used Karin Brush Marker Pro water based markers using their neon set. I blended the colors using their blending brush marker. These are eye-popping colors that fit the theme perfectly. I used Cocoa and Cinnamon for the palm tree trunk and the parrot's branch.
PLACE THE IMAGES & CONNECT THE TOP & BOTTOM OF THE BOX
Use the included dies to cut all the pieces out. Decorate the box on the front and inside with the images.
Secure the last back tab of the box to the front and double check that everything will fold flat. This allows the dimensional card to be mailed. Pretty great right?!
Here's a closer look at the dimension of this card. I really like using the pink glitter cardstock for these flamingos!
Thanks so much for joining me here on the blog today. I hope I inspired you to think "outside of the box" when it comes to gold and silver in your card making. It's definitely not just for weddings and holidays! Chow!
Hello everyone! Today I'm here with the super fun Hats Off Mrs. Set. This card is bold, bright, colorful and full of sass! Just the way I like it and why I enjoy Art Impression stamps so much.
This image was Copic colored. The colors used are at the end of this post for your convenience. Of course, this would be fun in all kinds of color combinations so pick your favorite colors and markers, paints, or pencils and have a go at it.
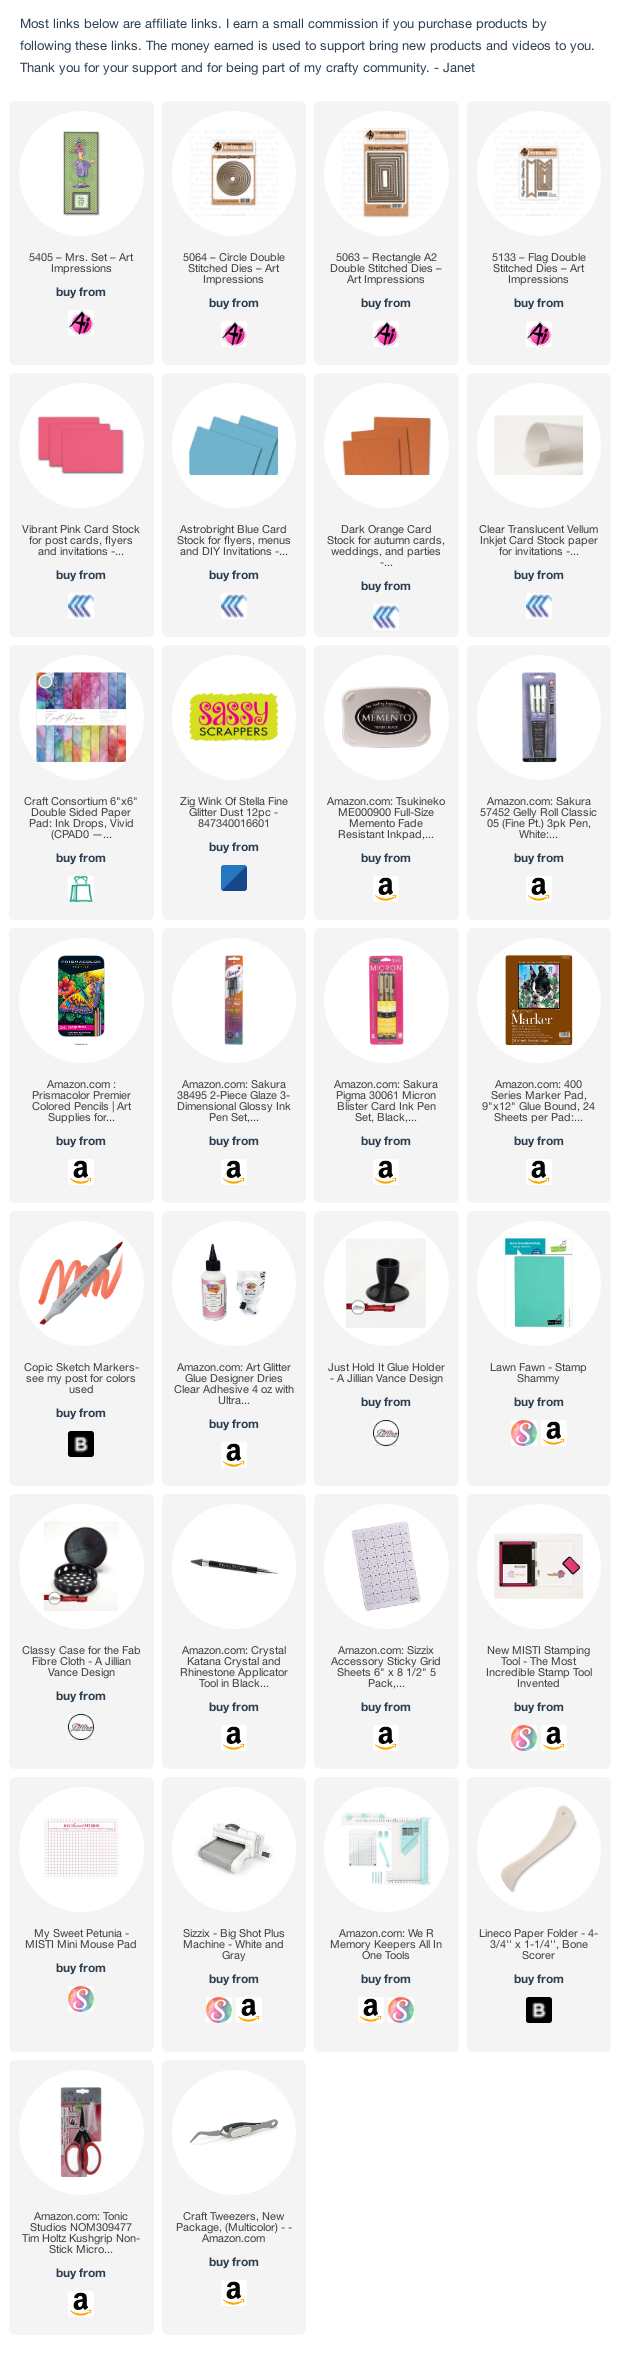
I chose a patterned paper background that is full of color and sets off this wild child well. I also used a circle of vellum with a paper frame to help make her detailed hat the focal point of the card. I used the rectangle, circle and flag double stitched dies on this card. Have you tried the flag dies for sentiments? They work really great for them and as accents too.
A bit more on the background I used. The colorful background is a printed cardstock. I discovered this paper pack from Craft Consortium called Ink Drops - Vivid. There are many different versions and colorways in the Ink Drops line. For anyone who is intimidated by using alcohol inks or who doesn't want to invest in all the supplies, or simply doesn't want the mess - this is a perfect way to get a gorgeous alcohol ink look with zero effort. I'm so excited to have run into this paper. I love, love it!
I have a tutorial video for this card so stop by and pick up some Copic coloring tips I share that apply to this and other images you might be coloring.
COPIC COLORS USED:
Robe: B00, B01, B04
Pants: C00, C00, C01, R81, R83
Hat: YR18, YR9, YR7
Hat Bow: R32, R35, R37, R39
Bottle & Glass: C7, C5, C3, C0, B000
Thanks for stopping by today. I hope you enjoyed looking at this card idea. See you next week!