Showing posts with label Christmas crafts. Show all posts

Santa Clause Is Coming To Town!


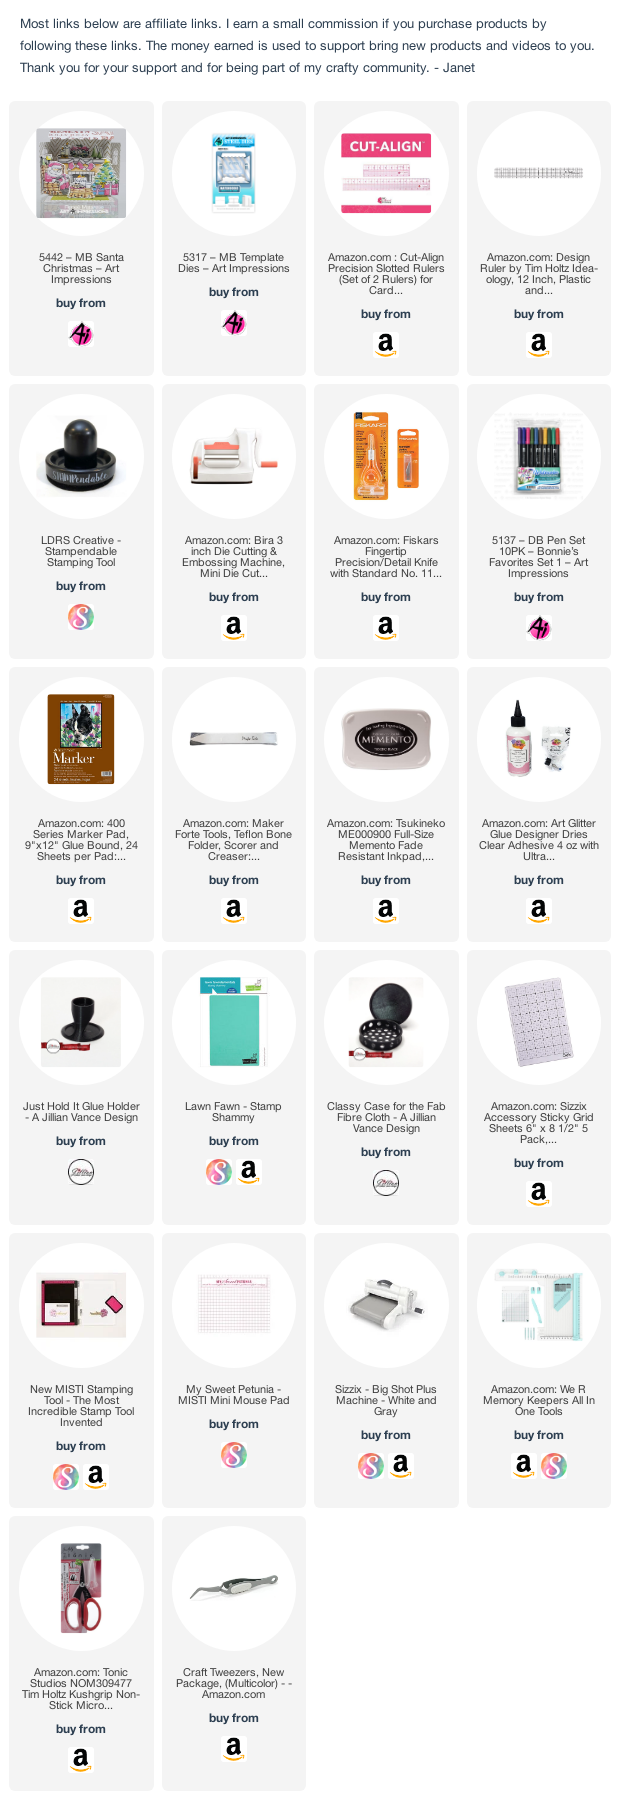
It's Janet here with a very cute miniature matchbook card made with Art Impressions set 5442 - MB Santa Christmas Card. This is such an adorable holiday matchbook card! 

To make this Santa themed project, I first used 5317 - MB Template Die to cut out the matchbook base card. It's always best to use two-sided cardstock for the card base since both sides of this card are visible.

I cut out the window using the Template Die and a window frame out of red cardstock. Next I stamped and colored the scenery pieces for the card with Copic markers. I used a white gel pen to put in a few highlights. Isn't Santa just adorable? He seems to be taking a long needed break after a night of delivering joy.


The next step was to use the dies to cut out the scenery pieces. I installed them in the card base putting Santa on the right and the tree on the left. The cookies table and the sentiment go in the front. It's easy to tell where they go because of the tab placements on the pieces. You'll find it easy to put this together too.

The little matchbook cards are so much fun to make and even more fun to give. Everyone loves them because they are so unique and have such fun details. You can get yours at the Ai Store. 

Happy Creating!
Janet - YouTube - Blog - Facebook - Instagram - Pinterest

Christmas Penguin Greetings!


Hey everyone! It's July and you know what that means! We get to break out our Christmas supplies and chill out during a hot time of year. One great way to do that is to break out the holiday themed Eyelet Outlet products.

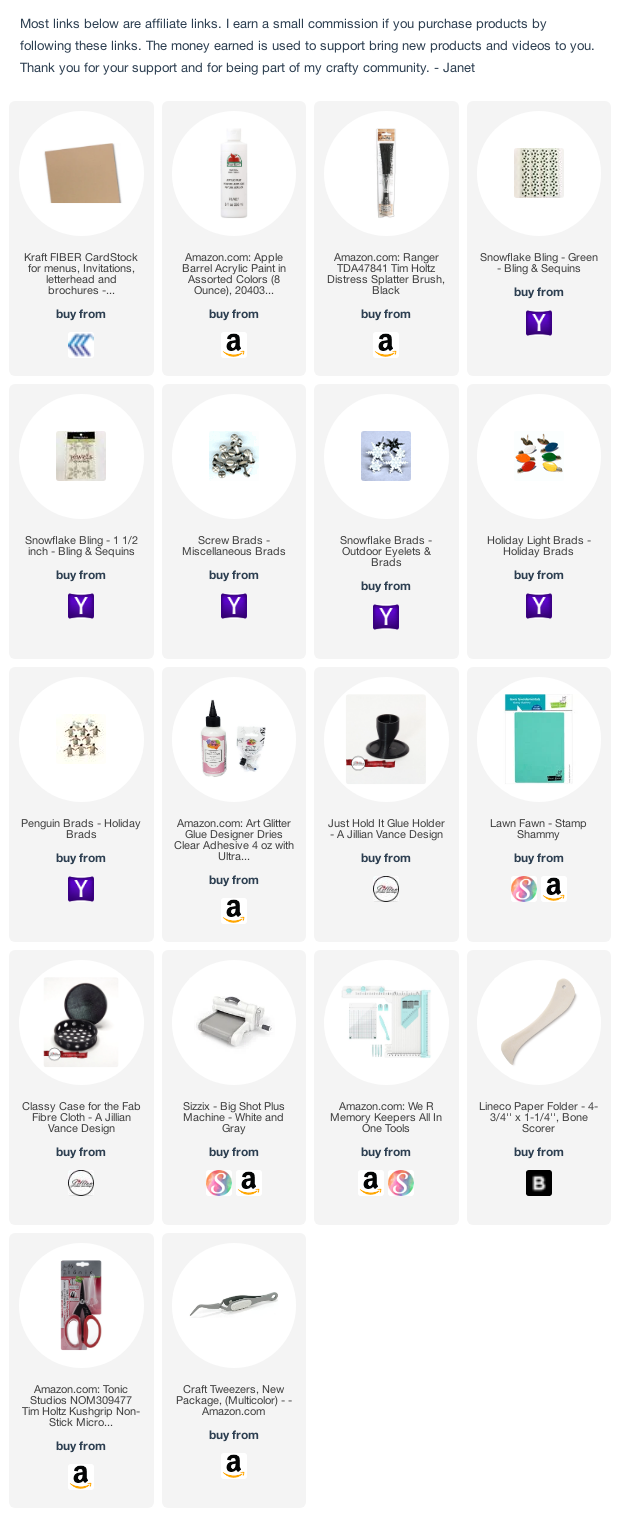
This card was very simple and quick to do. I made a Kraft A2 card base and splattered it with white acrylic paint mixed with water. After it dried, I strung a brown jute cord between two Screw brads. Then I placed three cute penguins on it. I added Holiday Lights to the cord to make it look like a light cord. 

I cut the sentiment out with a die in green and white glitter cardstock. After placing them on the card, I added Snowflake bling and two Snowflake brads. I added two Snowflake Bling pieces in green to finish off this whimsical card.

Will you break out your holiday supplies this month? Go for it!

 Happy Creating Everyone!

 Janet - YouTube - Blog - Facebook - Instagram - Pinterest

Hello CutCardStock fans! Do you dream of a white Christmas? I live in the Carolinas so snow for Christmas is highly unlikely but I was born and raised in the upper Midwest and know what I'm missing - the good, bad and ugly of snow!


My project today highlights what I envision is the peace and happiness a soft white layer of snow can offer along with a welcoming door where friends, family or others we know and love will greet us. This year, more than ever, being among those we love the most is a real challenge. The door set in a snowy scene is my tribute to all those I love and the fact that I know they are just waiting behind a door that will soon fling wide open and envelope me in love and fellowship. I feel confident that most of us are anxiously waiting for that time to come.

Happy Sunday everyone! I hope you've had a great weekend so far. If you're in the US, you probably have given your stomach a good workout over Thanksgiving and then your boday decorating for Christmas and the holiday season. It was nice to take a break during all the hubub yesterday to reflect and make a card to remind me of the Reason For The Season.


The city die cuts and the scroll are from the O Holy Night Collection from Heartfelt Creations. The scroll is cut from their paper pad for the collection so it made it really easy to create this piece of ephemera. 

The background of this card was created by placing Silver Glitter Washi Tape on the edges of an A2 card base. Then I placed the corrogated piece on top. Here's a upcycling tip I learned from Carol Duval when I was a wee one (LOL!). Use a liner from a light bulb box! Works perfectly and they tend to be either a nice white or natural color like this one. The city scene is made from two identical Heartfelt Creation die cuts that I cut and stacked to appear as if it were on a hill. I used a few pieces of foam tape for some of the cuts for added dimension as well. I nestled in two Palm Tree Brads and then started decorating the rest of the card.

Around the scroll, I placed the Snowflake Bling-1 1/2" Size and two of the Music Note Brads. To accent the scroll image, I cut single bling apart from Red Strip Jewel Bling. I'm always amazed at how a few Eyelet Outlet Products can take a card from good to great with just a little bit of effort! 


Thanks for stopping by today. Enjoy you Sunday and I'll see you again next week!

Pink & Gold Holiday Glam!

Hello! It's Janet wishing you a crafty and fun day! We've moved into December so you know what that means - Christmas is almost here! Yay! I like Christmas traditions and I always have a red and green tree at our house but I also have what I call, "my artsy-fartsy" tree. This is the tree where I get to try out new colors, trends and anything that tickles my fancy. This year, it's pink and gold. Now, I'm not a pink girl usually but something about pink and gold with winter snow, lace, feathers and so forth just makes me feel all warm and fuzzy inside.

As it happens, it's my turn to host the Bitten By The Bug 2 blog. My two week challenge to you is to make anything holiday featuring pink and gold. Christmas, New Year, Hanukkah - you name the holiday, pink and gold will work. Get your project in by 7 am EST on December 23rd.