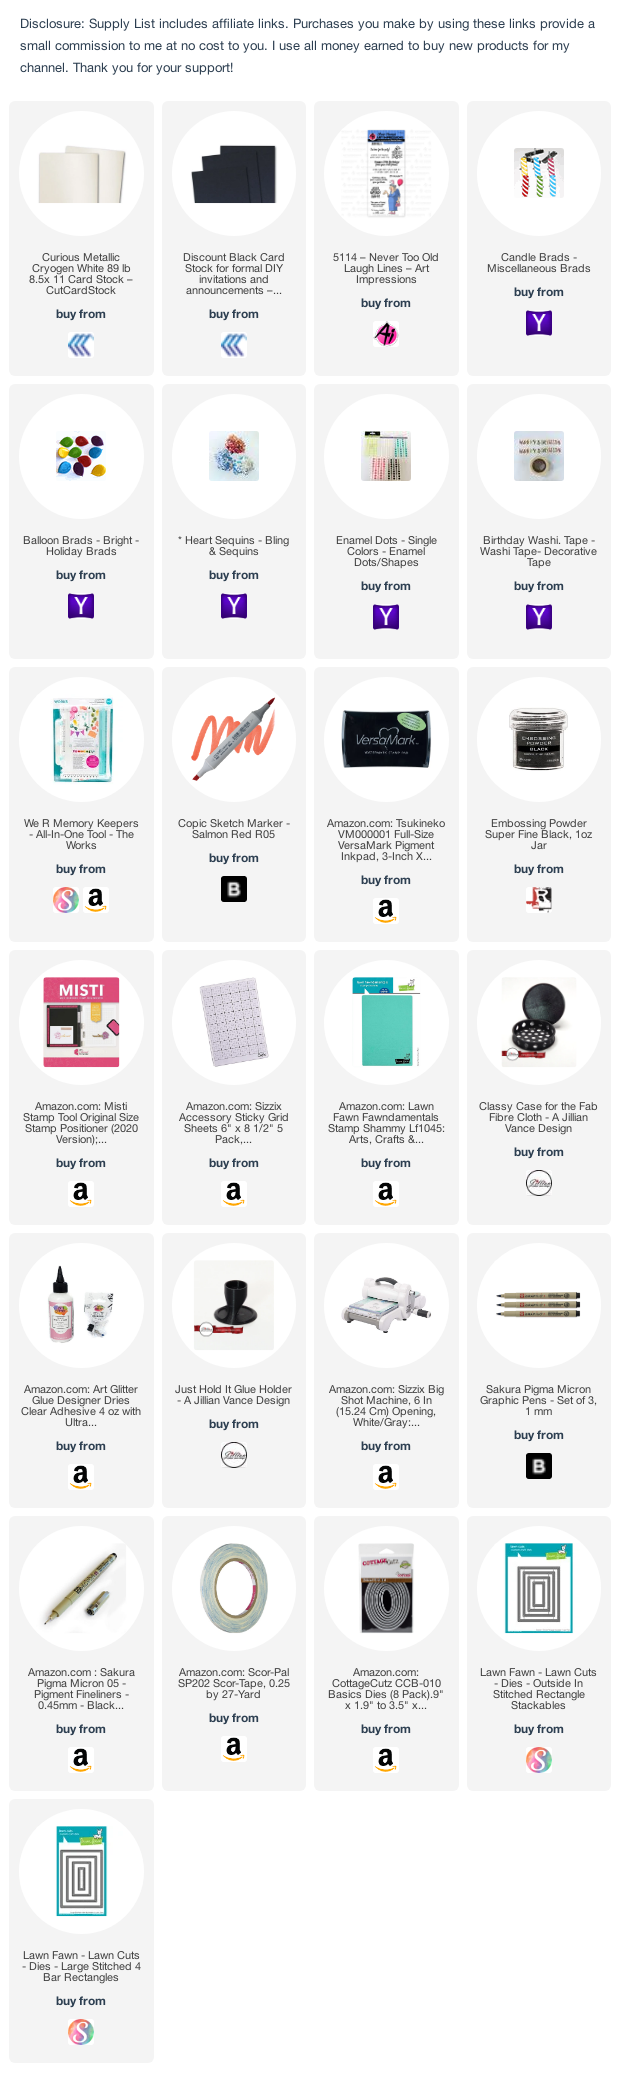
As I and my girlfriends get older, I have come to appreciate the humor in our ever larger birthdays. I suppose like a lot of people, I like to say when people ask how old I am on my birthday that I'm 29 again. Yeah right! When I saw the stamp set called Never Too Old to Laugh from Art Impressions, I had to have it because it had that sentiment and some other pretty funny ones.

I stamped this image on Curious Metallic Cryogen White cardstock from the store. This is such a pretty cardstock. It has a shimmery finish that makes it appear almost to glow. It's really nice to use Copic markers on because the coating seems to hold the ink on the surface longer which makes blending easier. I found that dabbing the marker tip actually works better than using longer brush strokes on this paper. It blends better this way. The cardstock will go through most ink jet printers well also. That's super handy if you want to use a digital stamp. There are many different colors of Curious Metallic cardstock in the store. There is a color for everyone and the mica finish is really beautiful.
After stamping the image, I colored this lovely lady with Copic Markers and placed a strip of Happy Birthday Banner Washi Tape from Eyelet Outlet in the corner. I used a Black Micron 08 marker to doodle the flowers in her dress and added stripes to her hat.
Copic Colors Used:
Skin: E000, E00, E21, E11, E04, R20
Dress, Hat, Purse, Balloon: Y000, V01, V04, V06, V09, Y15
Hair: W1, W3, Y15
To finish this image, I inserted yellow and purple Balloon Brads to create a bigger cluster of balloons for this character. Her expression is priceless isn't it?! In this closeup you can see a bit of the shimmery finish if you look closely. In person it's much more evident but isn't overpowering.

I found a piece of black floral paper in my scraps and cut it with a Lawn Fawn Stitched A2 size die. I cut another rectangle in this piece using a Lawn Fawn Outside In Stitched Rectangle die. This created the space to make a shaker window.


The last step was to apply the lady image to the window well, making sure to place the image straight. I used a scissor to trim excess cardstock so that it wouldn't be seen around the outside of the mat. I also placed four Candle Brads in the bottom border for a little added embellishment. The hard work was done at that point. I simply needed to glue the finished panel to a black A2 card base in Basis Black Cardstock.

To finish this card, I used black embossing powder on a scrap of the Cryogen White cardstock to heat emboss a speech bubble using the stamped phrase from this set which says, "29 Again?? I placed it on the front and added three white enamel dots to the upper right corner of the card.

This card was a lot of fun to complete. I really enjoyed trying out Curious Metallic Cryogen White for Copic coloring. I think this could be extra nice for floral images because of the mica finish in it. Give it a try! It's on sale in March. Now is the perfect time to try it.
Thanks,
Janet
--- FIND ME AT ---


No comments